
Coach’s Motorcycle ‘How To’ Page
Finally we have started to fill this page with interesting tips and help from us- Superbike-Coach, to you. We just want you to enjoy your hobby even more. We will come up with a bunch of tricks and do’s ‘n’ don’t s, which we are making sense. What we’re showing here is based on decades of riding motorcycles- professional racing on a high level- and years and years of coaching thousands of riders. Here we go… but please be advised that you do this all yourself and we are not responsible for any damage or injuries.
————————————————————–
How to load a motorcycle on a truck
We had lots of fun with this video, and it will put you a smile on your face as well. You don’t want to find yourself in a situation like this though, so enjoy the video first to get something out of it, and then keep reading with our article, and watch the tip video we made, and read the little article below:
So here is how Pro’s doing it in a minute- without any damage and injuries. Let’s have a look on the equipment base you need to have to get the job all by yourself done.
- Pickup truck with at least space for one motorcycle in width and length, and at least for hooks to tie-down
- Long (reduces the ankle to the truck bed) fold-able bike ramp, which is very wide (walking path) as well
- One short tie-down to secure the ramp down to the truck
- Universal Roll-On Stand for single operation
- At least two heavy-duty buckle zip (ratchets were yesterday!) tie-downs with swivel hooks
- At least one rubber tie to transport and secure the bike ramp on the truck
From here we let Headcoach Can Akkaya from Superbike-Coach take over to explain the process:
The process in detail
-

wide ramp is fold-able and comes with secure ties
Backup your truck towards the end of your drive way. The downgrade and the long/wide ramp makes less ankle, and your risk getting stuck up there decreases. Take measurements if you are not sure, or have someone check on it while you roll up the bike.
- Secure the ramp down to the truck, so that you won’t push the ramp up or slide it away.
- Have at least 2 standard Tie-Downs fixed to the truck bed hooks already.
- Place the Universal Roll-On Stand in the center of the truck against the bed wall.
- Place your motorcycle front wheel towards the right or left (preference) side of the ramp, so that you have enough space to walk up next to the bike (right or left- preference).
- Start the engine and put in 1st gear.
- By covering the front brake lever with one finger- ease off the clutch slowly and smooth until you feel friction, and see if you might need to give it a little throttle.
- Ones the bike is rolling, walk with it up the ramp by keeping 3 tips in mind: 1) watch your steps on the ramp; 2) don’t hit the rear sets with your legs; 3) try to keep rolling continuously (easier to balance) until the bike rolls into the stand.
- Use the upper triple clamp to mount those tie downs (multiple ways to do that) and strap them down firm until the bike doesn’t move anymore when shaking on it. Two ties down the front are OK, but you can add two more on the rear if it makes you feel better.
- Get your ramp up that truck and secure it with a rubber tie. Adjust you speed accordingly!

Superbike-Coach conclusion: If you go to the track and have to transport bikes frequently, then this is the best investment in transport equipment. BikeMaster has all of it for very reasonable prices and they deliver real fast. Check out their full catalog here [….]
————————————————————–
How To Make A M1 Motorcycle Drivers License
There are pretty much two ways how to make a M1 drivers License, and we want to show both:
- On your own with the DMV: Cheapest and quickest way, but it demands a solid riding skill already
- Certified riding school: Expensive and time consuming, but good for total beginners
So let’s through a light on doing it on your own first. Your local DMV has free Motorcycle drivers license brochures which you should read entirely. Make an appointment at your DMV to make a written exam, and use the time to test yourself here for a while. Pay $28 to pass the test :-)
For a pass- and being 21 years old, the DMV will hand you out a ‘Temporary Drivers License’ which expires after one year. Withing this particular year, you could try to make the required riding test twice if necessary. The test is known as ‘the keyhole’, and can be very tricky. The following video makes clear what to do:
Not crossing the white lines- and no foot down looks easier as it is, but going to the DMV after 5:00pm makes practicing the key hole possible. The rider in the video was lucky we believe, so here are some suggestions from Headcoach Can:
A sportbike is killing it, so use a Scooter or a little chopper. Don’t tense your arms up, and take a deep breath. Use first gear and the clutch on the friction. Idling the motor is enough, so NEVER use the throttle to adjust. Also NEVER use the front brake to adjust, since this will move weights back and forth and can throw you off balance. Instead, have your foot slightly on the rear brake friction for small adjustments. Never rush things and keep breathing. When you’re done… come and see me! :-)
Certified School for M1 license
Since Coach’s wife Marion Akkaya wanted to make a Motorcycle drivers license, we thought it will be an excellent opportunity to get a fresh impression of how those certified schools (by DMV) are doing. First of- it was funny to see some of their instructors again, after seeing them sitting in Coach’s seminars and attending classes, and we are happy to see that Superbike-Coach programs obviously had a ‘influence’ on their curriculum.
However, Marion got thought everything by ‘Coach husband’ and because she’s a fast learner she was able to ride over the Freeway with her fresh temporary drivers license:
Two weeks later she passed her riding test at a certified riding school in Sacramento, and she had lots of funny and shocking things to report about that experience. The 2 days course cost $280 and includes a Honda 250 bike. Riding in the California sun on a parking lot ain’t much of a fun, she mastered the counter steering and braking drills best, which is no big deal after working with Coach. So congratulations to her- but now it’s time to get into Can’s Cornering School Day program!
Superbike-Coach conclusion: We believe you can do this on your own- if you have the opportunity to practice. There is not much you are going to miss by not walking through a certified school. Ones you have your drivers license- go and get some ‘real live’ coaching! [….]
————————————————————–
How To Choose The Perfect Motorcycle Glove
Finding the right motorcycle glove can be time consuming, but I believe it’s worth it. I think most riders choosing the glove because of their looks. But design or even colors should be just a secondary thought. A high quality glove has its price, and yes I do understand that money is maybe a factor for you… but this goes kinda the same way you should pick a helmet, because a natural protective instinct makes us bringing our hands out to catch the fall, so you will crash in 90% assuredly right on your hands. Here is what a bad glove choice can do to us:
- Needles and pins (uncomfortable, slow reaction time)
- Bad quality (short life, leather cracks, bad protection)
- Bad protectors (weak, wrong placed, open wrists = big time injuries)
- Bad size choice (too small: slow reaction time. Too big: interferes with throttle and levers)
- Bad features (sweating hands, uncomfortable, slow reaction time)
Axo USA is one of a few manufacturers I found who are delivering the full package. Their website offers sizing charts and lots of intermediate sizes to pick from.
Also their category description gives a good insight before you rush and take a purchase too easy. Spend your money wisely.
Our little video tutorial should below gives you a good idea what to look for in a glove, and how important it is to also set the levers to your needs.
How to adjust your levers the right way
Most riders are leaving the levers the way they are set from the factory, but I highly recommend to readjust them to your needs. I demonstrated in the second part of the video tutorial above, how essential especially the brake lever position can be. I actually forgot to mention that this even puts your hands and arms in a better angle to catch up G-forces under hard braking. Here is what we give away with wrong lever positions: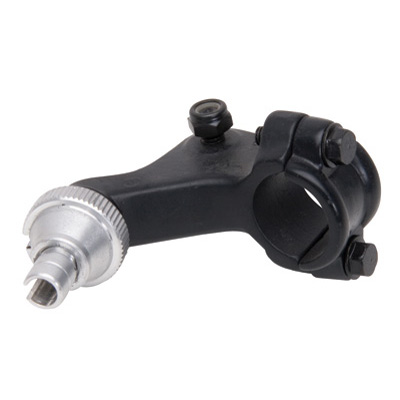
- Too high: slow braking procedure, bad feeling for the braking
- Too low: hard to reach when doing hanging off
- Interferes fingers/levers
As mentioned- you’ll probably can’t just loose the bolts and simply twist each perch because most manufacturers having a pin set to avoid that for liability reasons of course. You need to remove each pin which is not a big deal at all. Have the right tools handy and be patient with your work. Set the levers in a straight line to your arms/fingers, and tighten up all bolts properly. You’ll find a much more relaxed riding position after spending some time with this.
Superbike-Coach conclusion: Lots of good things coming along the right glove and lever adjustments. My favorite… safety! The speed you can reach to the brake lever can decide for you between dead- or alive. Just this is worth the extra money and time is well spend to figure the best lever positions for you! [….]
————————————————————–
How to customize a Motorcycle
Most riders are too afraid to turn some wrenches on their bikes themselves, but since we know that there is a potential to adjust levers etc to a riders advantage (see previous articles), we could more or less easily semi-project our bikes and make them ‘ours’ on a bigger scale. I have such a fun doing this as soon as I have a new bike, that I am willing to share the process with you. You might get a taste of one or another upgrade, and try it on your own motorcycle. All the things I am doing are going under the motto… finding performance (power and grip) resources, reducing weight (general and rotating masses), and last but not least- the look of it. All of this as affordable as possible! It all begins with the actual motorcycle and its raw numbers, so here is our ‘example’:
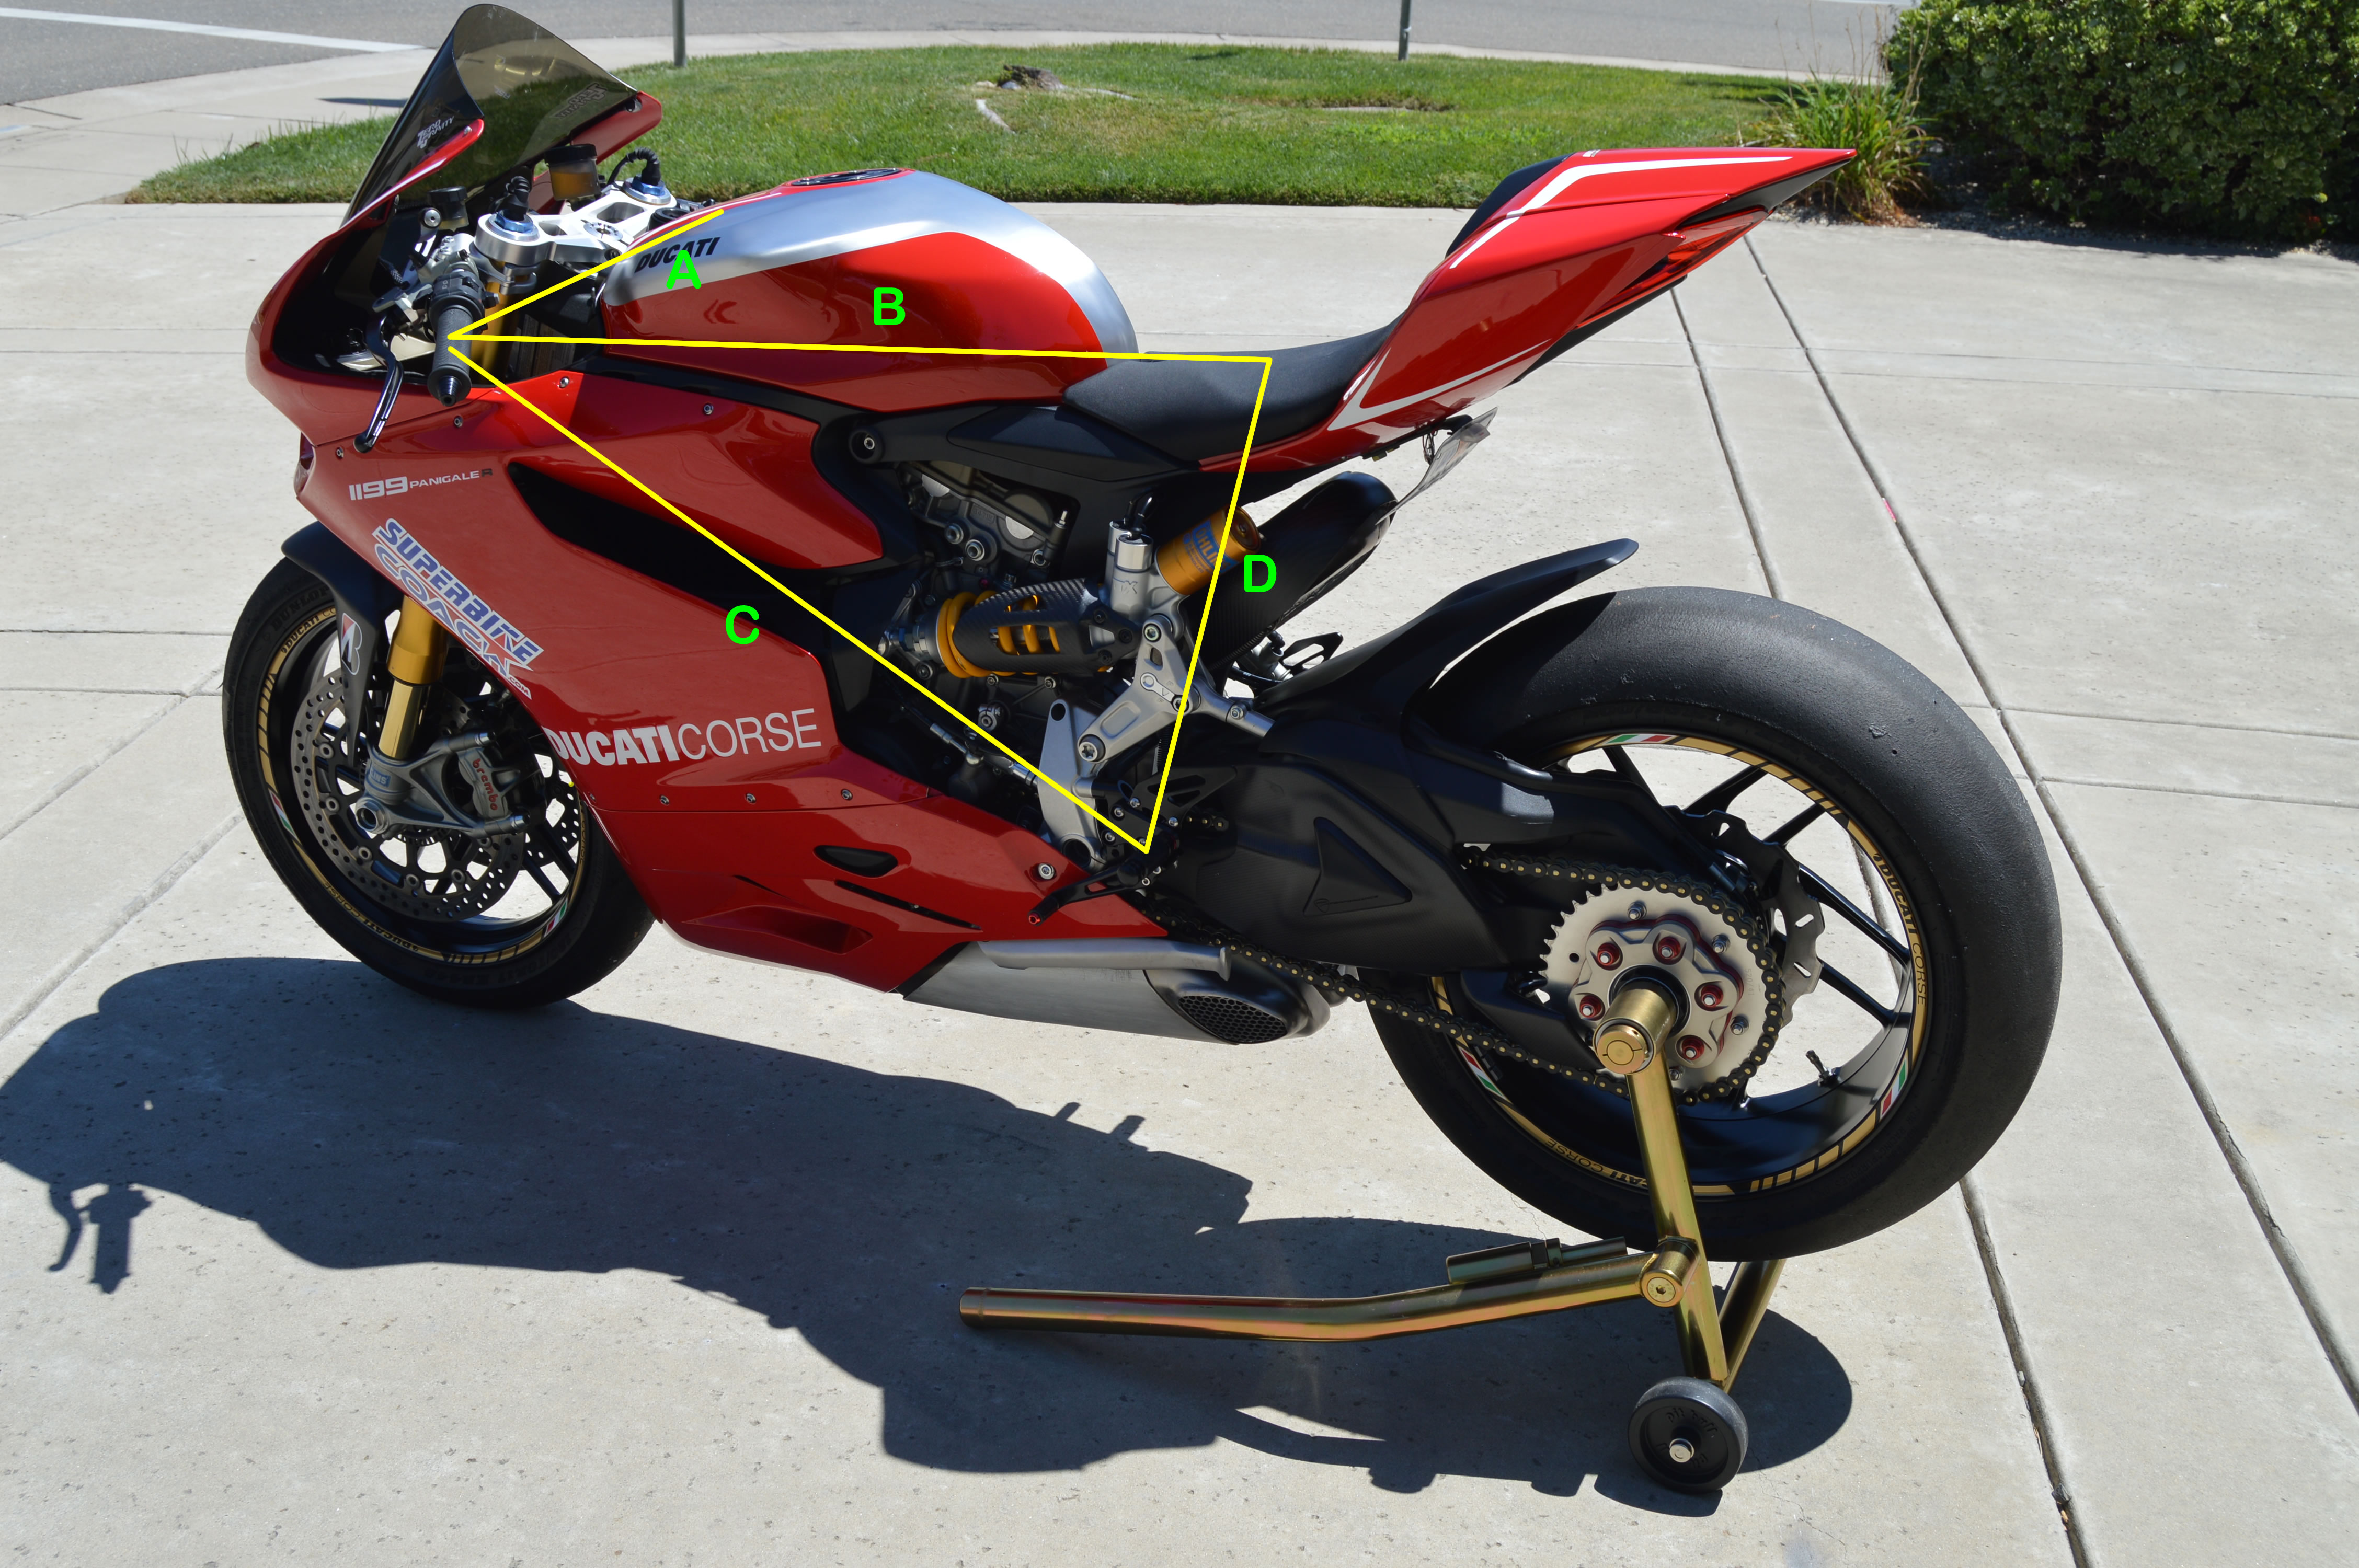
 2014 Ducati Panigale 1199R
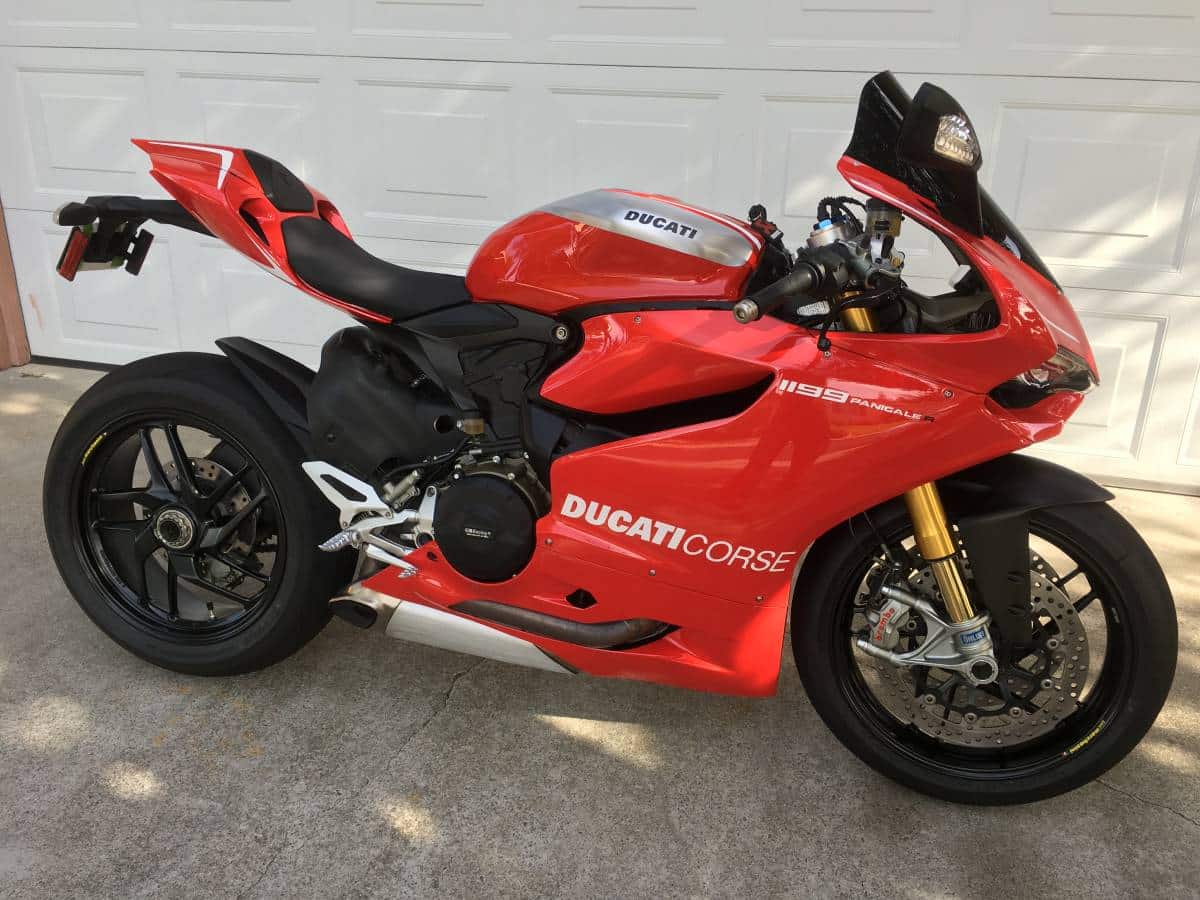
This is a pretty darn good bike already, so we don’t want to mess around much with geometries and electronics. The picture shows a absolute stock 1199 which comes up with these facts:
- 195 HP at 132 Nm of Torque
- 525 chain, 15/41 sprockets, gear ratio 1.77
- Weight of 165 Kg (363.8 pounds)
- Power/weight ratio: 1.1818 HP/kg
Let’s see where these numbers- and the appearance of “Cleopatra” is going…
Summarize- A necessary strategy
To just sit down with pen and paper and to make notes in which direction you want to move forward makes sense already, but to also set upgrade limits per month and in logic installation phases even more. This makes you staying in control of costs and fall-out time. Plain said… if you just go by feel, then you probably start working on something which takes too much time- or to have parts ordered which you can not use at a certain time on the project. What happen is that you can’t use the bike at all in between. So spend your money wisely and order parts logically. Start only working on it when the parts arrived, and skip on the frustrations.
Ducati Upgrade 1

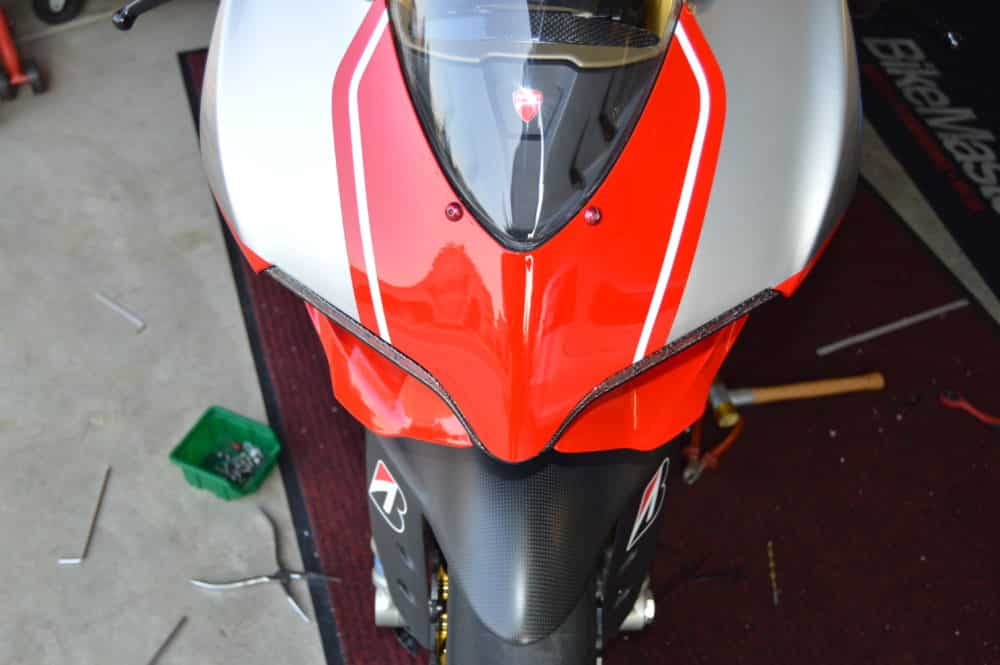
 I got a custom paint job on the way (the boring Ferrari image red dress gotta go!). Till it comes in, I’ve made some mods to the bike which 1) look better (for my taste), and 2) saving weight. I absolutely HATED that high/black windshield and…
Ducati Upgrade 2
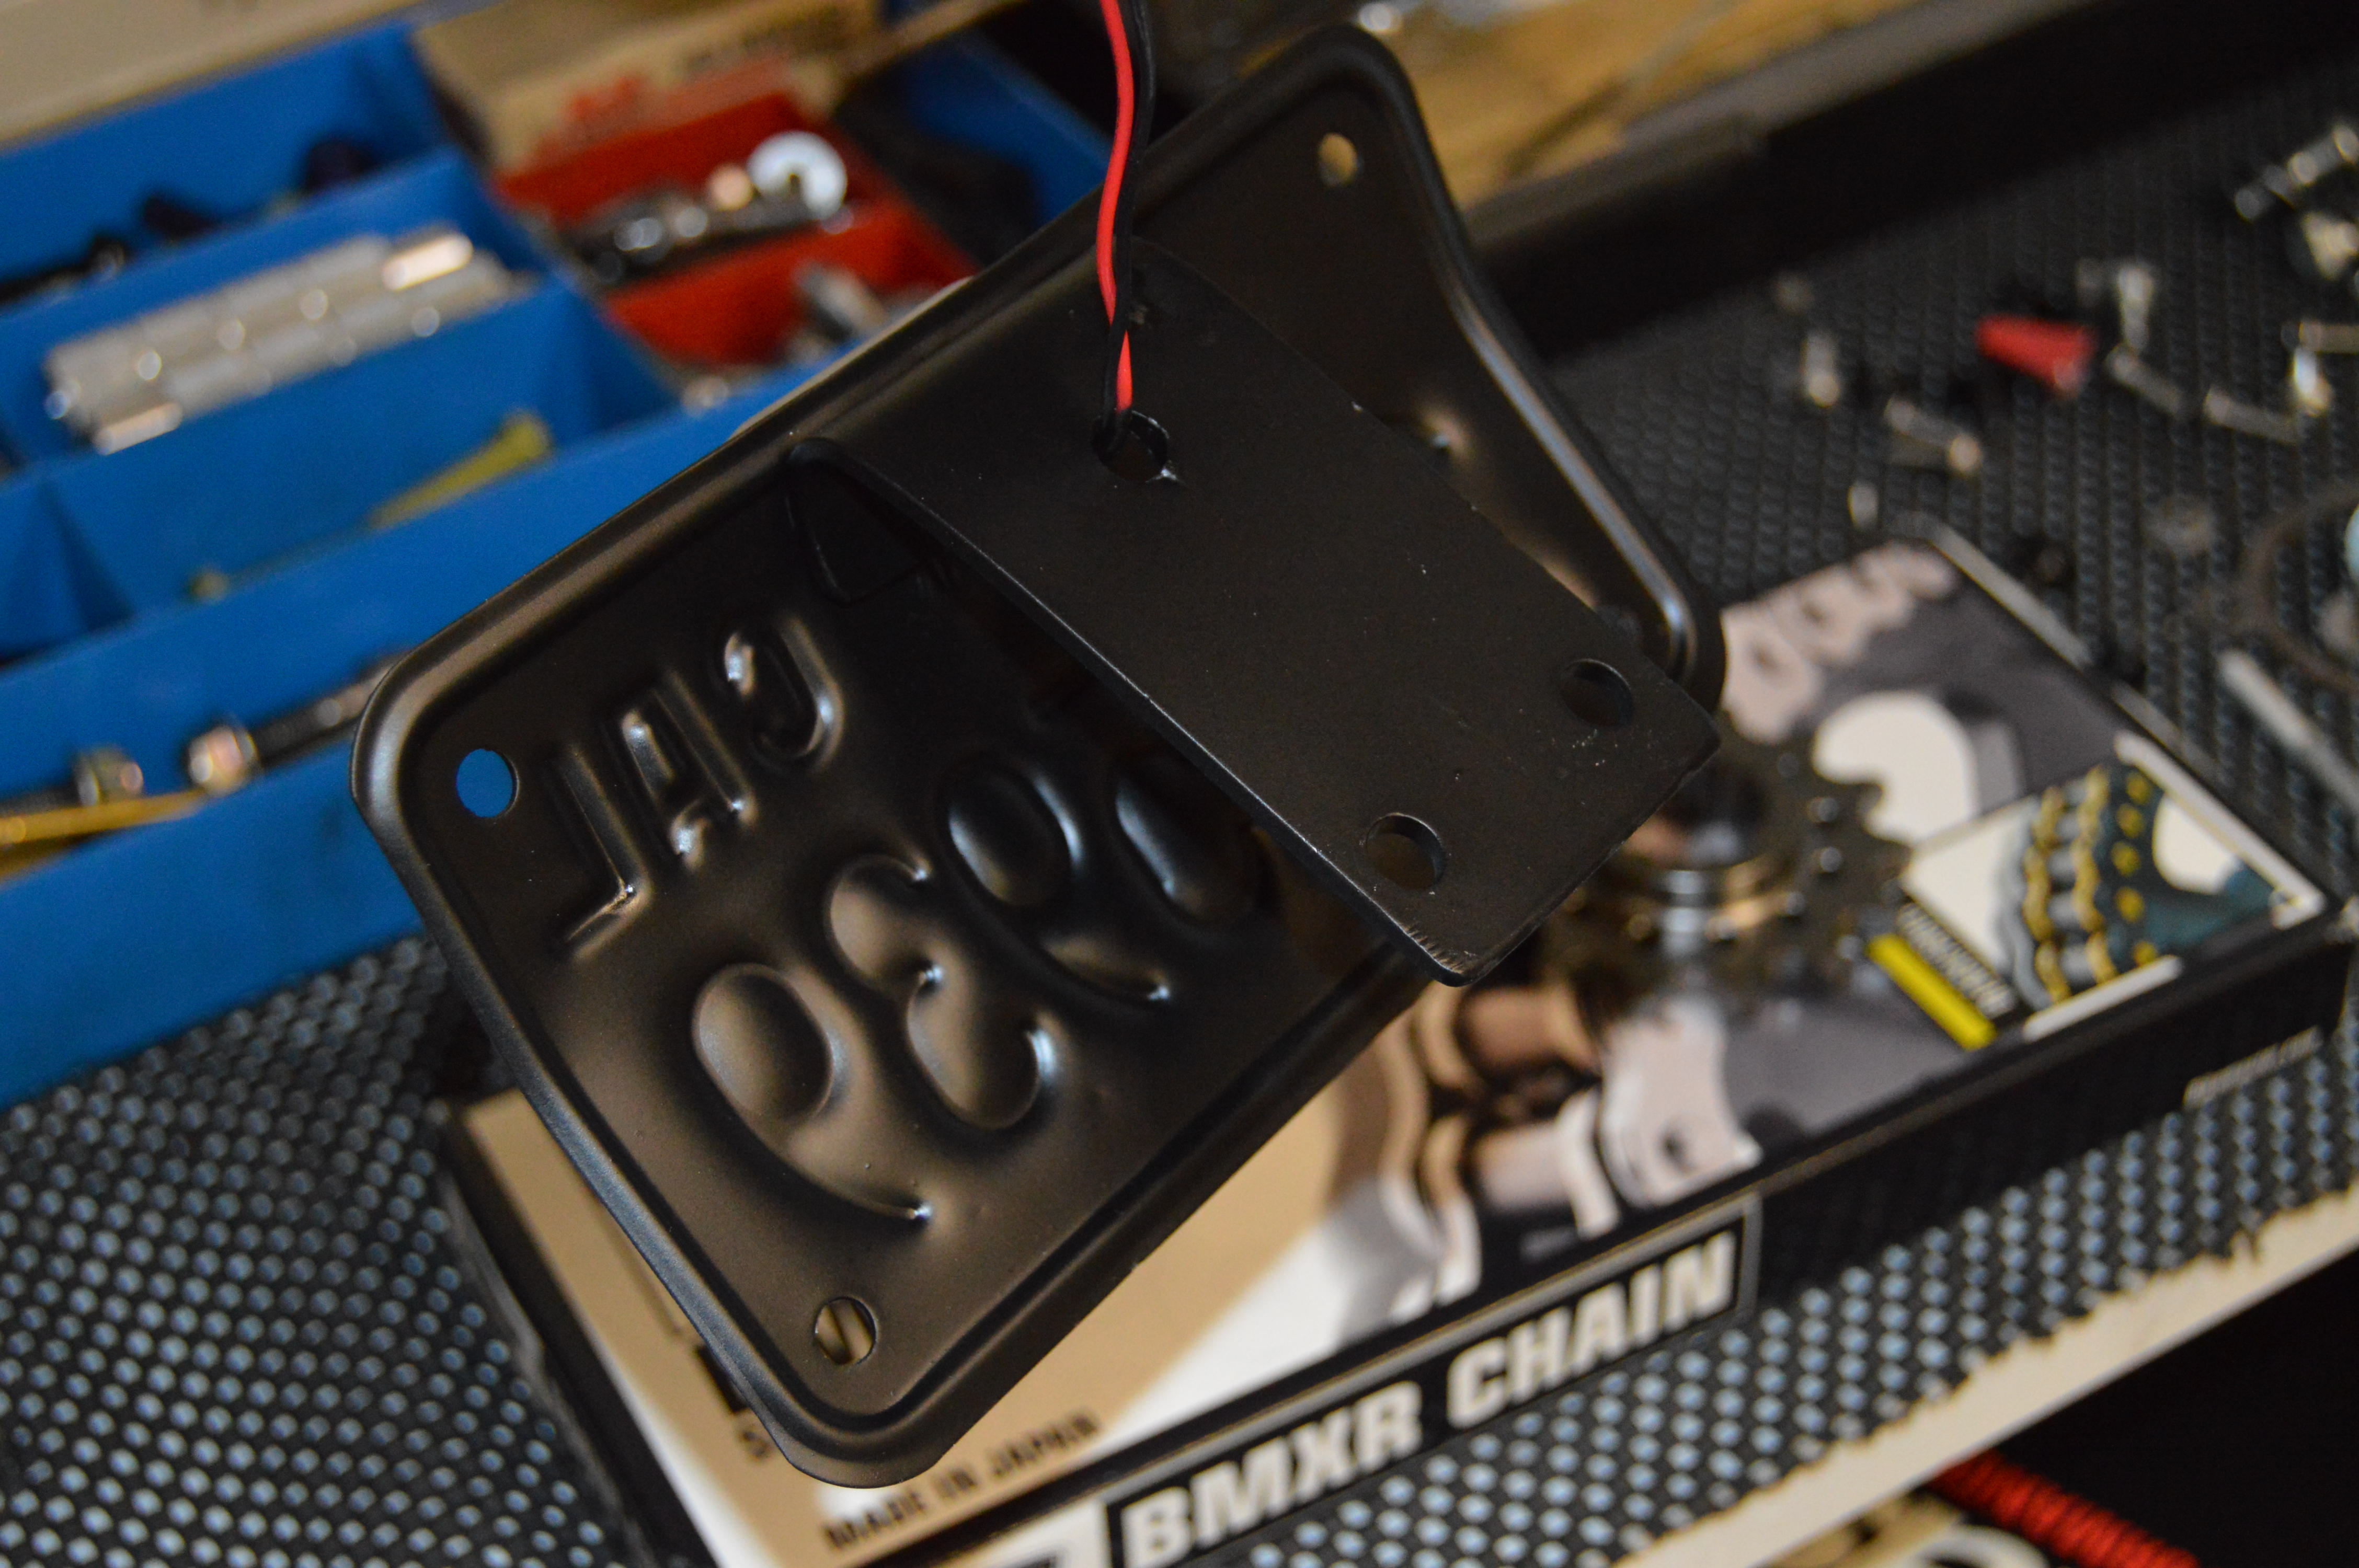
 Unfortunately it needs a license plate to run this bike on some public roads, cuz’ I’ll use it to teach Road Skill 1on1 students. So, since the ugly and way to heavy holder is out… I’ve build my own fender eliminator with a few simple things: The license plate…
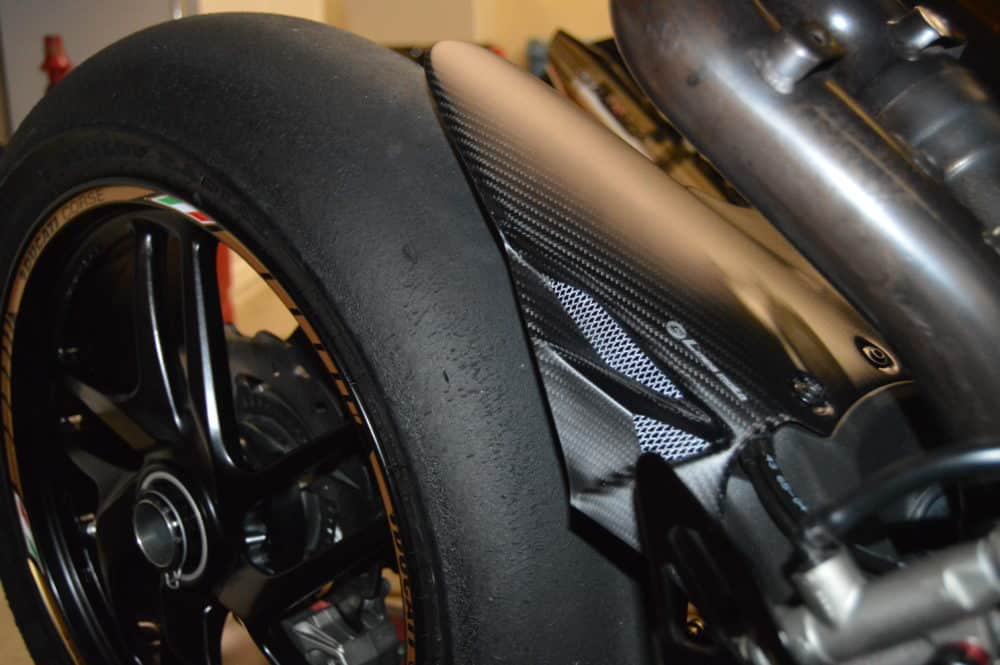
Ducati Upgrade 3

 Some stuff around the swing arm and rear sets has been done. A carbon cover for the looks (the tire huger goes soon), and the toe protector makes truly sense. Rear shock pos changed to ‘flat’, and preload adjusted (gotta get familiar …
Ducati Upgrade 4
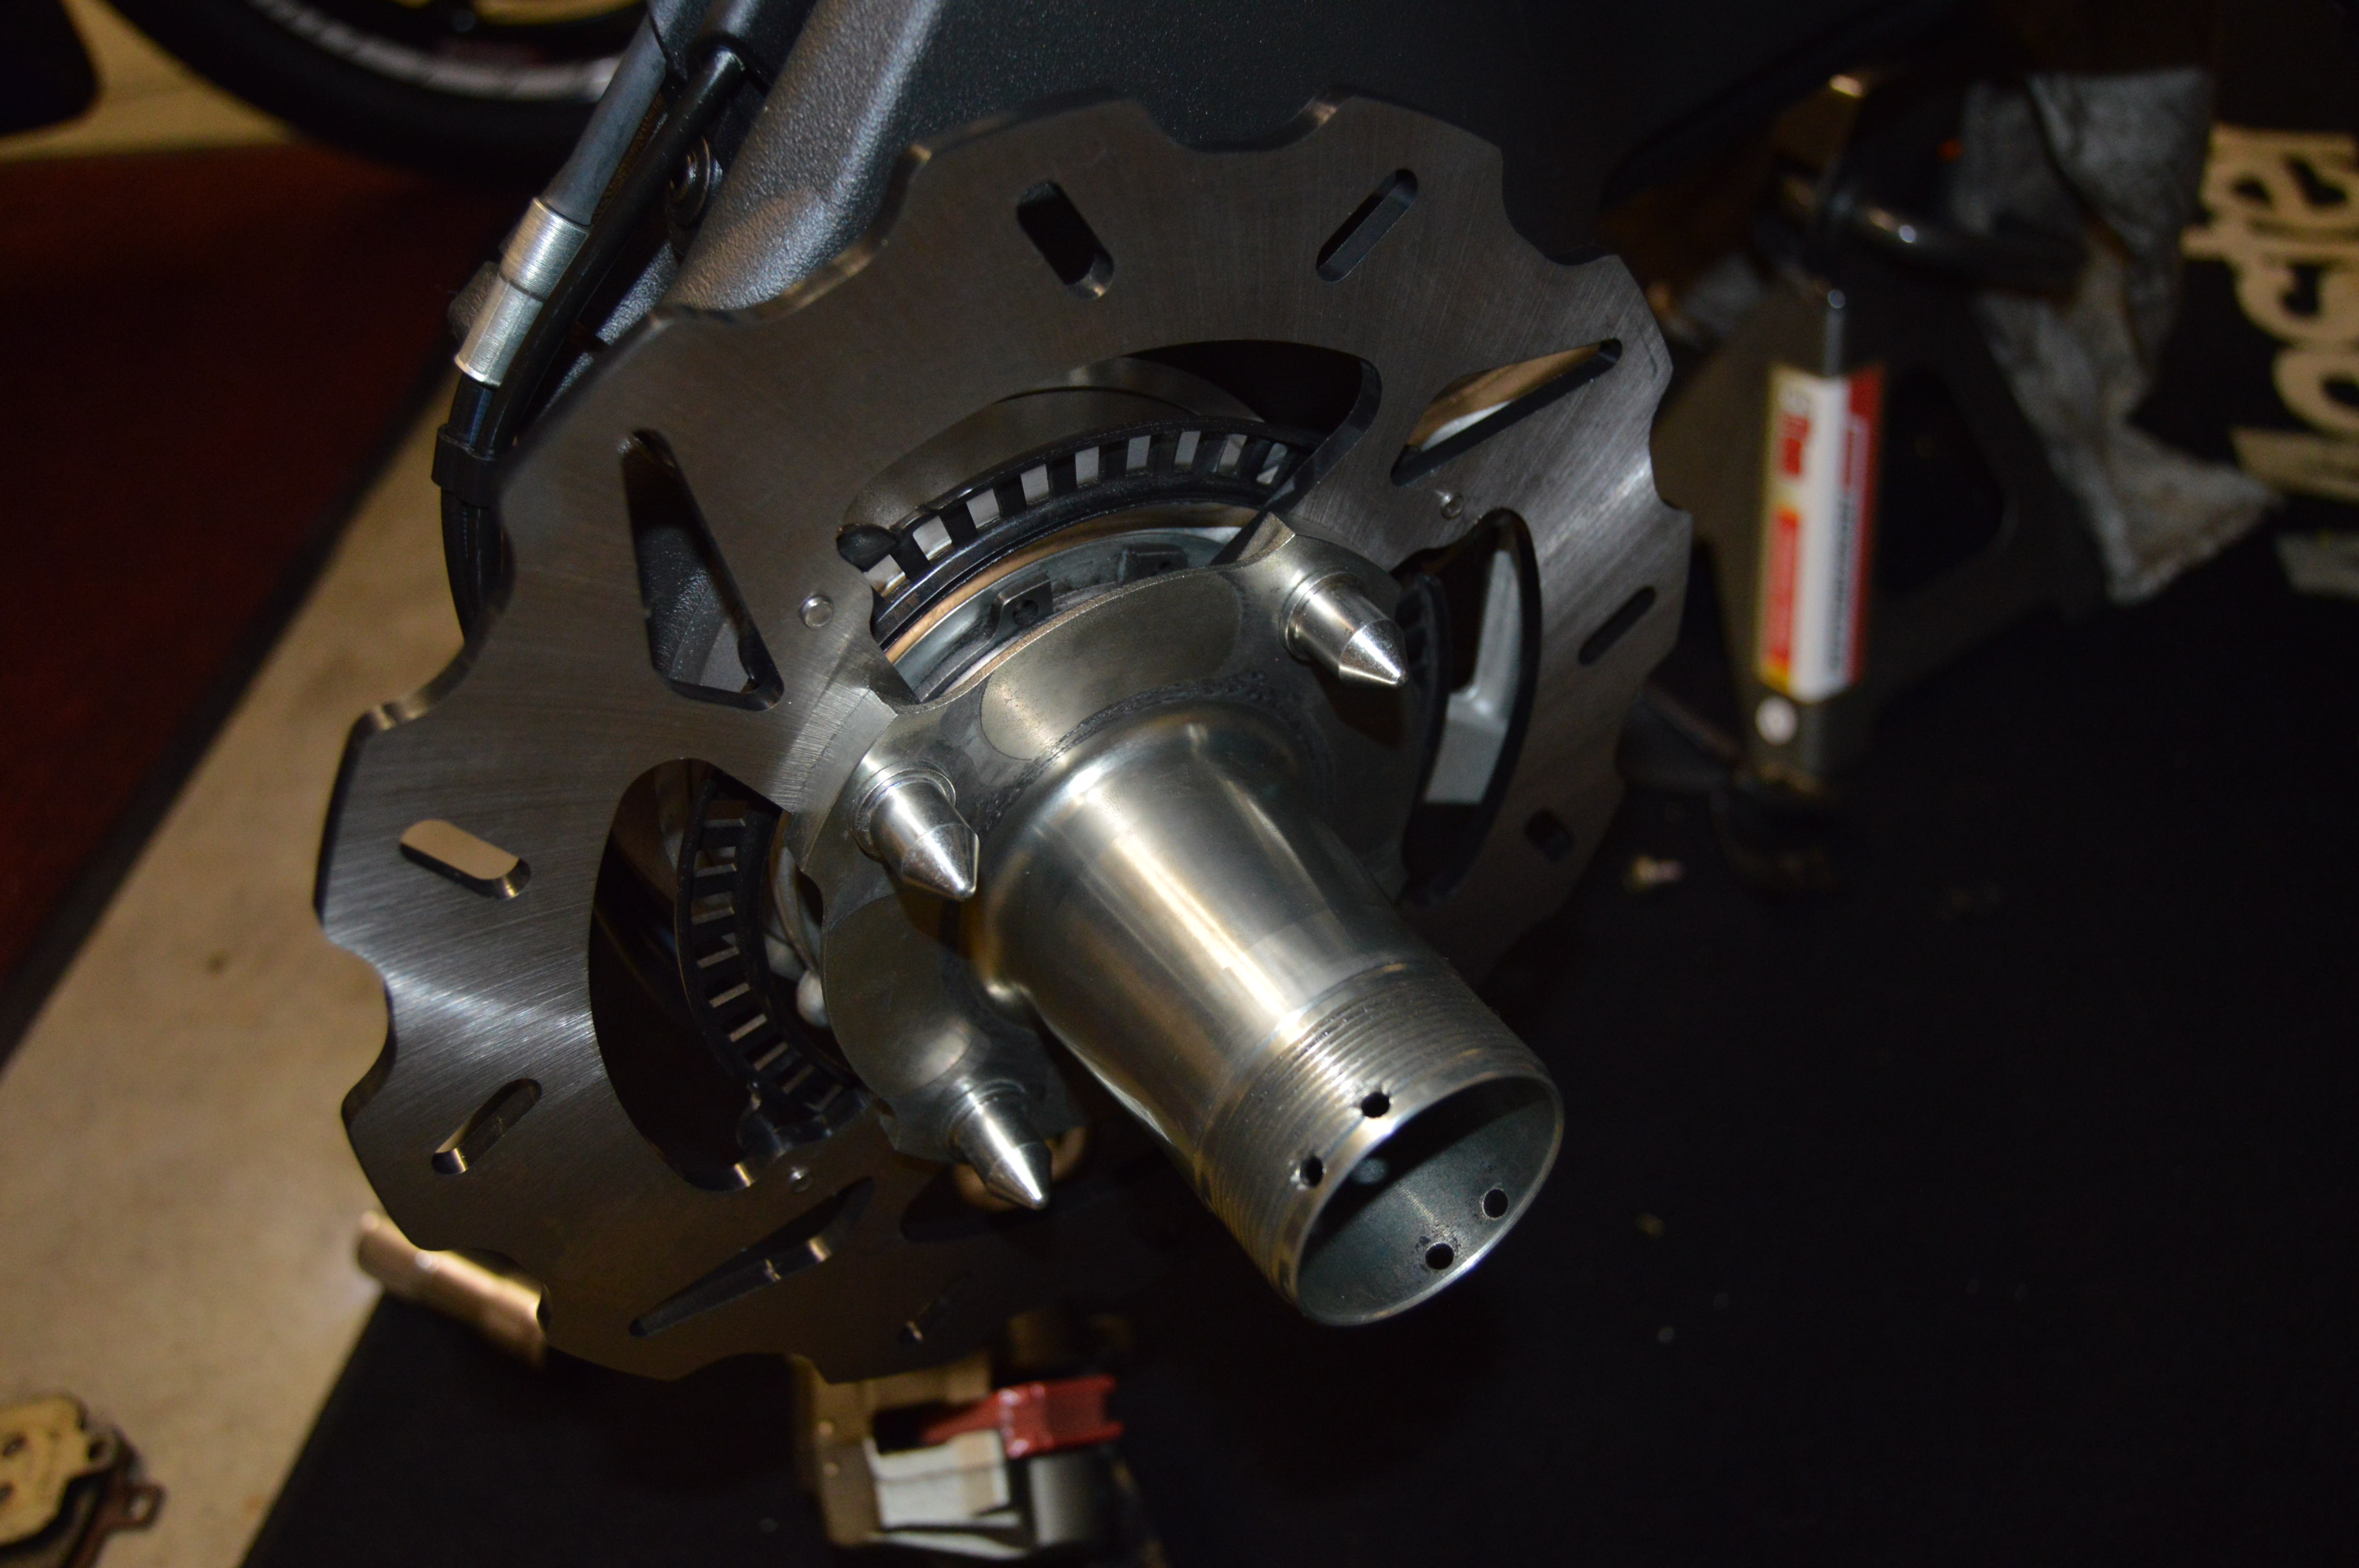
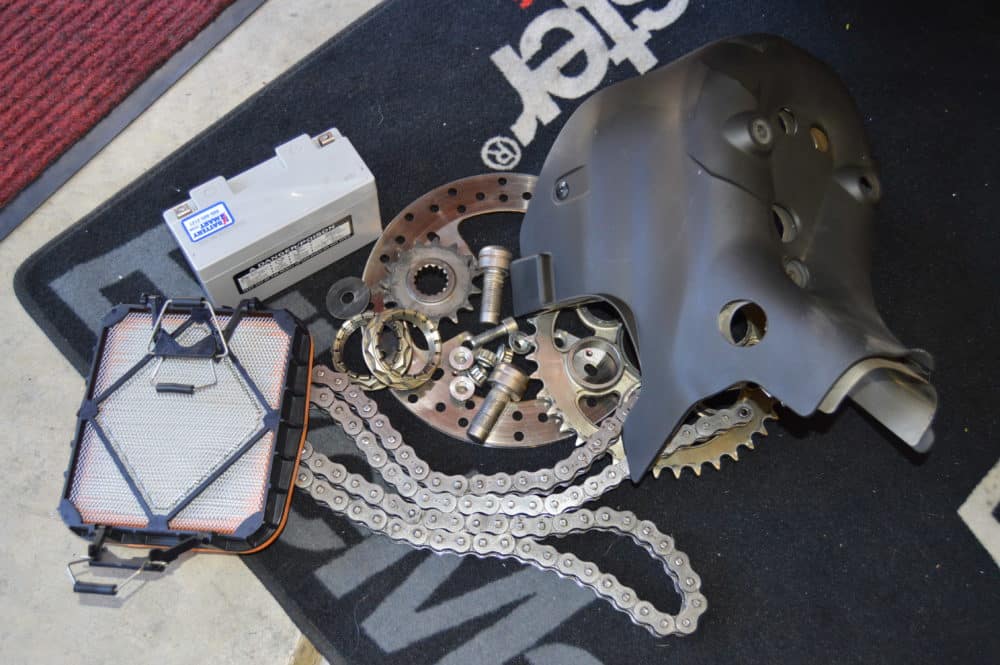
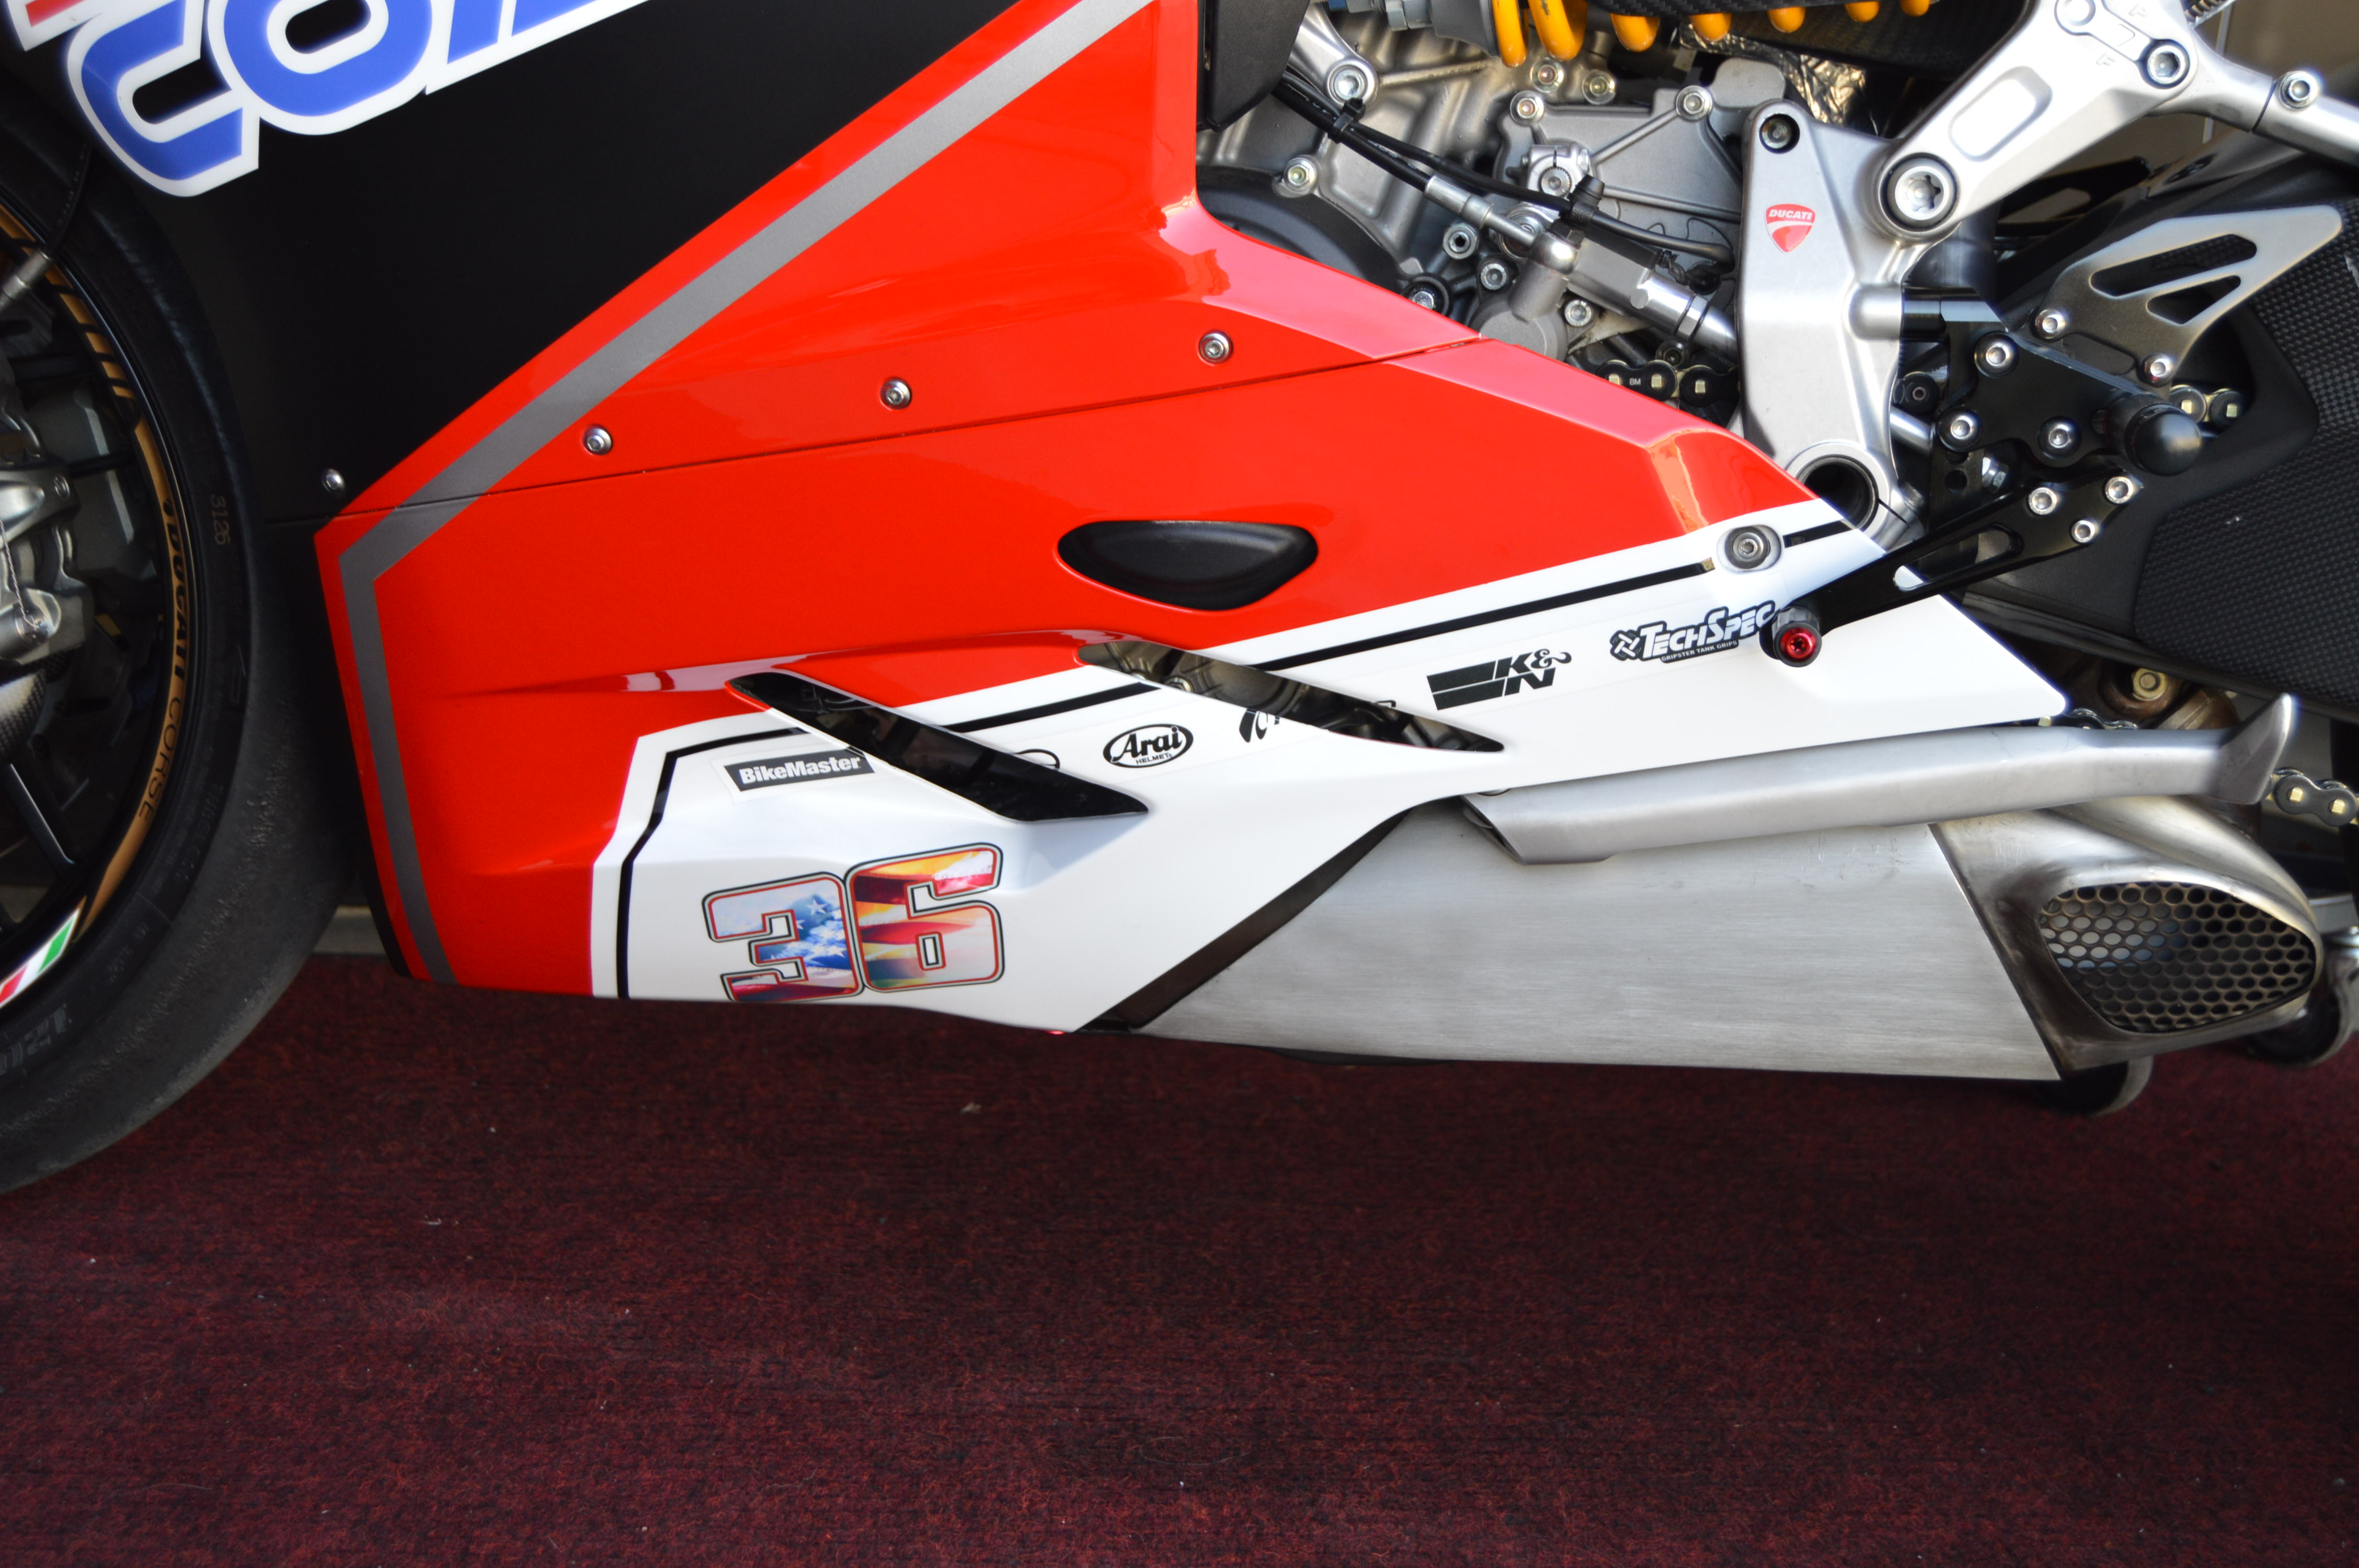
 The one sided swing arm of the Panigale hosts the rear brake rotor and the sprocket carrier (which gets its own post later). I’ve replaced the rotor with a way lighter one and the brake pads to Bikemaster sinter metal pads. This stuff is…
Ducati Upgrade 5
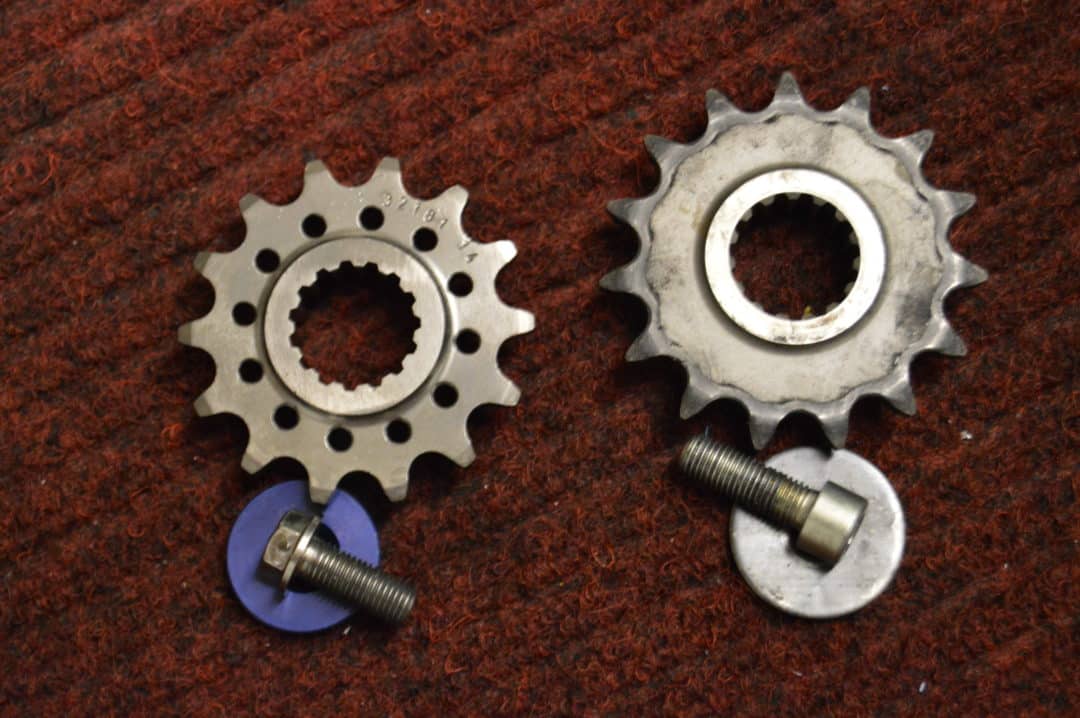
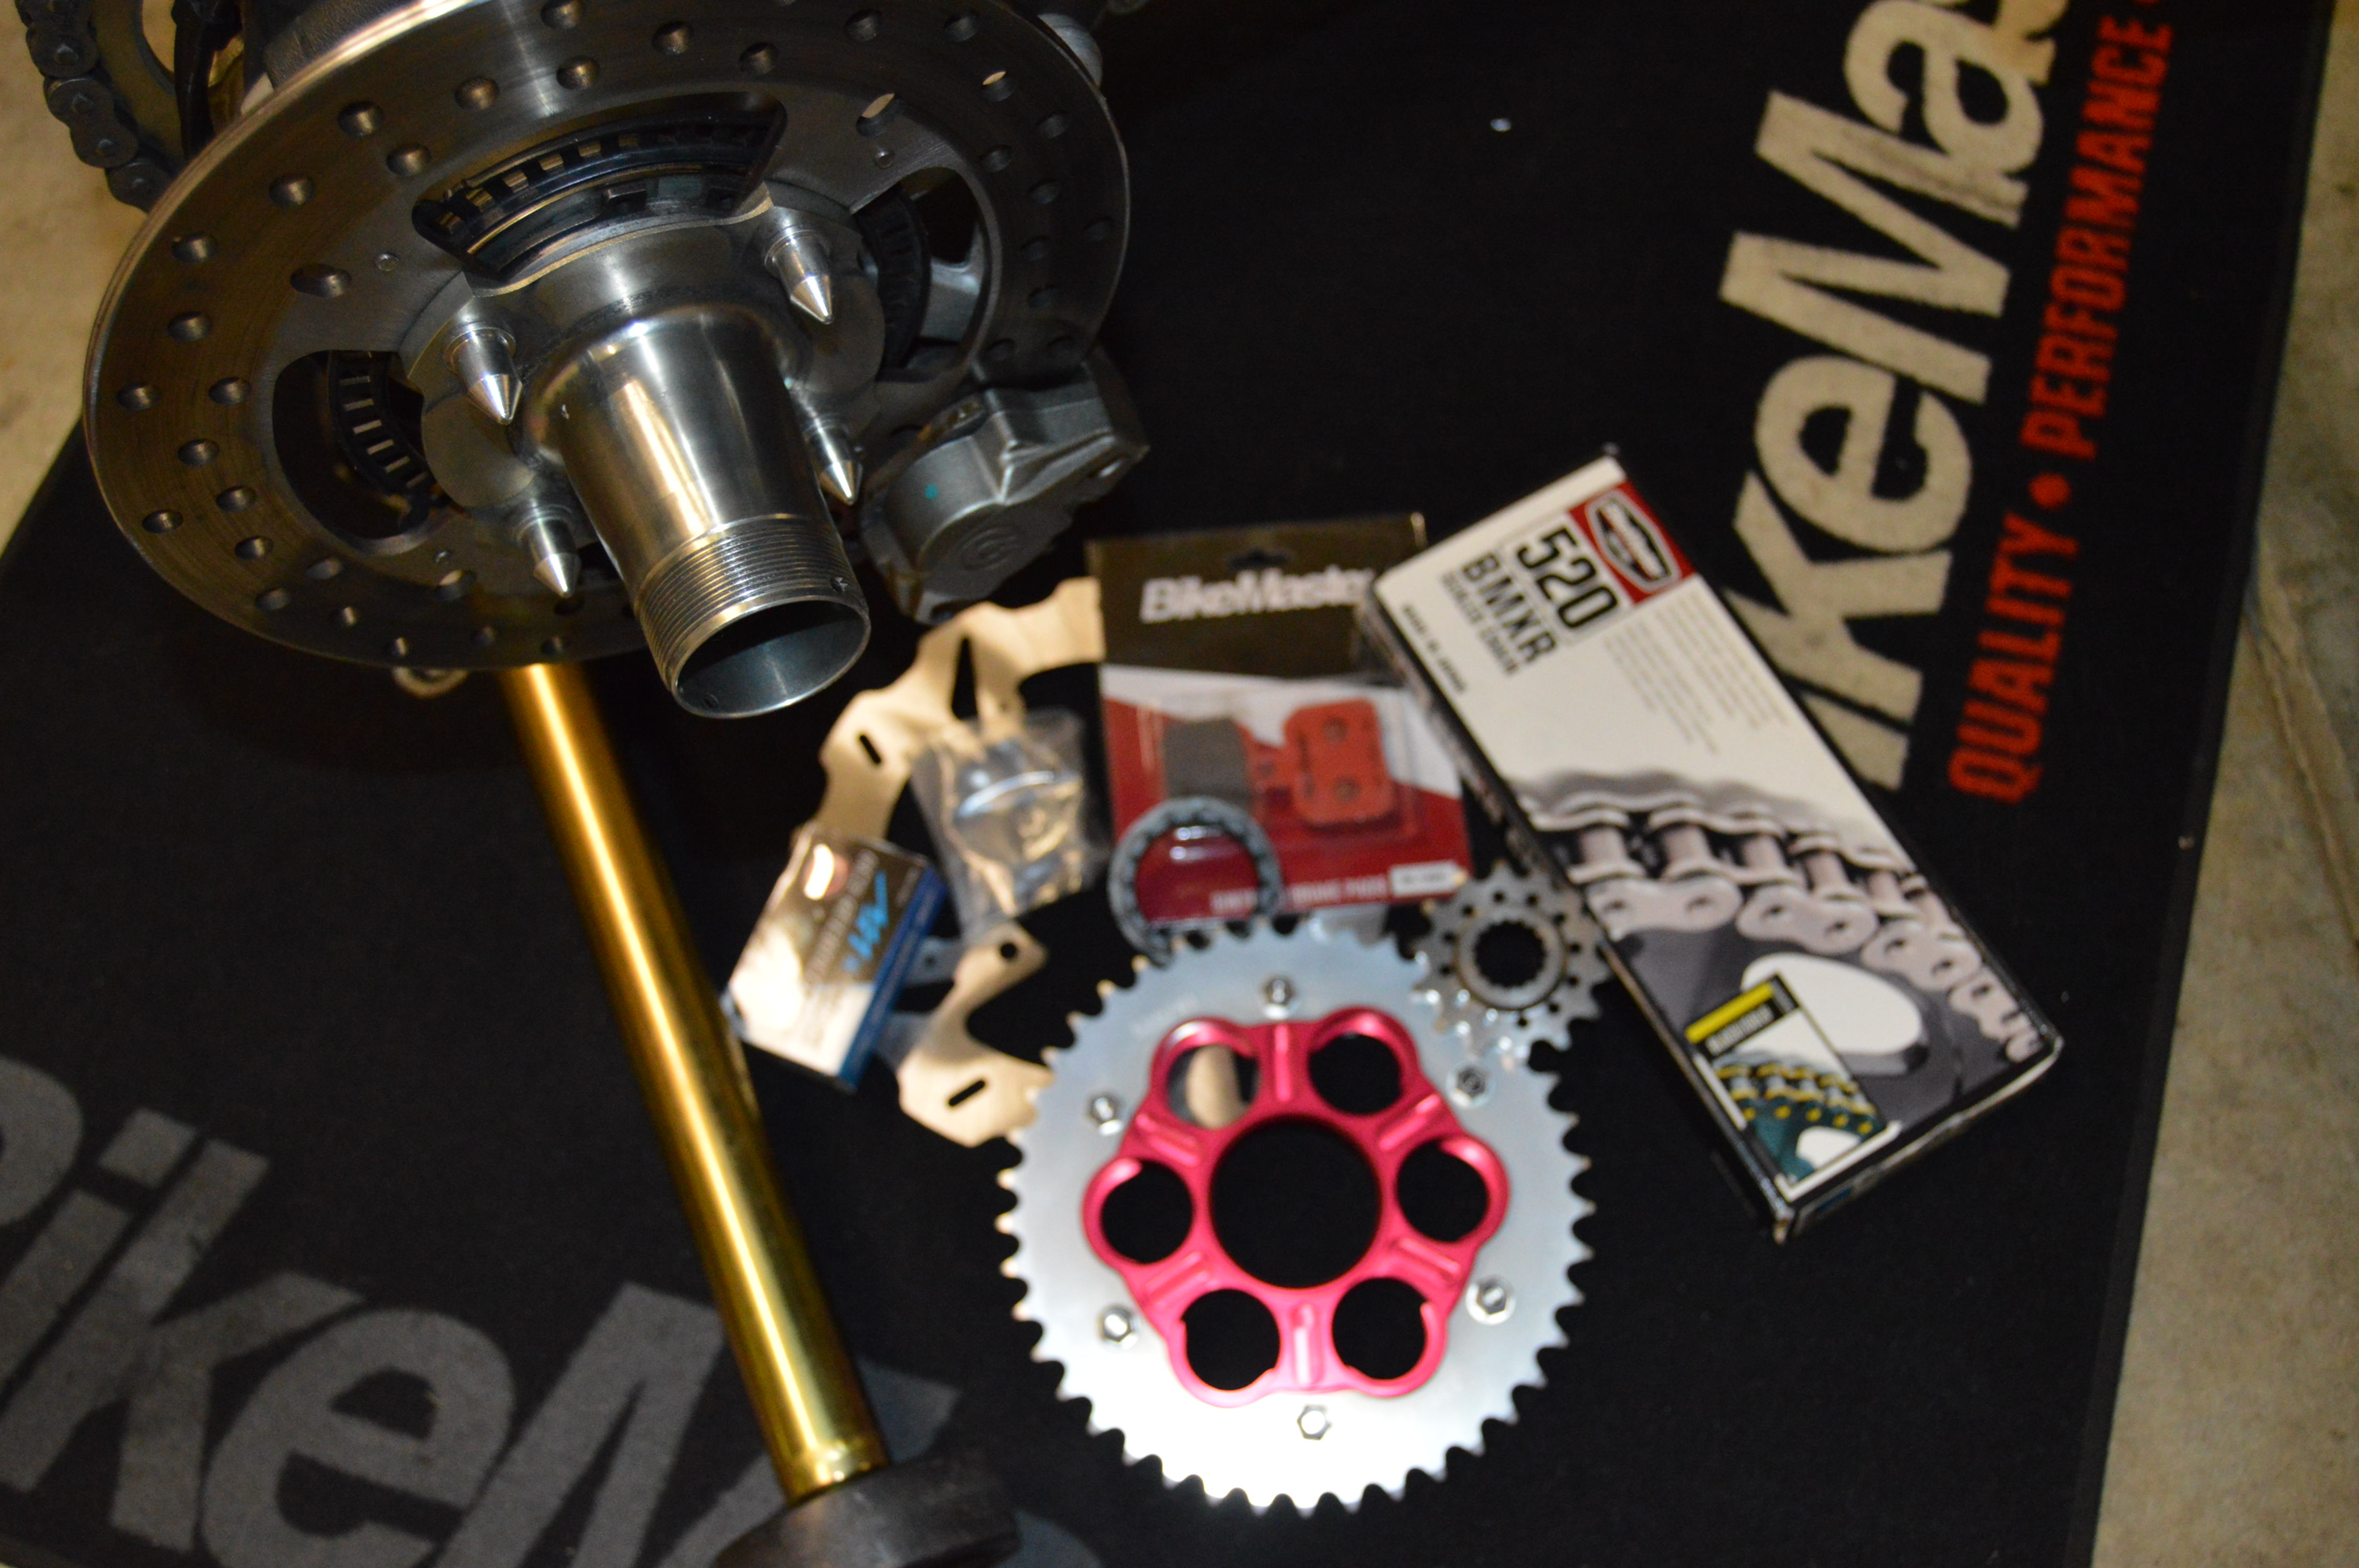
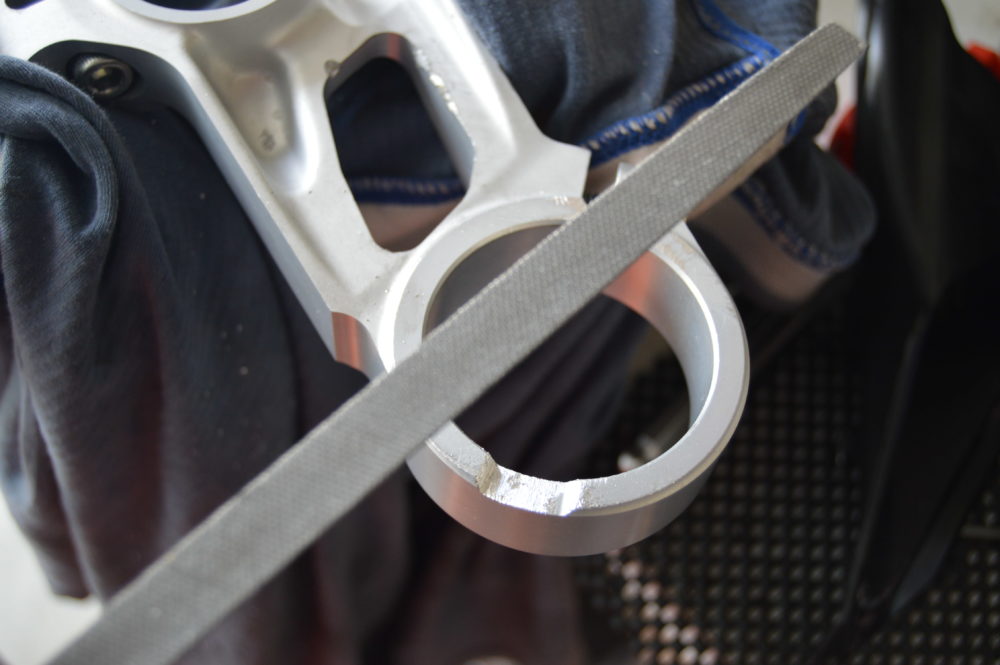
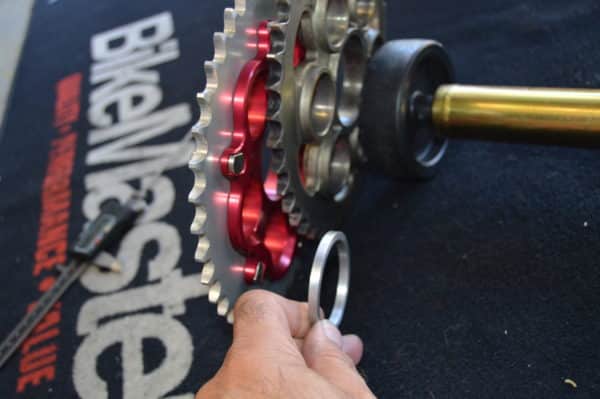 That was quite a biggy. In order to reduce rotating masses, I wanted to convert from a 525 to a 520 chain. The way lighter (50% less) sprocket carrier was standing 5mm off center so that I had to add a spacer, and to shape off those 5 on the…
Ducati Upgrade 6
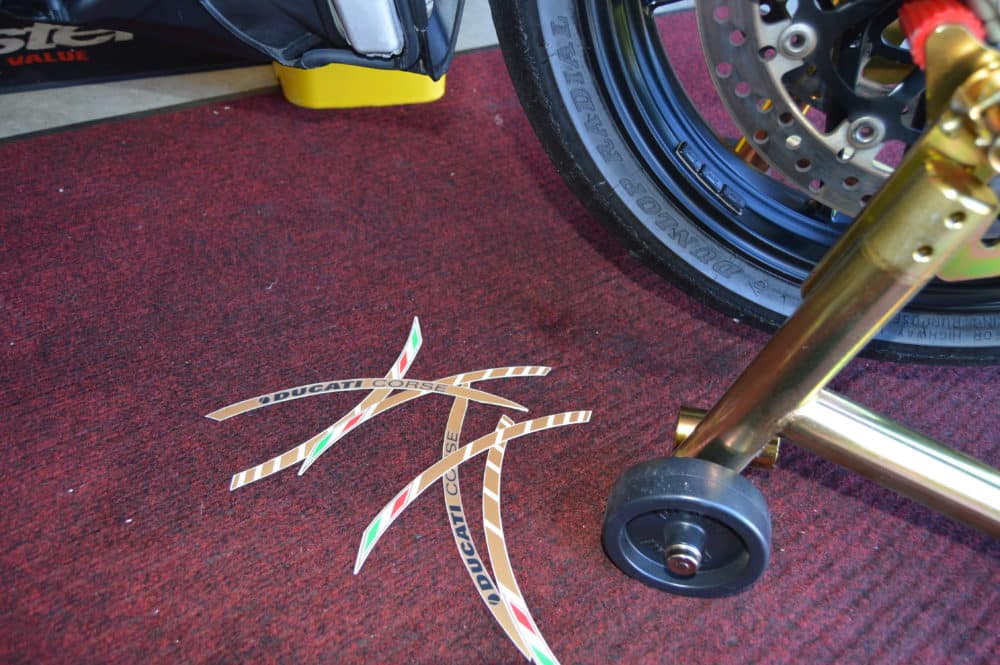
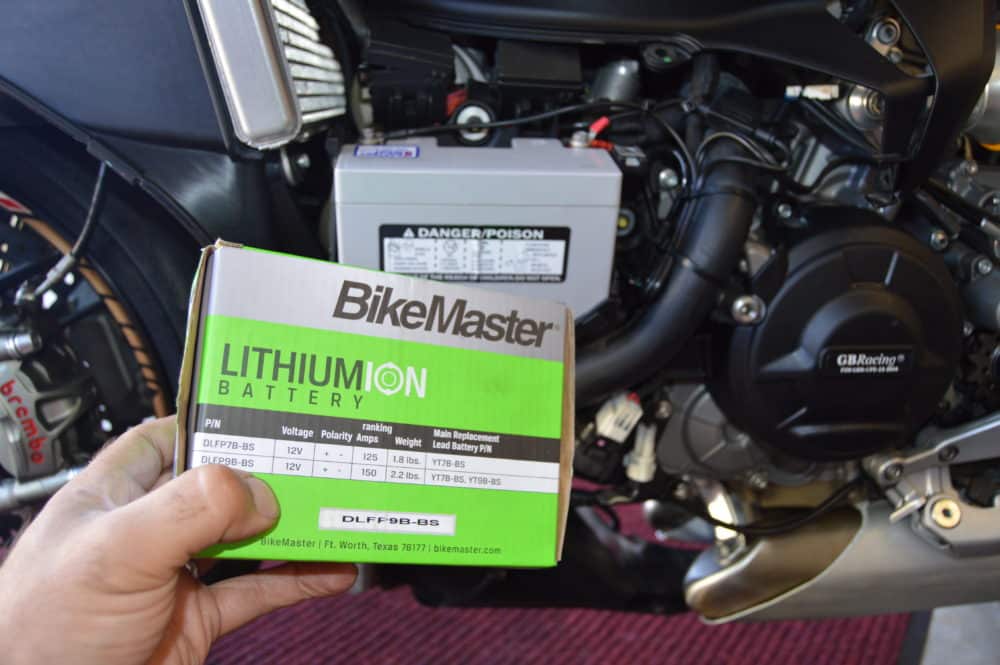 I did some cosmetics… put fancy rim stickers on. Yea really… in gold. Shut up and just take it, cuz’ I love them. Wait until you see the entire thang. I got a brand new Lithium battery from BikeMaster, and I couldn’t wait to show you what difference…
Full story here
Ducati Upgrade 7

 I’m hitting the finish line with the updates which I wanted to get done for the Superbike-Coach track day at Thunderhill West Raceway on 8/5/- so next Saturday. First off… I am not willing to spend AT LEAST $4000 for a full exhaust system- nor…
Ducati Upgrade 7b
…couldn’t wait any longer to let you guys hear ‘Cleopatra’. After all the mods to the exhaust system (stage 7a) has been done- I moved forward and installed everything. Now… the video doesn’t really reflect what was going on in that garage. The microphone can not catch all those octaves and the pressure wave this thing is pushing out. I can’t wait to get it on the track on 8/5/ (where I still have some spots left btw: https://www.superbike-coach.com/…/track-day-thunderhill-wes…). Come and feel it yourselves…
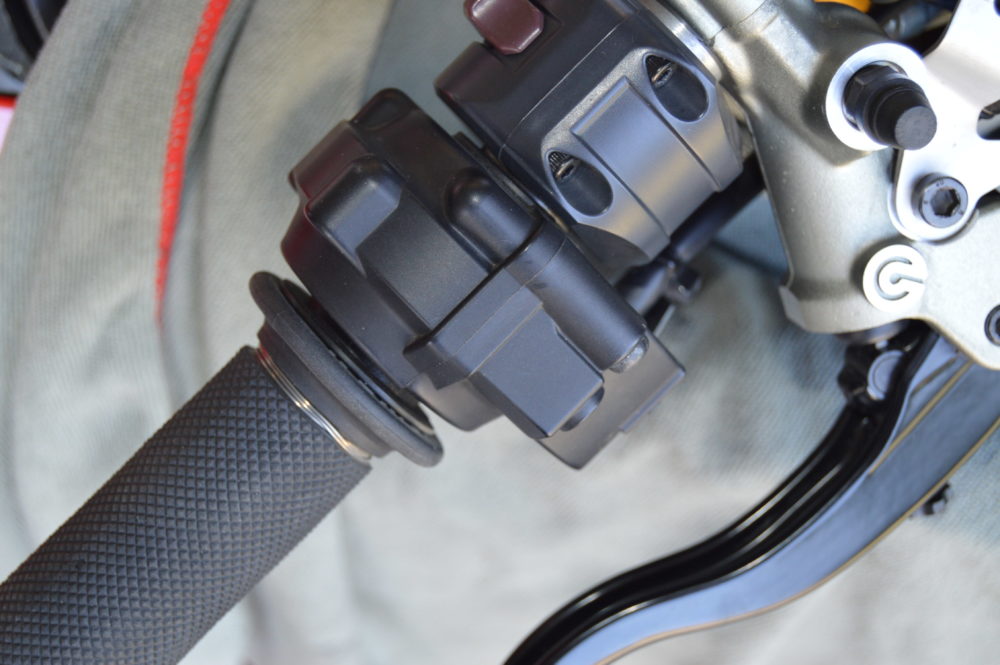
Ducati Upgrade 8

 I thought this is something I should add, because it’s important as the upgrades itself, and this is to adjust it all right. You might think that the position of the damn clutch lever ain’t that important, but guess what… it add’s up. At my Superbike-Coach…
Ducati Upgrade 9
 I pretty much rode Cleo like a raw egg at my track day on 8/5/. Too much going on to be focused. The track gig showed some issues which I’ll be working on in the next 3 weeks: brake rotor wobble, poor brake pads, real bad front end, carbon heat …
Ducati Upgrade 10

 Just unfriend me if this makes you feel weird… but letting me play with my new toy brought me the fun for ‘riding for myself’ back, if you can imagine what i mean right now. I started doing the minor work at the front end first since I am still …
Ducati Upgrade 11

 After doing an ECU flash (upgrade 9), I was still very unhappy withe the “city” riding abilities a Panigale comes up with. Disappointing, but that’s maybe the difference a customized map via dyno runs can make. But since even this …
Ducati Upgrade 12
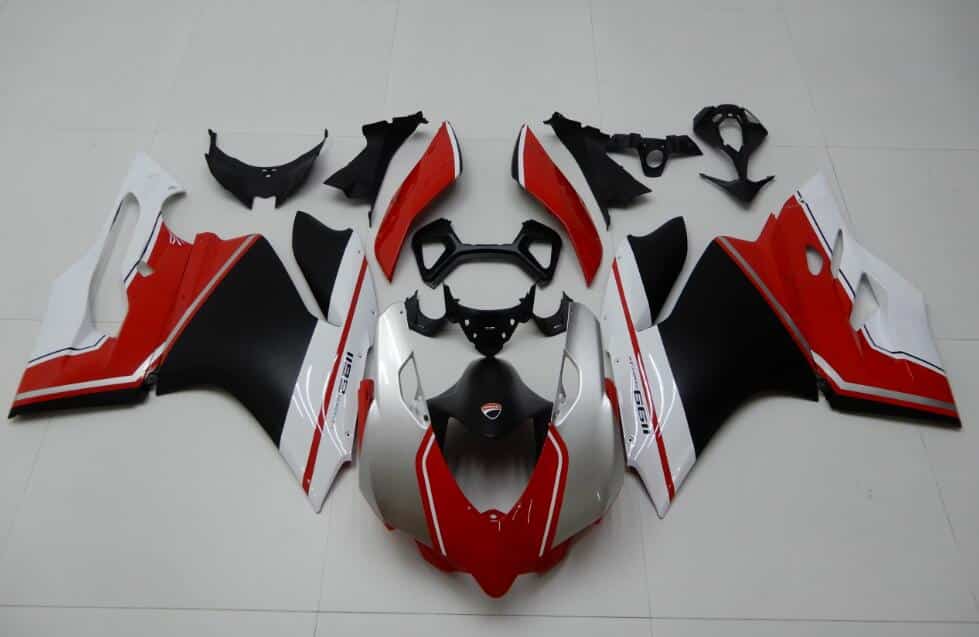
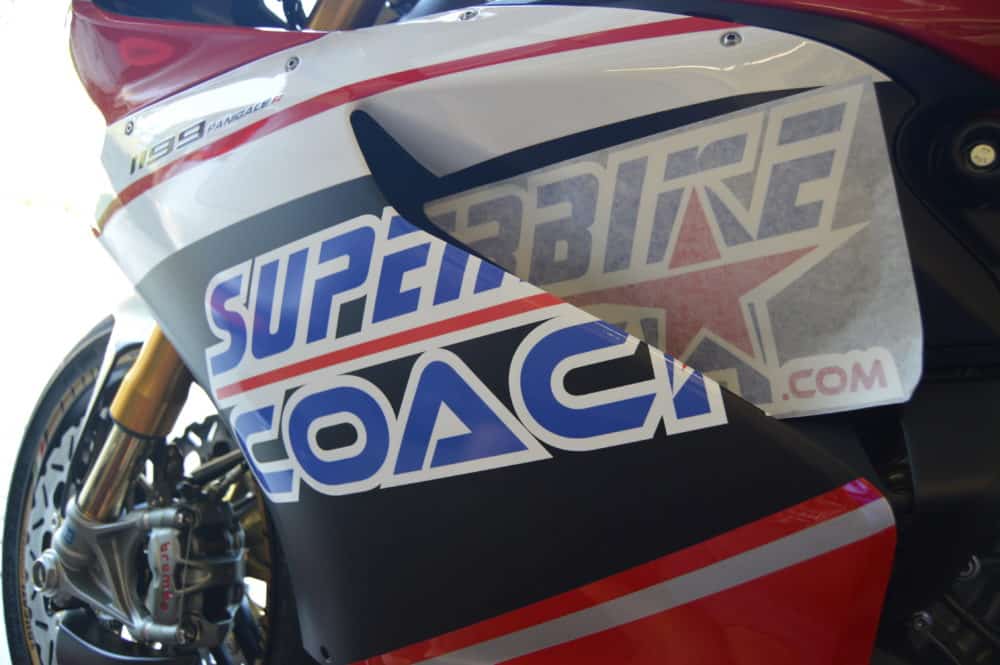
 Finally the race fairings have arrived, and I am highly impressed by the quality and paint job they did to it- exactly as I put it down to paper about one month ago. A fully customized paint job- clear coated on ABS plastics, including …
Ducati Upgrade 13
 It was time to put ‘Cleopatra’ into her new War dress, but I was quite nervous about the fit. Back in Europe, I’ve installed a aftermarket fairing kit ones to a R1, and some of those mounting holes were half an inch away from its destination. That…
Ducati Upgrade 14
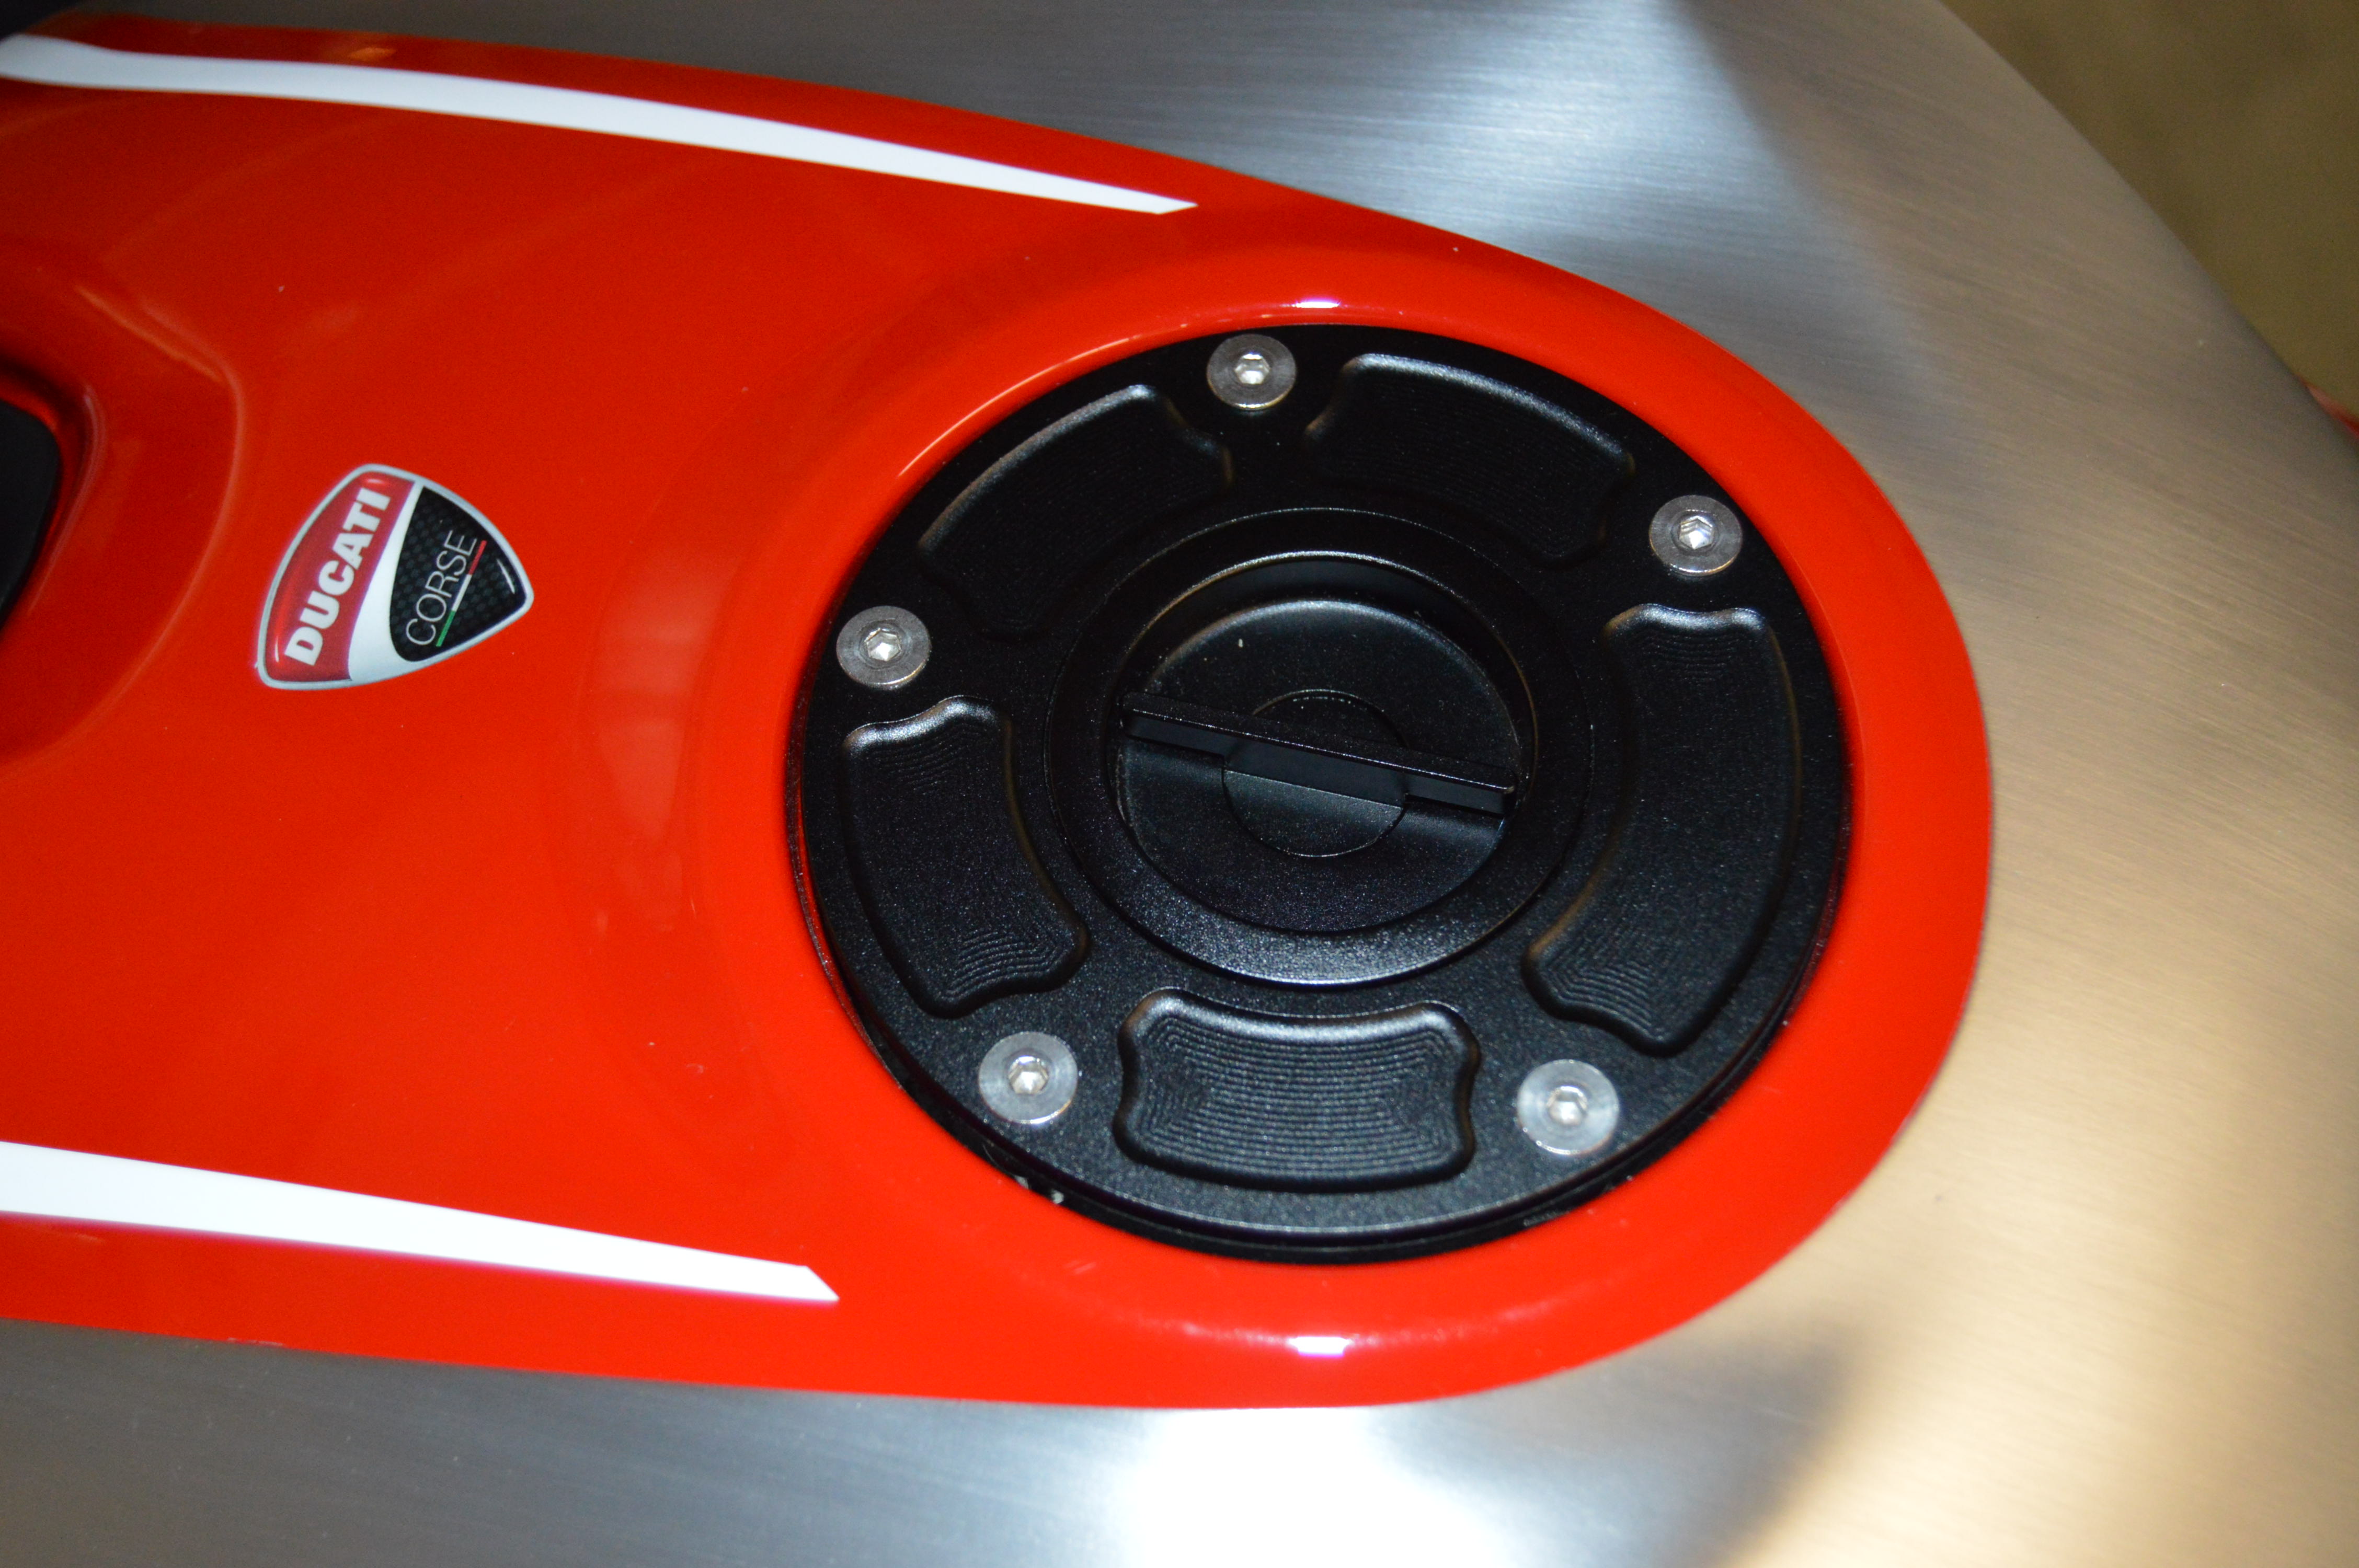
 The new paint job was done and it was time to go into the details, such as to integrate the Ducati gas tank into the design. It was planned from the beginning, that we don’t want to mess with the beautiful design of the stock 1199R tank. The brushed…
Ducati Upgrade 15
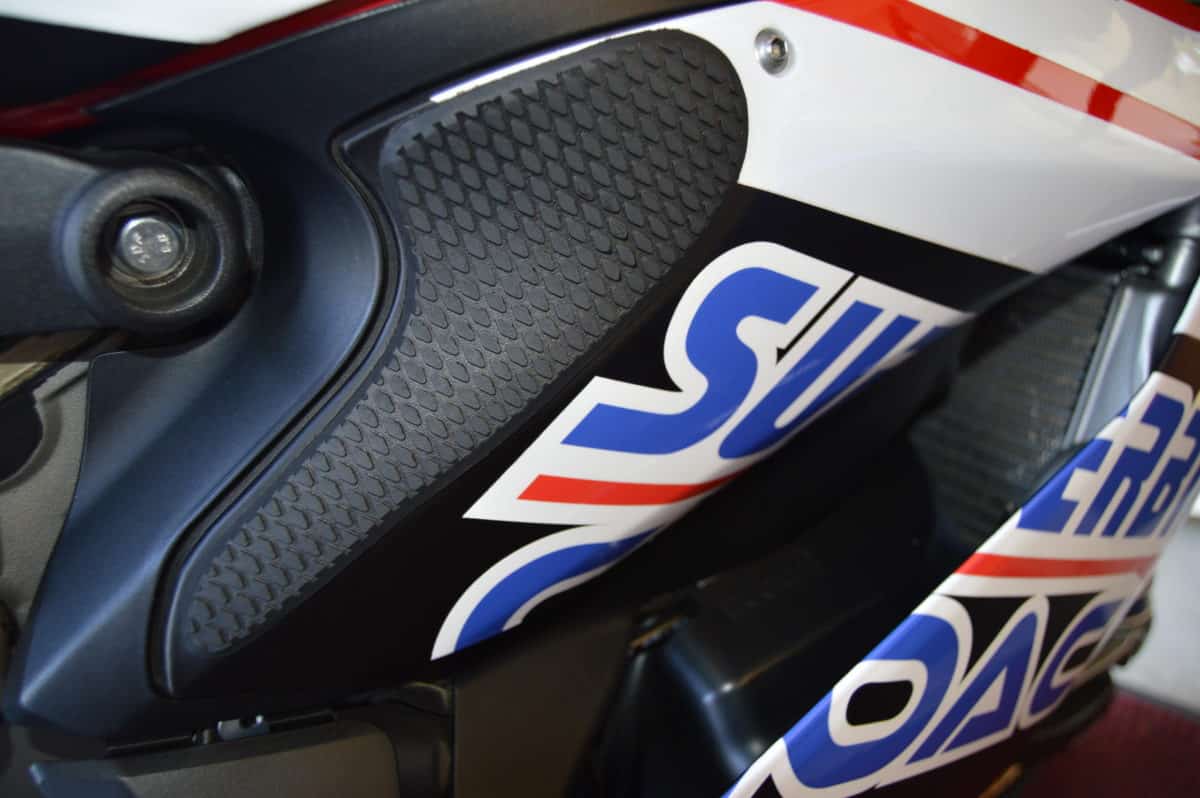
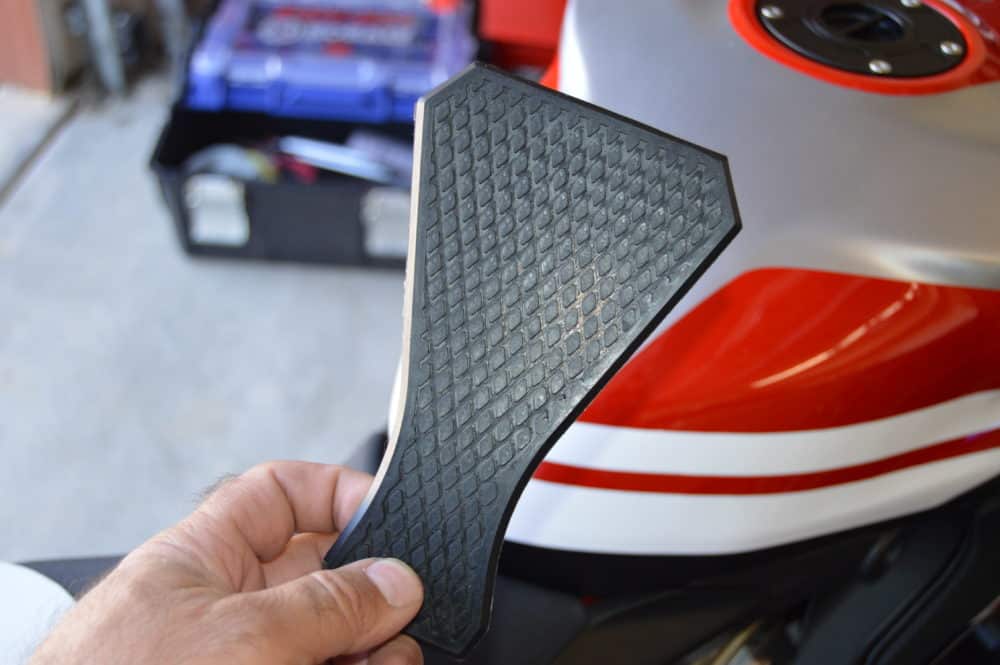 Protecting the gas tank with some kind of pads makes sense in multiple ways. Let’s just name scratch protection, resale value, or upgrading looks. For me, and that goes for decades of riding on and off race tracks- the main reason is to…
Ducati Upgrade 16
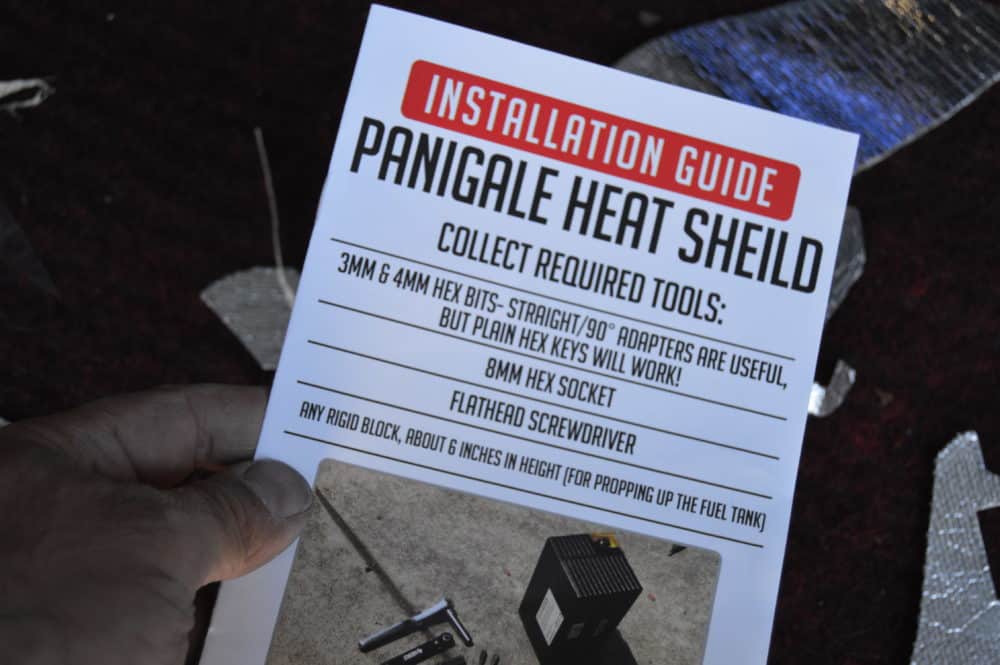
 I can tell ya… the Ducati Panigale is a beast, and truly a challenge to your balls- also in regard heat! The 1199R is a race bike- period. People are surprised how hard to ride it actually is. The faster you go- the better it is, but the slower you go- the more…
————————————————————–
How to pick the right helmet size
If you are not a professional MotoGP racer, you probably won’t get much attention of a helmet factory. While these boys getting spoiled beyond the actual design- they also have customized shells and liner/pads to give the perfect fit- while you have to deal with standardized sizing.
 The good news- at least the prime helmet manufacturers have a highly strategically selection of standard sizes for their lids which covers the demand very well. In case if not, then a big verity of lining and cheek pads can make the difference. Again… I know that at least the Helmet Top-Guns like Arai and Shorei has this on their portfolio.
So, based on these facts you should not have problem to find a decent size for your noodle, if it’s not extremely out of shape. The problems are mostly the riders themselves when purchasing a new lid- or, sometimes untrained motorcycle gear staffs who often seem to pick a size for their customers to reduce stock.
No, I’m not pulling this out of the blue… I’m seeing almost every day that especially brand new riders (which are mostly depending on size suggestions of that kind) who are coming to Superbike-Coach classes or 1on1- that their helmets dangling around on their heads or even bouncing down to their noses. Don’t laugh, that is really happening.
Let’s have a look at how important it is to pick the right helmet size in general, so here is my logic:
 a too big helmet is louder
- bounces into sight
- can cause more injury as necessary
- can even fly off your head as you crash
- shaking can cause distraction
- might feels OK in the store, but not comfy on the ride
How do I know?!… I’ve been there. I am a burned child, because my helmet flew off my head at my first ever crash. Of course it was all closed, but the quality back then compared to today- oh gee… my Arai Corsair is like a Ferrari around my head today. I’ve picked that helmet back then myself too, and I didn’t spend much of a attention to it as well. So here are two things I’ve learned, how a helmet has to be in the first place:
- Damn expensive
- Snug as hell
Let me explain point one. The price of a helmet displays its quality and that includes the test procedures a product like this underlays, materials, safety features, functionality, aerodynamics and tests, design, testing staff (racers often included). All of this becomes handy for you when crashing. At that point I should remind that you have only that one head which hosts your most valuable organ, and that should be prioritized over some fancy rear sets.
Point two is easy to put. I have my lids sitting so snug that I barley get in and out. I witnessed it ones, that a girl at a retailer chose a helmet she got easier in/out with. Horrible! It got to sit so snug that there is no way that you could move it around on your head- or to wiggle your head and to slide the sit of the helmet. I think of ‘as snug as possible’. It might doesn’t feel right in the store, but you’ll appreciate it as soon the wind starts playing with it.
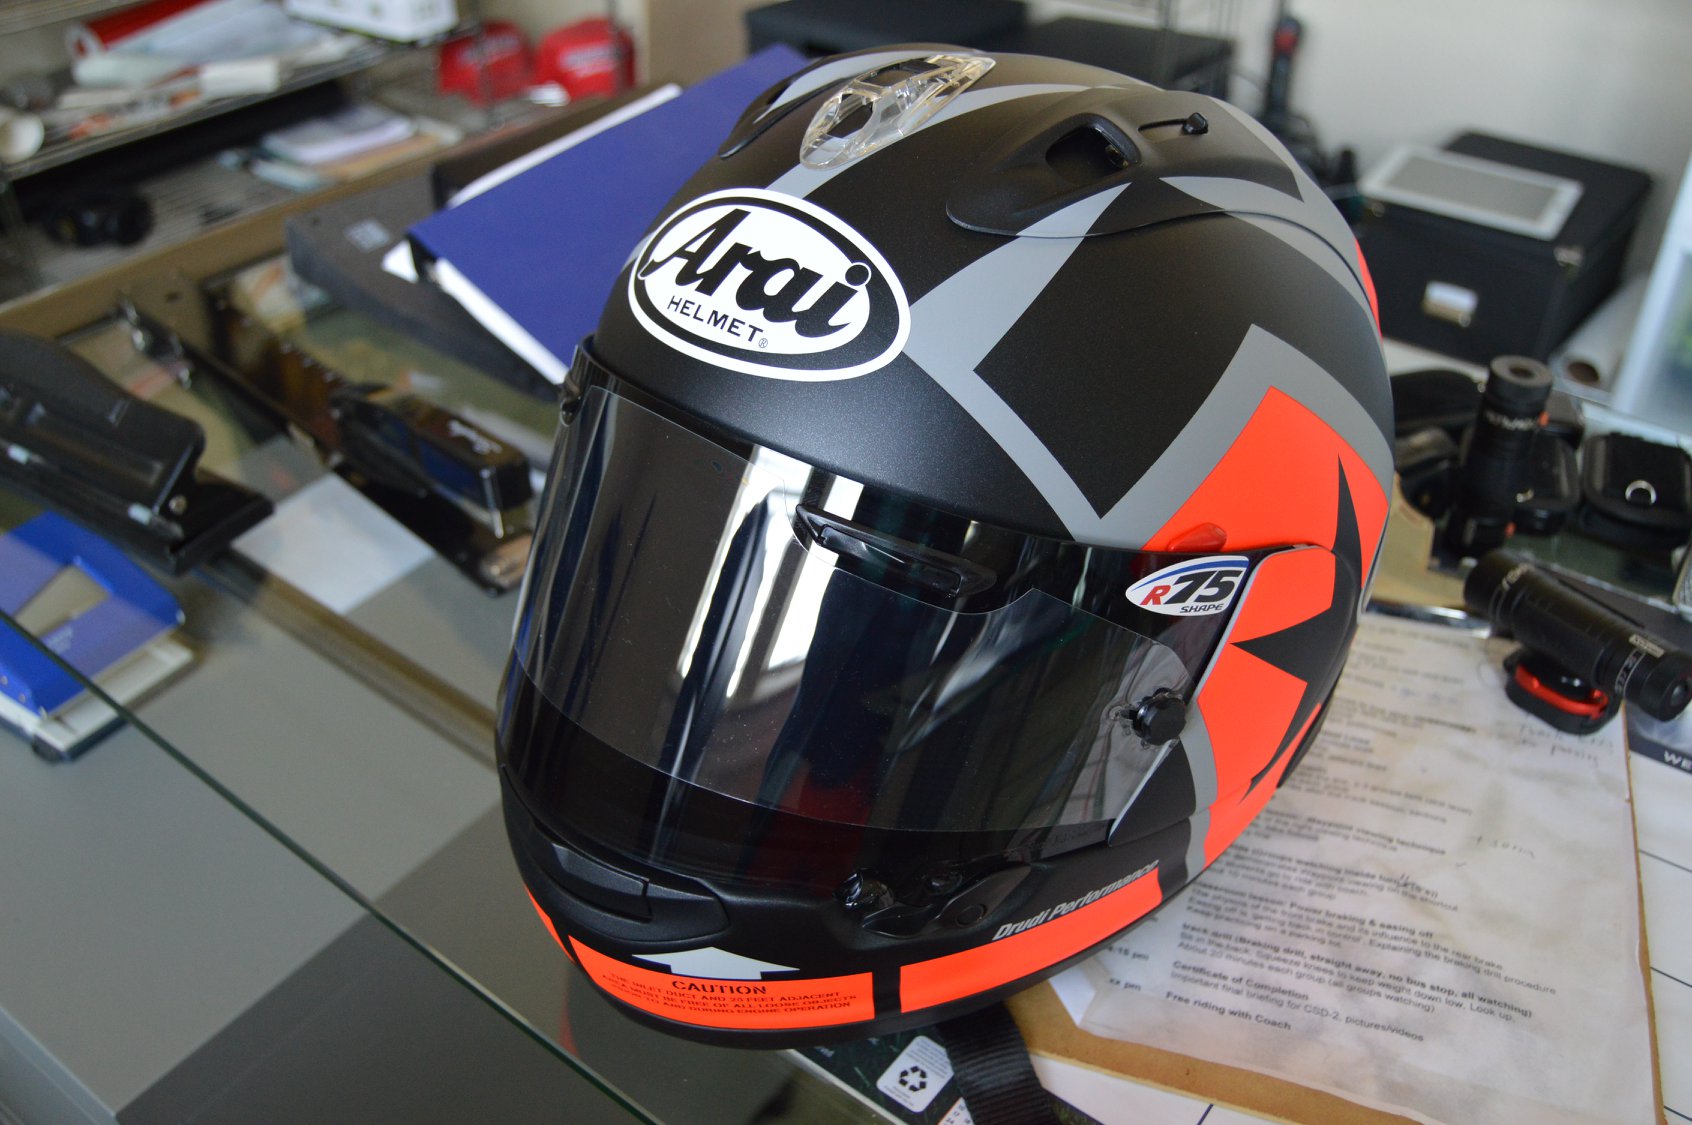
So how to start this out?!
Have a friend measuring your head to evaluate the base size of your lid (Arai chart above). That will be also THE MAXIMAL BIGGEST SIZE YOU’LL PICK. Try now the next smaller one and see how much pain you can take :-)
With each size you try this: Shake, wiggle, try pulling it off (closed strap), if your ears are not squeezed, if your nose doesn’t touch the chin guard. The moment where your skin and scalp sticks with the lining… you’re good. Any additional movement shouldn’t be tolerated. If you hang between sizes- invest in different pads to make the helmet yours. You’ll get use to it as long your nose and ears have some clearance in there. I personally use size M for my Arai Corsairs and add a pad on top of my head because I like it sits slight higher, but let me explain that in my little video below:
Headcoach Can Akkaya Video Blog
————————————————————–
How to Change a Motorcycle Tire
We at Superbike-Coach have quite a bit of tires to change during a year and we use to let local dealerships do this job, but a recent price raise to flip and balance tires on rims by about 80% is unacceptable. Well, at least for us. So BikeMaster gave us their ‘Tire Change Stand‘ which allows to mount the rim, to break the bed off the rim, and to un- and install tires within 15 to 30 minutes.

What you’ll need besides the tire changer is:
- 3x tire irons
- Valve removal tool
- Rim protectors
- Pressure gauge and air pump (or a local gas station)
The total is about $100 in tools, which means it pays off at the first tire change you do. Besides… a regular Sportbike street  rider probably has to change tires twice per riding season. You make the math.
I just swapped tire on a rim within 15 minutes, and that was the first one I’ve ever done. Having the right tools helps, and it went much better on the second tire. OK, a helping hand was necessary along the mounting part, but with the saving got us a nice steak and a beer :-)
So if you like working on your bike and if you are tired of price raises of astronomical dimensions, then this is the way to go. Step up your game riders! :-)
Headcoach Can Akkaya, Superbike-Coach Corp
————————————————————–
A better way to control throttle and brake
I see it so many times. 95% of all riders actually don’t have a decent throttle/brake technique. Furthermore, they actually live with the lever position their bikes coming with The outcome is actually shocking and it surprises me each time that they miss out on a conclusion themselves.
Most of the time the levers are sitting too high. Just that causes sleeping fingers, tired wrists and especially a hell of a delay. That delay is time you can’t effort to spend away in a tight situation. The video below covers not just this- it also teaches you a throttle/brake trick you need to learn. You’ll feel the benefit of it in the first minute, so get to it!

This Coach Tip is presented to you by Racer Gloves USA
————————————————————–
How to remove a destroyed bolt
There is ‘that one bolt’ which extends a simple job in regard time, dirt, and resources… ONE darn bolt. You know those?!
So I did a brake job on my Multistrada Enduro Pro, because ‘Indy’ was missing braking power, which is already restricted with those knobby tires. The plan: New brake fluid and bleeding air- new pads and cleaning caliper pistons- and 2 new rotors. (Full article here)

————————————————————–
How to clean a motorcycle in the most simple way
A little video about how to wash a motorcycle in the most simple way. A bucket of hot water with dish soap, a sponge and a hose does the job. The most important part is to dry the bike completely and quick. For that part we use a ‘Motorcycle Detailing Blow Dryer’ from BikeMaster.
A Comprehensive Guide to Detailing Your Motorcycle
Your motorcycle isn’t just a mode of transportation; it’s a reflection of your passion and style. To keep your two-wheeled pride and joy looking its best, regular detailing is essential. Whether you’re preparing for a show, extending the life of your bike, or simply taking pride in its appearance, this guide will walk you through the steps to detail your motorcycle like a pro.
Materials You’ll Need:
Before you begin, gather the following materials:
- Cleaners: Choose a motorcycle-specific cleaner for the body, chrome, and wheels. You may also need degreaser for the engine and exhaust pipes.
- Microfiber Cloths: These are gentle on your bike’s surfaces and won’t scratch the paint or chrome.
- Soft Bristle Brushes: Use different sizes for various parts of the bike, such as the engine, chain, and crevices.
- Polish and Wax: Select a high-quality motorcycle polish and wax for added protection and shine.
- Chain Cleaner and Lube: If your bike has a chain, ensure it’s clean and properly lubricated.
- Tire Cleaner: A specialized tire cleaner can make your tires look brand new.
- Applicator Pads: Use these for applying wax and polish.
- Water Source: A hose or bucket of water for rinsing and cleaning.
Now, let’s dive into the detailing process:
Step 1: Pre-Wash Inspection:
Start by giving your bike a thorough once-over. Identify areas that need special attention, such as bugs on the windshield, tar on the exhaust, or grease on the engine.
Step 2: Rinse and Pre-Soak:
Use a gentle spray of water to wet the entire motorcycle. This helps to loosen dirt and grime. For particularly stubborn areas, consider using a pre-soak product.
Step 3: Cleaning:
a. Body: Apply motorcycle-specific cleaner to a microfiber cloth and gently wipe down the body, working from the top down to prevent streaks. Use soft brushes for hard-to-reach areas.
b. Wheels and Tires: Use a wheel cleaner and a specialized tire cleaner to make your wheels shine. Scrub the tires with a tire brush and the wheels with a wheel brush.
c. Engine and Exhaust: Use a degreaser and a brush to clean the engine and exhaust pipes. Be cautious around electrical components, and avoid spraying directly onto the exhaust pipes when they’re hot.
Step 4: Rinse and Dry:
Rinse the bike thoroughly to remove all traces of cleaner. Use a clean, dry microfiber cloth to gently pat the bike dry, starting at the top and working down.
Step 5: Polish and Wax:
Apply motorcycle polish to a clean cloth and work it into the paint in a circular motion. Once the polish dries to a haze, buff it off with a clean cloth. Follow up with a coat of wax for added protection and shine.
Step 6: Chain Maintenance:
If your motorcycle has a chain, clean it with a chain cleaner and a chain brush. After it dries, apply a high-quality chain lubricant.
Step 7: Final Touches:
a. Chrome: Use chrome cleaner and a clean cloth to make your chrome parts gleam.
b. Plastic and Rubber: Apply a plastic and rubber protectant to keep these parts looking new.
Step 8: Inspection and Final Shine:
Inspect your bike once more to ensure you haven’t missed any spots. Polish any remaining imperfections, and give your motorcycle a final shine with a clean microfiber cloth.
Conclusion:
Detailing your motorcycle not only keeps it looking fantastic but also helps maintain its value and extend its lifespan. With the right materials and a bit of patience, you can enjoy a pristine ride every time you hit the road. So, roll up your sleeves, get out there, and give your motorcycle the attention it deserves!
————————————————————–
Coming up next:
 What tires to buy (street and track riding)
- Rear set and lever adjustments
- Do minor services yourself (Oil change)
- What gear to buy

————————————————————–
Interesting Motorcycle Links


Leave a Reply
Want to join the discussion?Feel free to contribute!