I really don’t get it
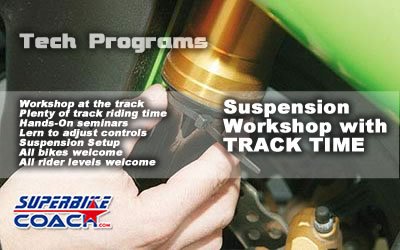
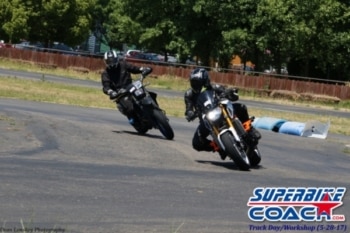
Imagine, there was a class where you could ride all day on a race track for only 49 bucks. No hassle, no distractions, no drama. And now picture all of this would be perfectly organized in level groups on a track which wouldn’t be too far away from you. How cool would that be?! Let’s take it further… imagine that you could add a workshop to it and to get your bike dialed in at the same time by a professional- or even better- you would also get the knowledge, tools, and a helping hand to learn how to do that stuff on your own. That would be killer right!?
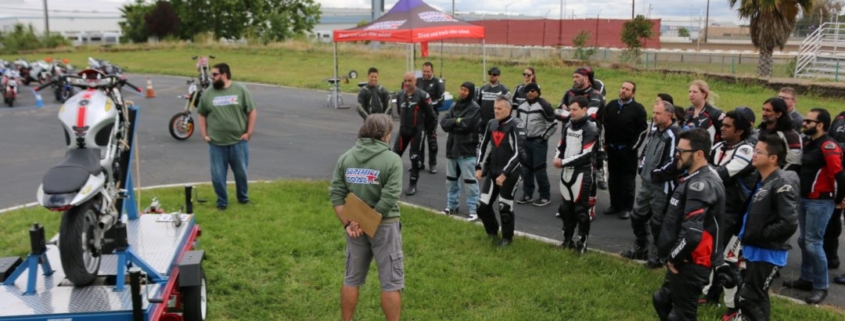
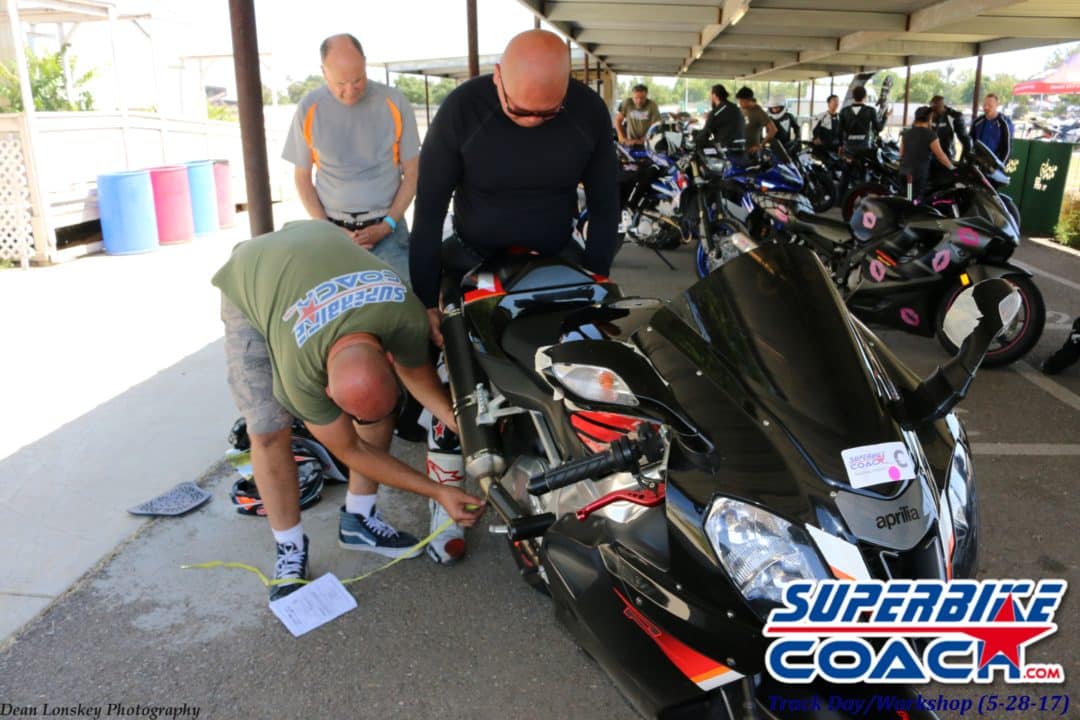 I’ve seen riders struggling with their bikes- or in bad cases- they even get hurt just because of lack of reach-ability. How’s this possible?!… well, you can go install a light switch too high for someone to reach, and see how long it might take to turn the damn light on. And yeah, the subjects seem complex and the fear of wrenching the bike is big. This is why we’re there to check on your baby in regard suspension, lever adjustments, tires, throttle free play, and lots of other stuff. Together with you, we’ll make significant changes for the better. Let me tell you some stories and literally terrible things we’ve discovered in the previous… …classes. There was a female rider in our workshop, and her throttle didn’t return at all. Her answer–“I’m used to it”– is not helping, but we’ve fixed it for her. Another rider installed an aftermarket front brake lever and didn’t even notice that the damn thing hit the starter button housing, which restricted the full potential of the brake down to 30%! Another rider just got a racing rear shock installed for about $2 grands incl labor, The damn shock didn’t work at all and was as stiff as a stick. The rider thought it was all in the setting, but it wasn’t. I bet if he would have lost traction and to crash, he wouldn’t even know that the shock/shop was responsible for a possible injury.
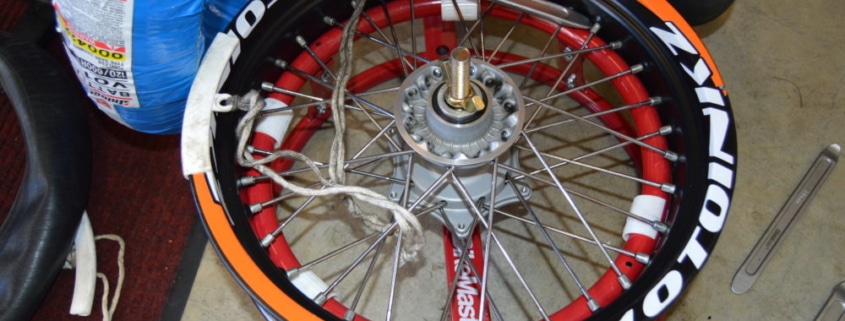
 Quite frightening huh?! But that’s not all by far… missing bolt in the master braking cylinder, cracked handle bars, loose steering stems, leaking seals; and top on the list… a fully destroyed rear sprocket where the f’d up chain just skipped all those rounded teethes. Oh yea, and the rider actually assumed it was a broken gearbox!
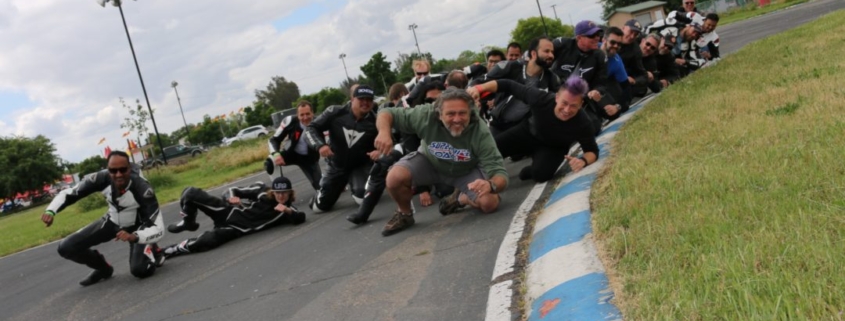
On the suspension side in previous workshops, we helped riders to find their bikes more agile and holding the line better. Some report to literally have a new bike feel. Bottoming out, lack of grip and overly worn out tires they complain about; even after they have had ‘specialists’ working on their bikes. Why?!… because with them, you can’t go out on a track and learn to report- learn to ‘what to focus on’ while going through specific sectors- then to come back and to directly work on issues. With the Superbike-Coach ‘Workshop & Track Time‘ class… you can do all of that and have a fat grin on the face at the same time!
Now… you wanna blame me for pointing things out in all honesty, or the shop which makes a front brake work on 30% only?! Your choice.
Our next Workshop is coming up on 7/15/2018, and you can sign up here for it.


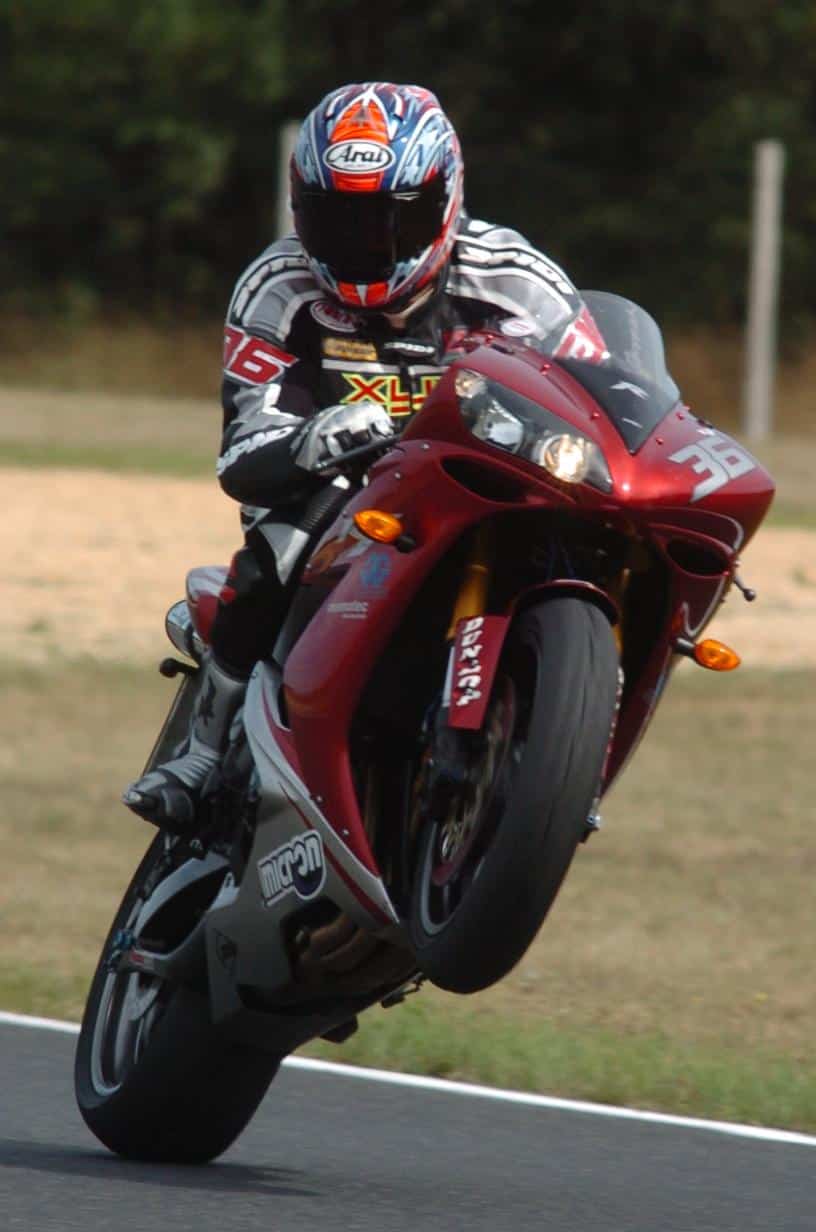
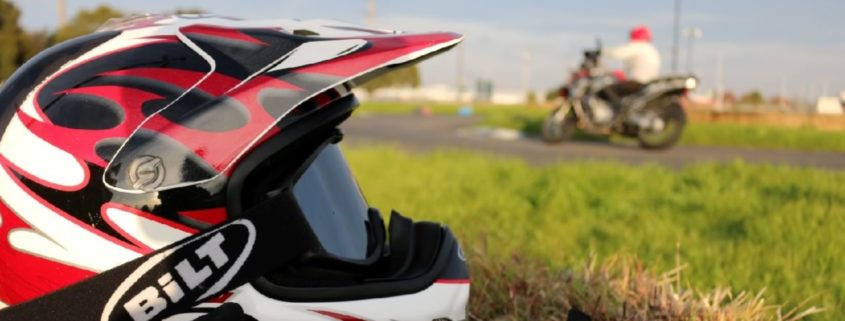
 The good news- at least the prime helmet manufacturers have a highly strategically selection of standard sizes for their lids which covers the demand very well. In case if not, then a big verity of lining and cheek pads can make the difference. Again… I know that at least the Helmet Top-Guns like Arai and Shorei has this on their portfolio.