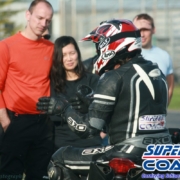
Motorcycles & Misfits, a radio podcast in Santa Cruz, gave us a great review of our Cornering School program. Douglas Little and Kat Taylor could also clear things up which makes me really happy and appreciate their attendance even more. Listen to it from 7:50
https://www.superbike-coach.com/wp-content/uploads/2017/03/170x170bb.jpg155170PageAdminhttps://www.superbike-coach.com/wp-content/uploads/2014/12/newlogo.pngPageAdmin2017-03-06 12:29:032024-01-14 00:47:10Superbike-Coach on the Radio
Ever heard the slogan: “Doing one track day replaces 1 year of riding on the street.”… or something like that?! What about statements like: “Riding on a race track makes you feel your bike on the limit.”, or similar?!
Sounds about right and super exciting huh?! Well… super exciting yes- but it’s not right at all to say- or even to think that this would make you a better rider, because where the hell should all of that coming from all of a sudden!? I am saying here, that nothing will change over night just because you have a track day ticket in your pocket. Straight up… the only thing which will move ‘on the limit’ are going to be your guts.
Here is what’s gonna happen in reality… you probably couldn’t even sleep the night before your track day. Not feeling that you are actually totally tired, because the adrenaline pumps through your vanes while you listen to the obligatory riders meeting, which actually freaks you out even more. Then you move out to your first session. You are stuffed with hope because you’ve been told that those four ‘beginners sightseeing laps’ are making a huge difference for you. In fact it does not, cuz’ you are riding in a massive 20 miles per hour convoy on darn pretty funny lines. This btw is the reason why Superbike-Coach track days are not even offering it, because the moment when you go for your second session… your head is as empty as much as your tires, and you still have no clue where you actually are. We have other ways. Anyway- after lunch break, you go an ask an instructor to follow you around, and after you could probably entertain the entire crew with your chicken stripes- he says yes. 20 minutes later he probably says something about your body positioning and a plain “…other than that- good enough”. But naturally, you are alone again in your very next session, and you are actually doing the same BS you’ve done before. You might finish the day early by deciding to skip on the last two sessions without a good reason actually. In fact though- your entire body feels like you got hit by a truck, and mentally hurt because you just realized how much you suck. You are tired and weak, caused of being tensed up and mentally overwhelmed for hours. And then you spend an hour on a monitor to find ‘the perfect shot’ that photographer hopefully took of you. All High-Res and awesomely tilted- but non of them showing you in much of a leaning ankle… not even in your last session when you really felt best. So you are attacking one track day after another for the next 3 years, and a 5 seconds drop- 15 sets of tires and 2 crashes is the outcome, but you still don’t know why those A riders are 20 seconds faster per lap- or why you are still not dragging the damn knee.
I might sound like I would think every rider is the same- but I don’t, and don’t get me all wrong- I know you are excited and I am totally on your page- but ‘excitement’ and the feeling of being scared to death is all what you’re going home with. At home, you’re looking back and you are probably loaded with wish-thinking that your riding performance felt so much better than usual. In reality though… you probably are more solid on line choice and more confident on your favorite canyon road. I even heard riders talking themselves into a ‘better world’ by noticing that there is a slight chance that the photographer f’d it up, because he did not get you at your deepest leaning in that particular turn.
How dare am I, and how do I know all of this?!…well, maybe by dealing with pro racing, ego, 40 years of riding on tracks world wide and 15 years of teaching riders should give me some kinda experience. It is also not just my opinion, based on this experience, because there are also people out there who admit it, which I think is where all what I am saying goes. It also seems that some riders are becoming ‘blind’ after they’ve been to a track day, because they see themselves ‘grown up’ in terms of riding bikes then. This can be literally deadly wrong, because again… nothing is better all of a sudden. If you are going to do a track day- then do it just for fun, and don’t fool yourself.
I know what you are going through and I can help you to really get something out of your track days, and it doesn’t matter if it is at my track days or someone elses. For example… I’ve coached riders who never got their knee down in 15 years of track riding. Riders who spend time and thousands of Dollars with other schools and track days… I’ve made them drag the living dead out of their pucks in one day for $149 bux, including track fees- free photography and snacks. Just sayin’ …
https://www.superbike-coach.com/wp-content/uploads/2017/02/Trackday38of109.jpg6821023PageAdminhttps://www.superbike-coach.com/wp-content/uploads/2014/12/newlogo.pngPageAdmin2017-02-24 01:49:172024-01-14 00:48:48Does a Track Day really make you a better rider?!
https://www.superbike-coach.com/wp-content/uploads/2017/01/Can-Akkaya-Summarizing-His-Findings-about-the-Braking-Runs-to-the-Seminar-Students.jpg15322048PageAdminhttps://www.superbike-coach.com/wp-content/uploads/2014/12/newlogo.pngPageAdmin2017-01-12 23:58:582024-01-14 23:22:31Coach Seminar on road hazards at A&S Powersports
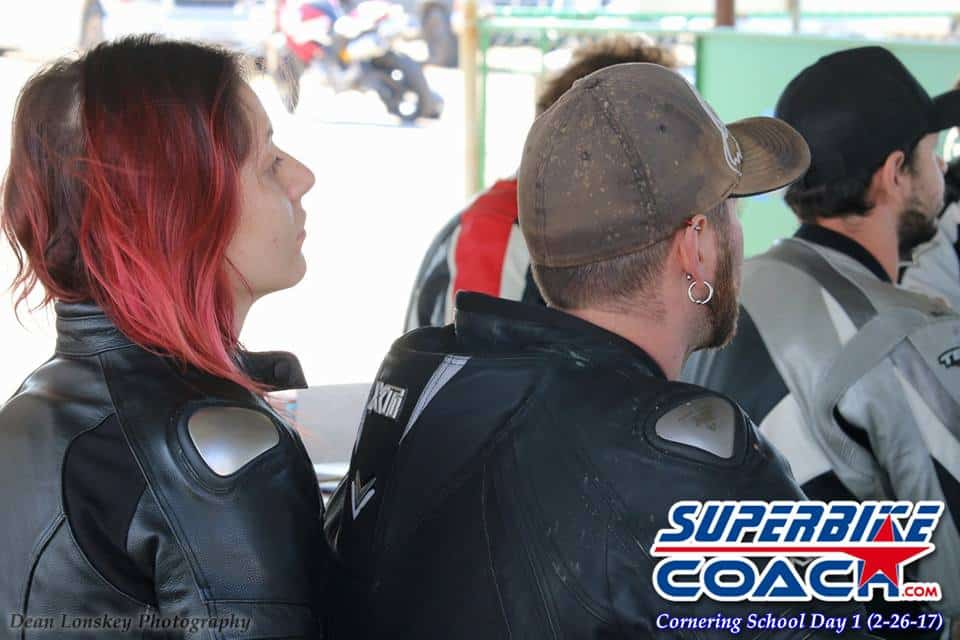
https://www.superbike-coach.com/wp-content/uploads/2015/11/IMG_6609-e1472757954724.jpg8001200PageAdminhttps://www.superbike-coach.com/wp-content/uploads/2014/12/newlogo.pngPageAdmin2015-11-27 00:26:042024-01-15 11:28:55CSD-1 class pictures are uploaded
There are lots of misunderstandings about how to setup a motorcycle suspension setup, and I’ve seen questionable work from even supposed specialists. Those specialists make riders believe that one click on the front rebound could lower lap times by 7 seconds… yep, I’ve really experienced this.
Stuff like this is totally off reality of course, especially as I still saw his bike bouncing around on Thunderhill Raceway- totally out of balance. In fact i believe that an intermediate to advanced rider don’t even feel the difference of even 15 clicks- especially not on a OEM suspension system.
If you would approach the setup with logic, you wouldn’t have to spend $50 bux to let an expert do some ‘big deal clicks’ on your stock rear shock, which are most of the time not even going nowhere. You don’t need to be nervous to do it yourself, because the range of an OEM suspension is just to small to make a significant change in terms of stability and safety of your bike.
To really make a significant change to match your riding style and purpose- you need to make rearrangements to the geometry of the bike, and then to match the suspension to this geometry… for example:
Super tight track: You want to drop the front end or to raise the rear a little
Long braking travels: You want to drop the rear right height to keep weights low
Long acceleration periods: add a chain link to use up chain adjuster recourse for a longer swing arm.
Please Note All Following Points
There is NO “perfect” suspension setup- only the’ best compromise. A setup grows with your rider level.
So when someone says “I’ve clicked you the same suspension setup as I gave to Valentino Rossi”, then this is logically not going to work for you well.
Use the potential of a OEM suspension first before you buy aftermarket stuff… then you really know what it is capable of.
OK, the link below will open an additional page which you can print out to bring it to the track. It’s just hat this page is too much for this section here, because it throws a light on how to set it up right, and how to trouble shoot. Enjoy:
We had lots of fun with this video, and it will put you a smile on your face as well. You don’t want to find yourself in a situation like this though, so enjoy the video first to get something out of it, and then keep reading with our article, and watch the tip video we made, and read the little article below:
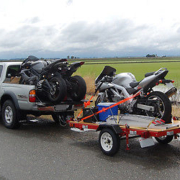
So here is how Pro’s doing it in a minute- without any damage and injuries. Let’s have a look on the equipment base you need to have to get the job all by yourself done.
Pickup truck with at least space for one motorcycle in width and length, and at least for hooks to tie-down
Long (reduces the ankle to the truck bed) fold-able bike ramp, which is very wide (walking path) as well
One short tie-down to secure the ramp down to the truck
https://www.superbike-coach.com/wp-content/uploads/2023/02/preparing-for-a-track-day.jpg250400PageAdminhttps://www.superbike-coach.com/wp-content/uploads/2014/12/newlogo.pngPageAdmin2015-09-26 13:27:102024-01-15 11:35:13How to load a motorcycle on a truck

 How dare am I, and how do I know all of this?!…well, maybe by dealing with pro racing, ego, 40 years of riding on tracks world wide and 15 years of teaching riders should give me some kinda experience. It is also not just my opinion, based on this experience, because