I can tell ya… the Ducati Panigale is a beast, and truly a challenge to your balls- also in regard heat!
The 1199R is a race bike- period. People are surprised how hard to ride it actually is. The faster you go- the better it is, but the slower you go- the more this bike can be a pain in a butt. It needs time and money to solve these issues if you want to use a Pani on the street in traffic.
 I gave lots of advice and suggestions in this article series, but the ‘heat management’ was secondary to me first. Now since i am riding it more often for pleasure, to teach Track Drill 1on1 on race track, or Road Skill 1on1 on public roads- the more I realized I should have prioritize this problem.
The significance is the ride-ability and performance. Cool gas is power and engine elastics- and not to get the boiled keeps riding fun up. The rider sits literally 3 inches above the rear cylinder of a 195 horsepower bike, and the heat is conserved. You’re standing in California waiting for green light, while the water temp of the monster climbs up to 220f. It’s time for improvements.
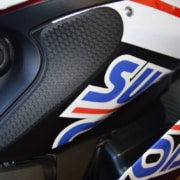
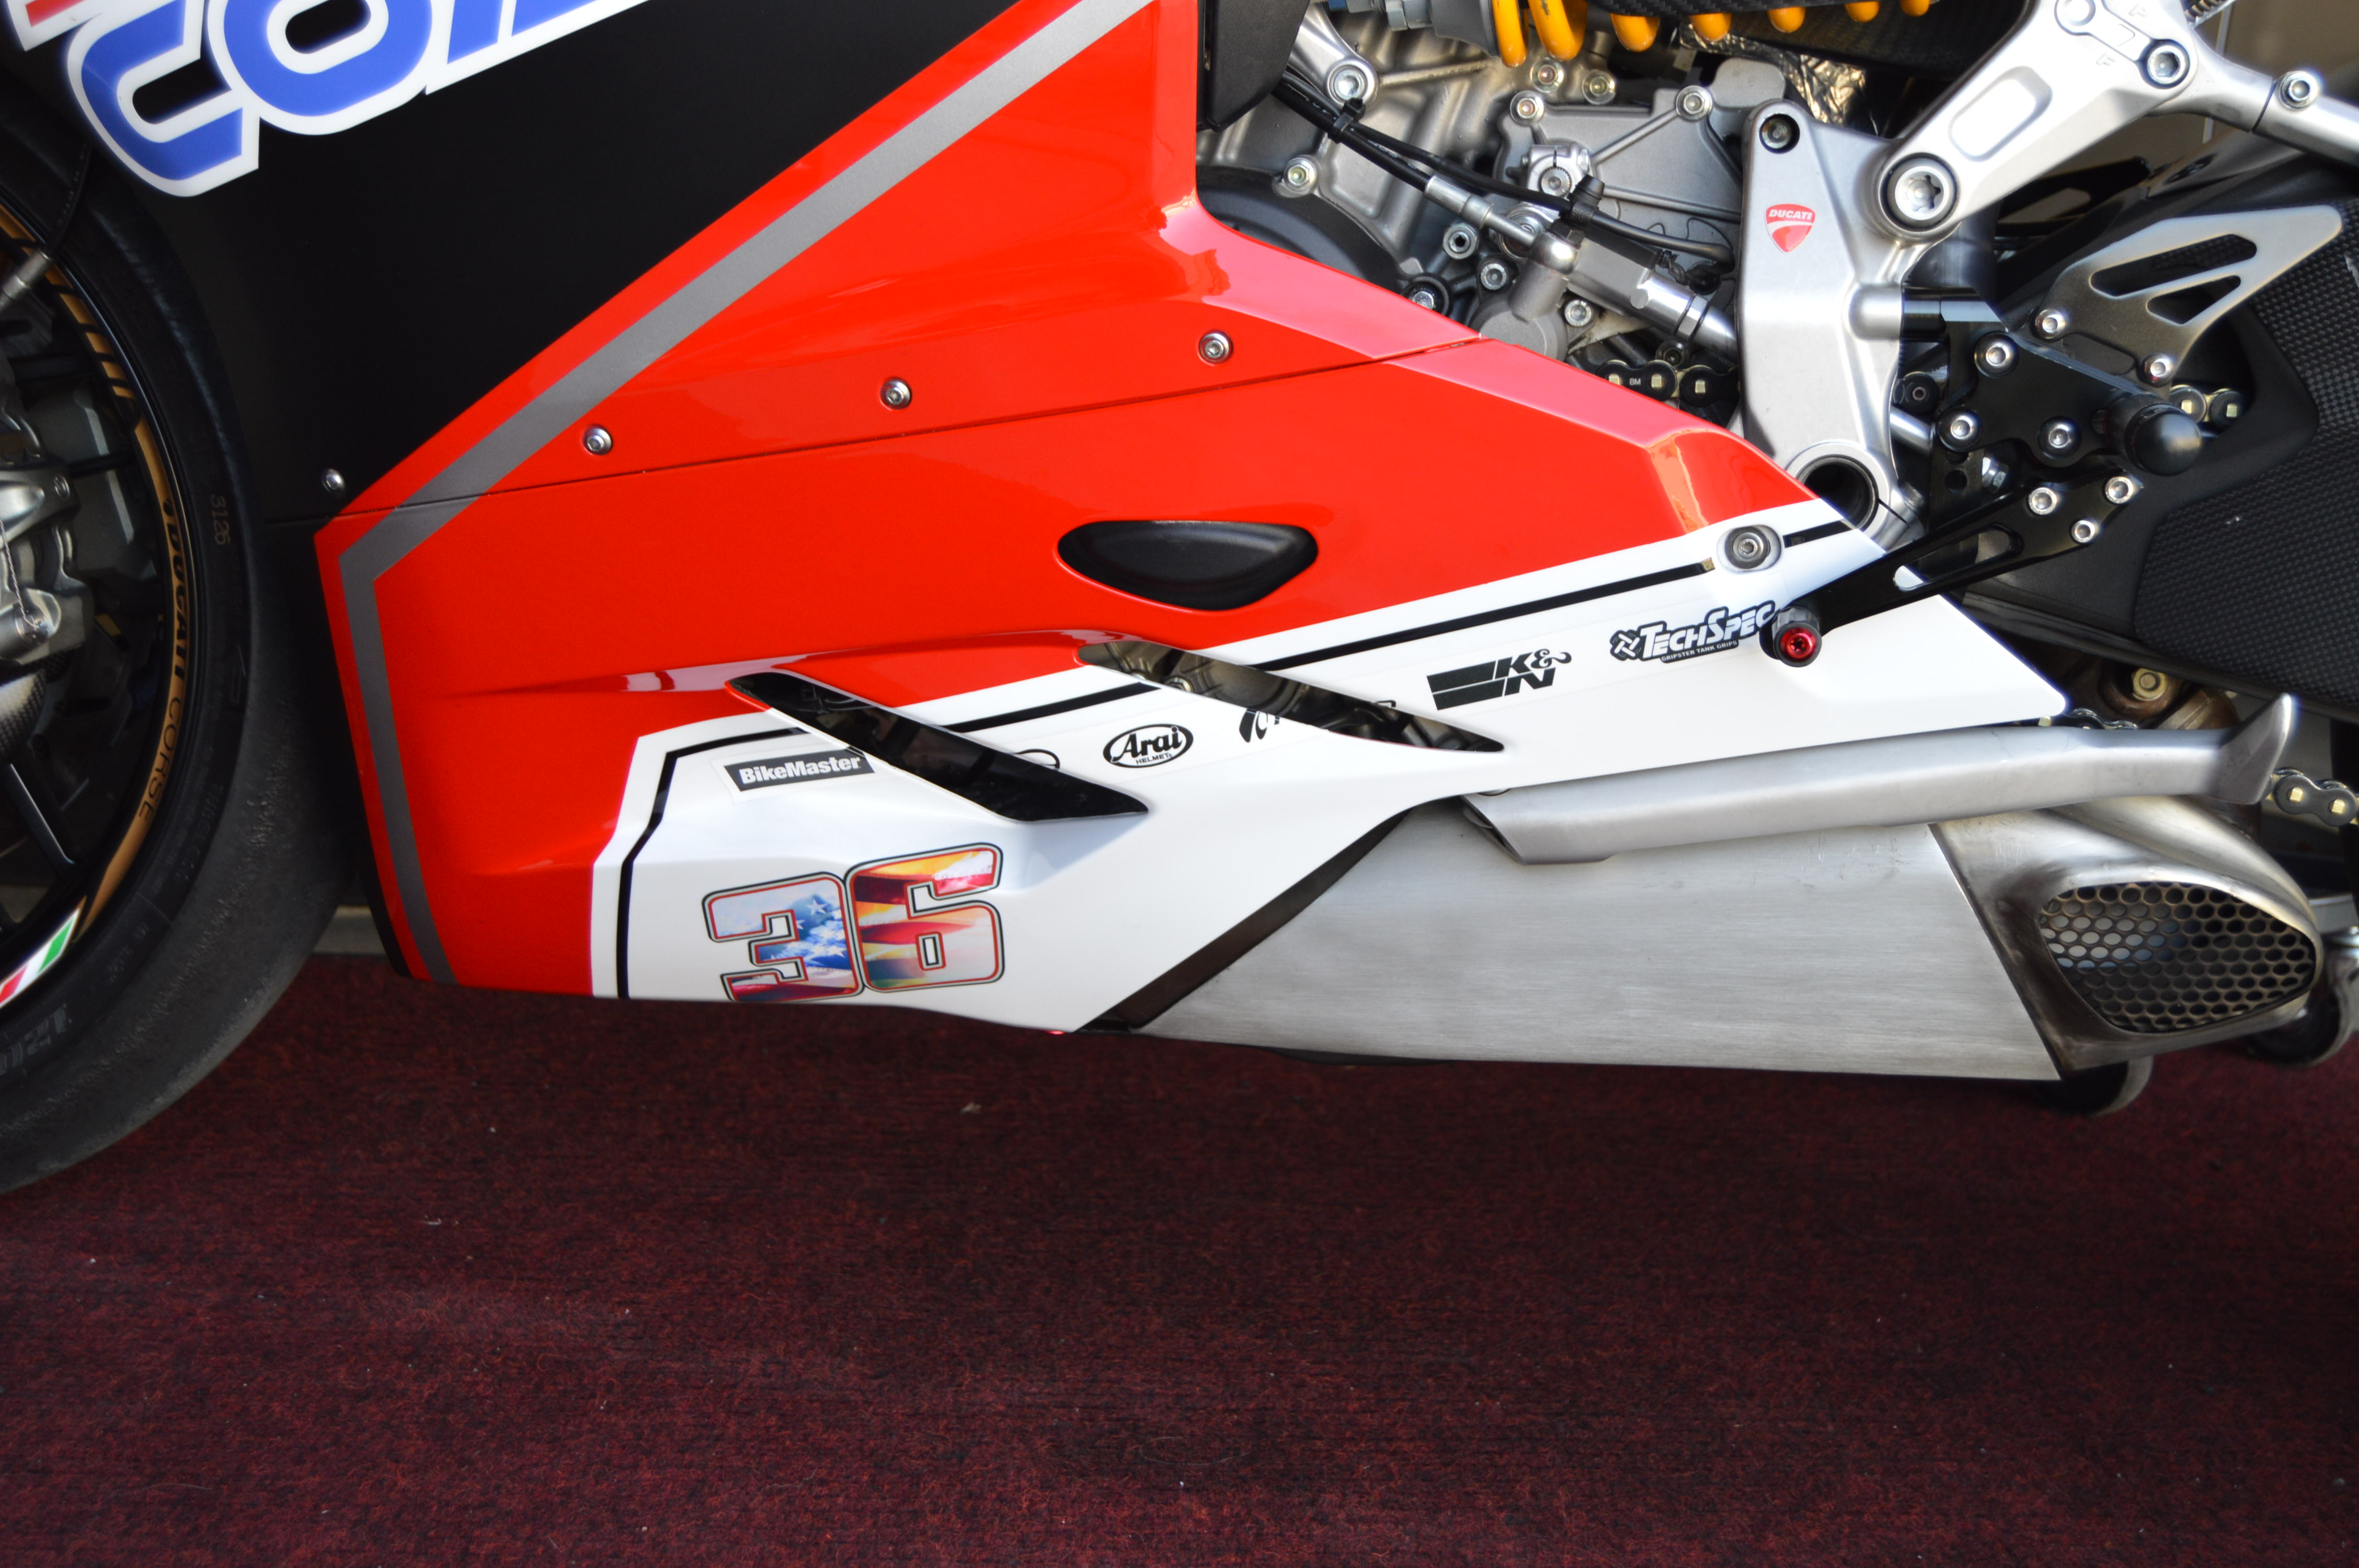
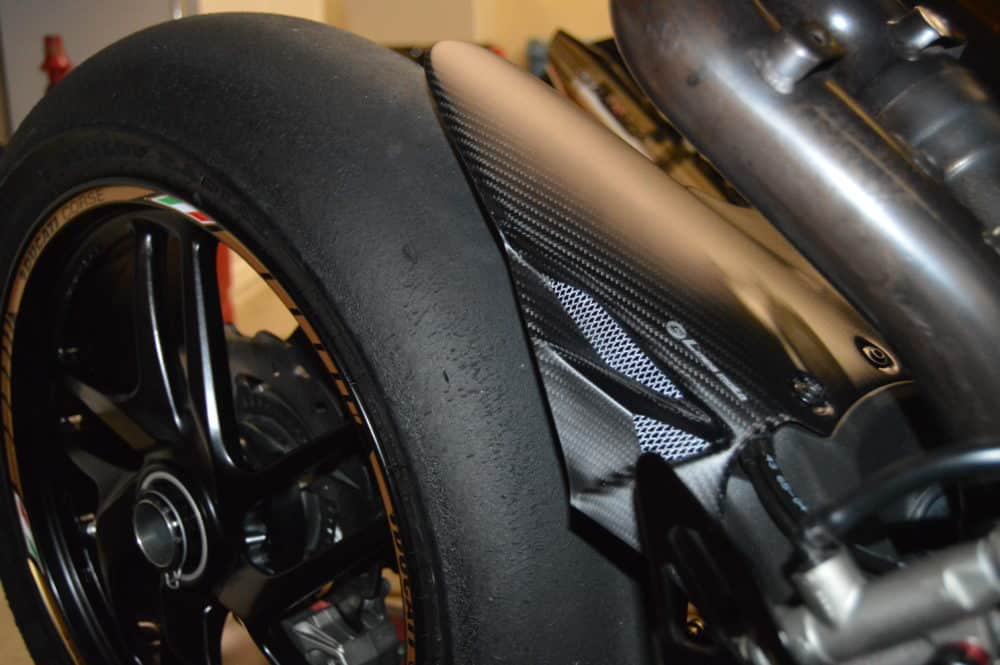
So, my goal is it to drop temperature, and to gain engine performance. Not looking for the ‘perfect’ though, because that is not existing. First, I uninstalled those ugly cylinder plastic covers. I believe they conserve the heat around the rear cylinder just a little too much and to affect its performance. Also- the conserved hot air is literally lead right between your legs and the lowest part of the gas tank. After riding it without those covers it was actually a little better- so off they go.
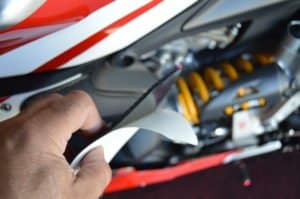
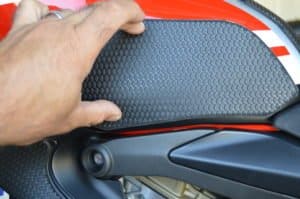
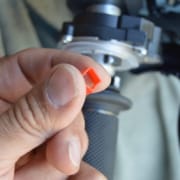
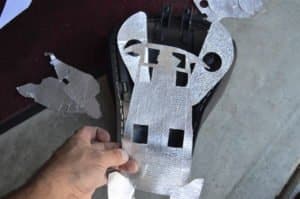 I was actually planning to get me some heat shield mattes and to cover everything on a logical bases to block or to lead hot air. The ‘good’ material which is in use by NASA, Formula 1 and MotoGP is expensive though, and I would have to puzzle it… but then I found the “Panigale Heat Shield“. The adhesive kit includes all puzzle pieces, like to cover the seat pad and the sub frame legs. Some tools, a de-greaser and about 30 minutes later the job was done, but I wanted to do more though. The part of the gas tank which is buried in the sub frame, hovers about an inch above the cylinder. Sooner as you might think, the entire aluminum body is warmed up and affects comfort and gas temperature.

A additional piece of foam behind the gas tank reduces the hot air floats under the seat, and leads to the cutouts in the sub frame legs. These modifications should also help reducing the mechanical noises a little.
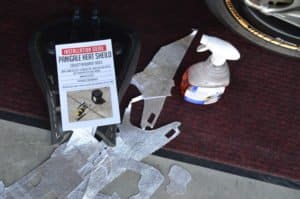 So, thanks to ‘Panigale Heat Shield‘ I could save some time of work and to find the right material. Even if you don’t have a Pani… go and find the weak spots on your ride, and enjoy ‘creating’ and to improvise things. Make it YOURS :-)
Headcoach Can Akkaya, Superbike-Coach Corp