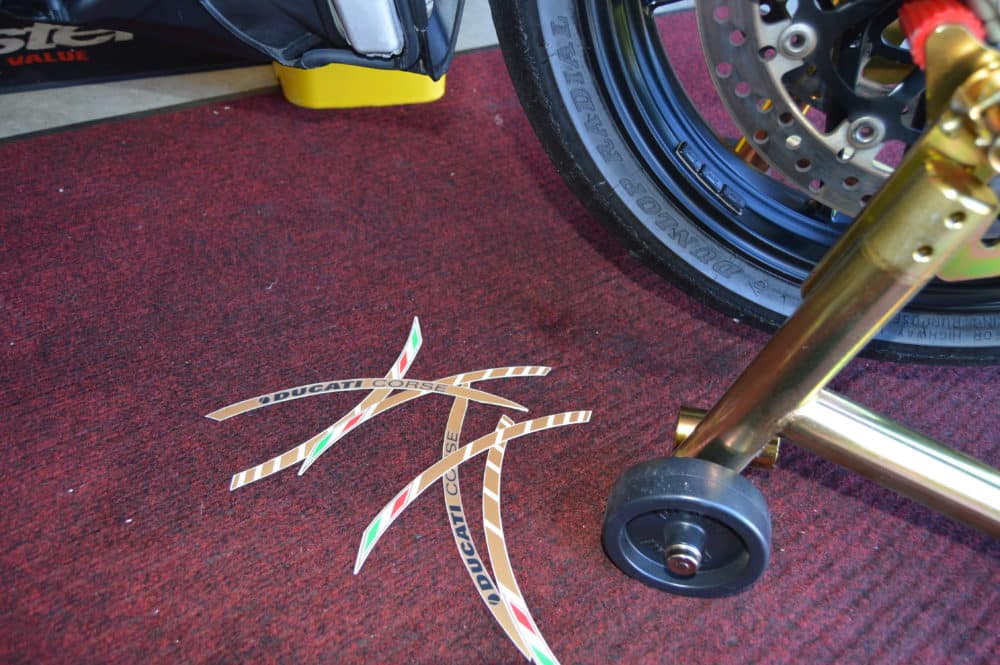
I did some cosmetics… put fancy rim stickers on. Yea really… in gold :-)
Shut up and just take it, cuz’ I love them. Wait until you see the entire thang :-)
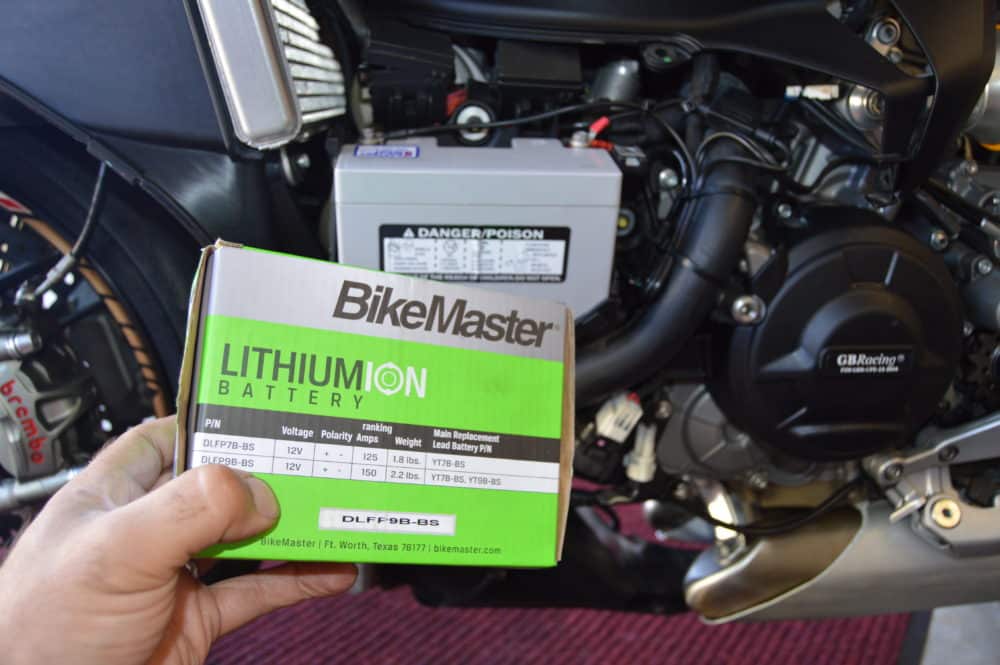
I got a brand new Lithium battery from BikeMaster, and I couldn’t wait to show you what difference it makes. That little power pack takes over the place of a chemical loaded heavy weight battery. I’ve put it on a scale, and it doesn’t even makes half the weight. Only 775g (deal with the metrics!), vs 2400g (another 48 are going to that tender cable I took out)!!! So about 3.5 ponds less to swing around all day. That is huge and it cranks right on! BikeMaster has them for almost all bikes: https://bikemaster.com/batteries/lithium-ion-batteries.html
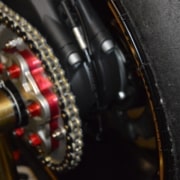
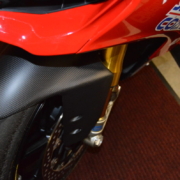
Furthermore I installed a new carbon front fender which sits so snug on it that I am worried about those tire warmers which i want to use at my track day on 8/5/ at Thunderhill. I mean… look how tight it is to the rotor.
https://www.superbike-coach.com/wp-content/uploads/2017/09/DSC_0093-e1504337824851.jpg7981200PageAdminhttps://www.superbike-coach.com/wp-content/uploads/2014/12/newlogo.pngPageAdmin2017-09-02 00:35:152024-01-14 00:26:09How to install a lithium motorcycle battery: Part 6
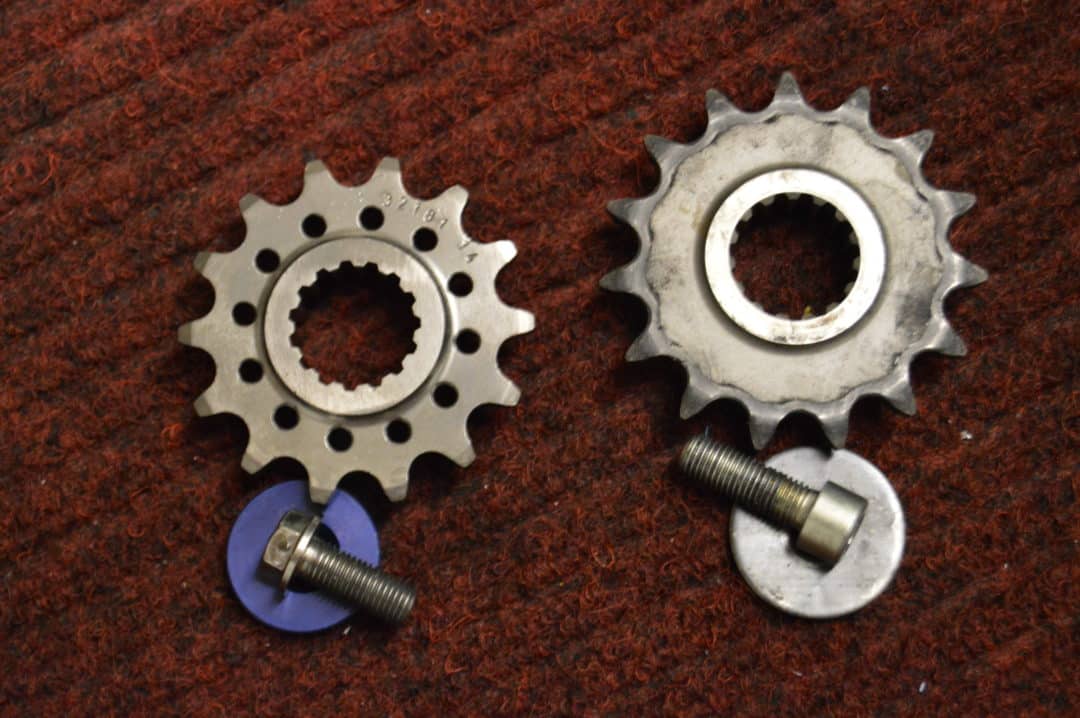
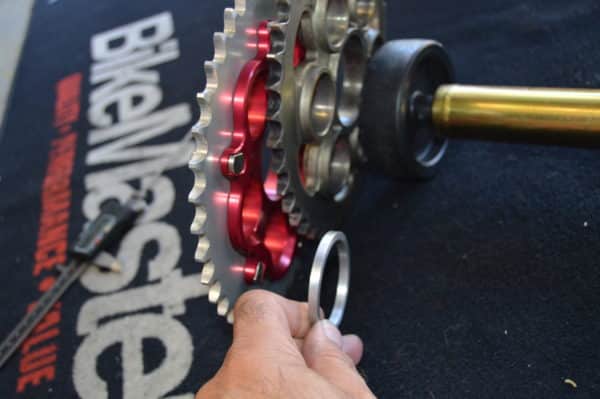
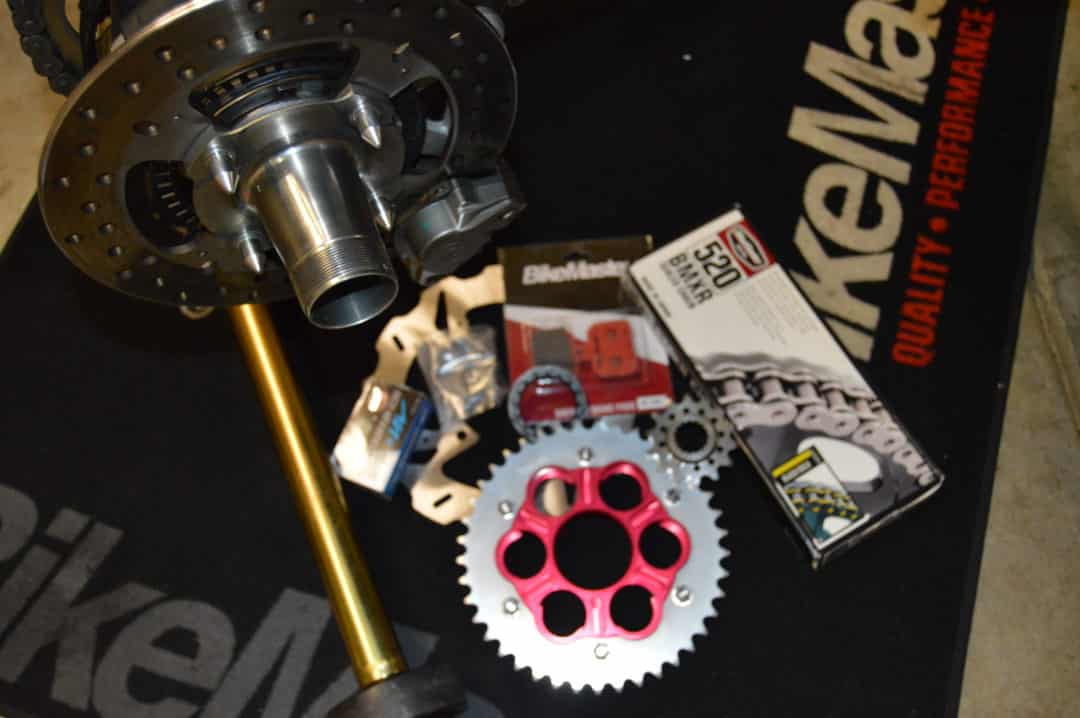
That was quite a biggy. In order to reduce rotating masses, I wanted to convert from a 525 to a 520 chain. The way lighter (50% less) sprocket carrier was standing 5mm off center so that I had to add a spacer, and to shape off those 5 on the outside plate, to give the new aluminum axle nut enough ‘meat’ on the axle shaft. The BikeMaster O-ring chain was running smooth as hell after those mods. Now… motorcycle manufacturers now how to make a sales pitch… one of them is the stupid number on the high gloss brochures, and this is ‘top speed’. Who the hell needs 202 mls per hour?! So I use to gear all my bikes for acceleration, cuz’ that’s what you do all the time- especially on the track. I use to go 1 tooth smaller on front- and 1 bigger on the rear… which is massive (fits to most tracks longest straights and is plenty on roads)! But since this Ducati has the torque to roll the Earth quicker in its axle, I decided to only drop a tooth on the front, which also keeps the weight low. BikeMaster has all kinds of sprocket constellations for your bike too! I also replaced the damn cheap looking circus wagon bolt and washer with a Titanium bolt which also allows a safety wire. That funny looking Ducati sprocket cover found a new home too… the trash bin.
https://www.superbike-coach.com/wp-content/uploads/2014/12/DSC_0004-e1504032194587.jpg13302000PageAdminhttps://www.superbike-coach.com/wp-content/uploads/2014/12/newlogo.pngPageAdmin2017-08-29 11:44:192024-01-14 00:26:26How to check chain alignment: Part 5
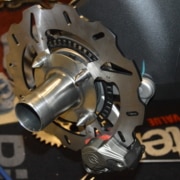
The one sided swing arm of the Panigale hosts the rear brake rotor and the sprocket carrier (which gets its own post later). I’ve replaced the rotor with a way lighter one and the brake pads to Bikemaster sinter metal pads. This stuff is affordable and never lets you down. At that point I’ve checked on the wheel alignment to see if the swing arm is bend. That went well so I can move on to center the two sprockets for a flawless chain run (next update)
https://www.superbike-coach.com/wp-content/uploads/2017/08/DSC_0114-e1504031674971.jpg13302000PageAdminhttps://www.superbike-coach.com/wp-content/uploads/2014/12/newlogo.pngPageAdmin2017-08-29 11:37:122024-01-14 00:26:46How to reduce rotating masses: Part 4
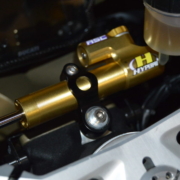
Some stuff around the swing arm and rear sets has been done. A carbon cover for the looks (the tire huger goes soon), and the toe protector makes truly sense. Rear shock pos changed to ‘flat’, and preload adjusted (gotta get familiar with the electronic setting system though). The rear sets journey was interesting. The challenge… to keep the expensive, but hell of smooth Ducati ‘PULL’ quickshifter- BUT use it in a MotoGP shift pattern system. Funny is, that Ducati offers a 4 page long description to just turn this around on the stock rear sets- but doesn’t even mention that a ‘PUSH’ quickshifter would be necessary. Thats about 300 bux extra, and I go… no. So I went to see if there are rear sets which allowing all kinds of constellations in the leverage to keep the pull shifter. I found a nite set in China for 120 bux incl shipping and they work smooth as hell. The pegs are quite short though, so i had to find washers which allow me to adjust their length a bit. What I extremely like with these rear sets is that they are fully adjustable since the stock sets are way to far in the back and making tired real quick. Those going all in the front and up… as I was use to on my prototype race bikes :-)
https://www.superbike-coach.com/wp-content/uploads/2017/08/DSC_0004-2-e1504030277109.jpg7181080PageAdminhttps://www.superbike-coach.com/wp-content/uploads/2014/12/newlogo.pngPageAdmin2017-08-29 11:13:092024-01-14 00:27:06How to adjust the ride height on a Ducati: Part 3
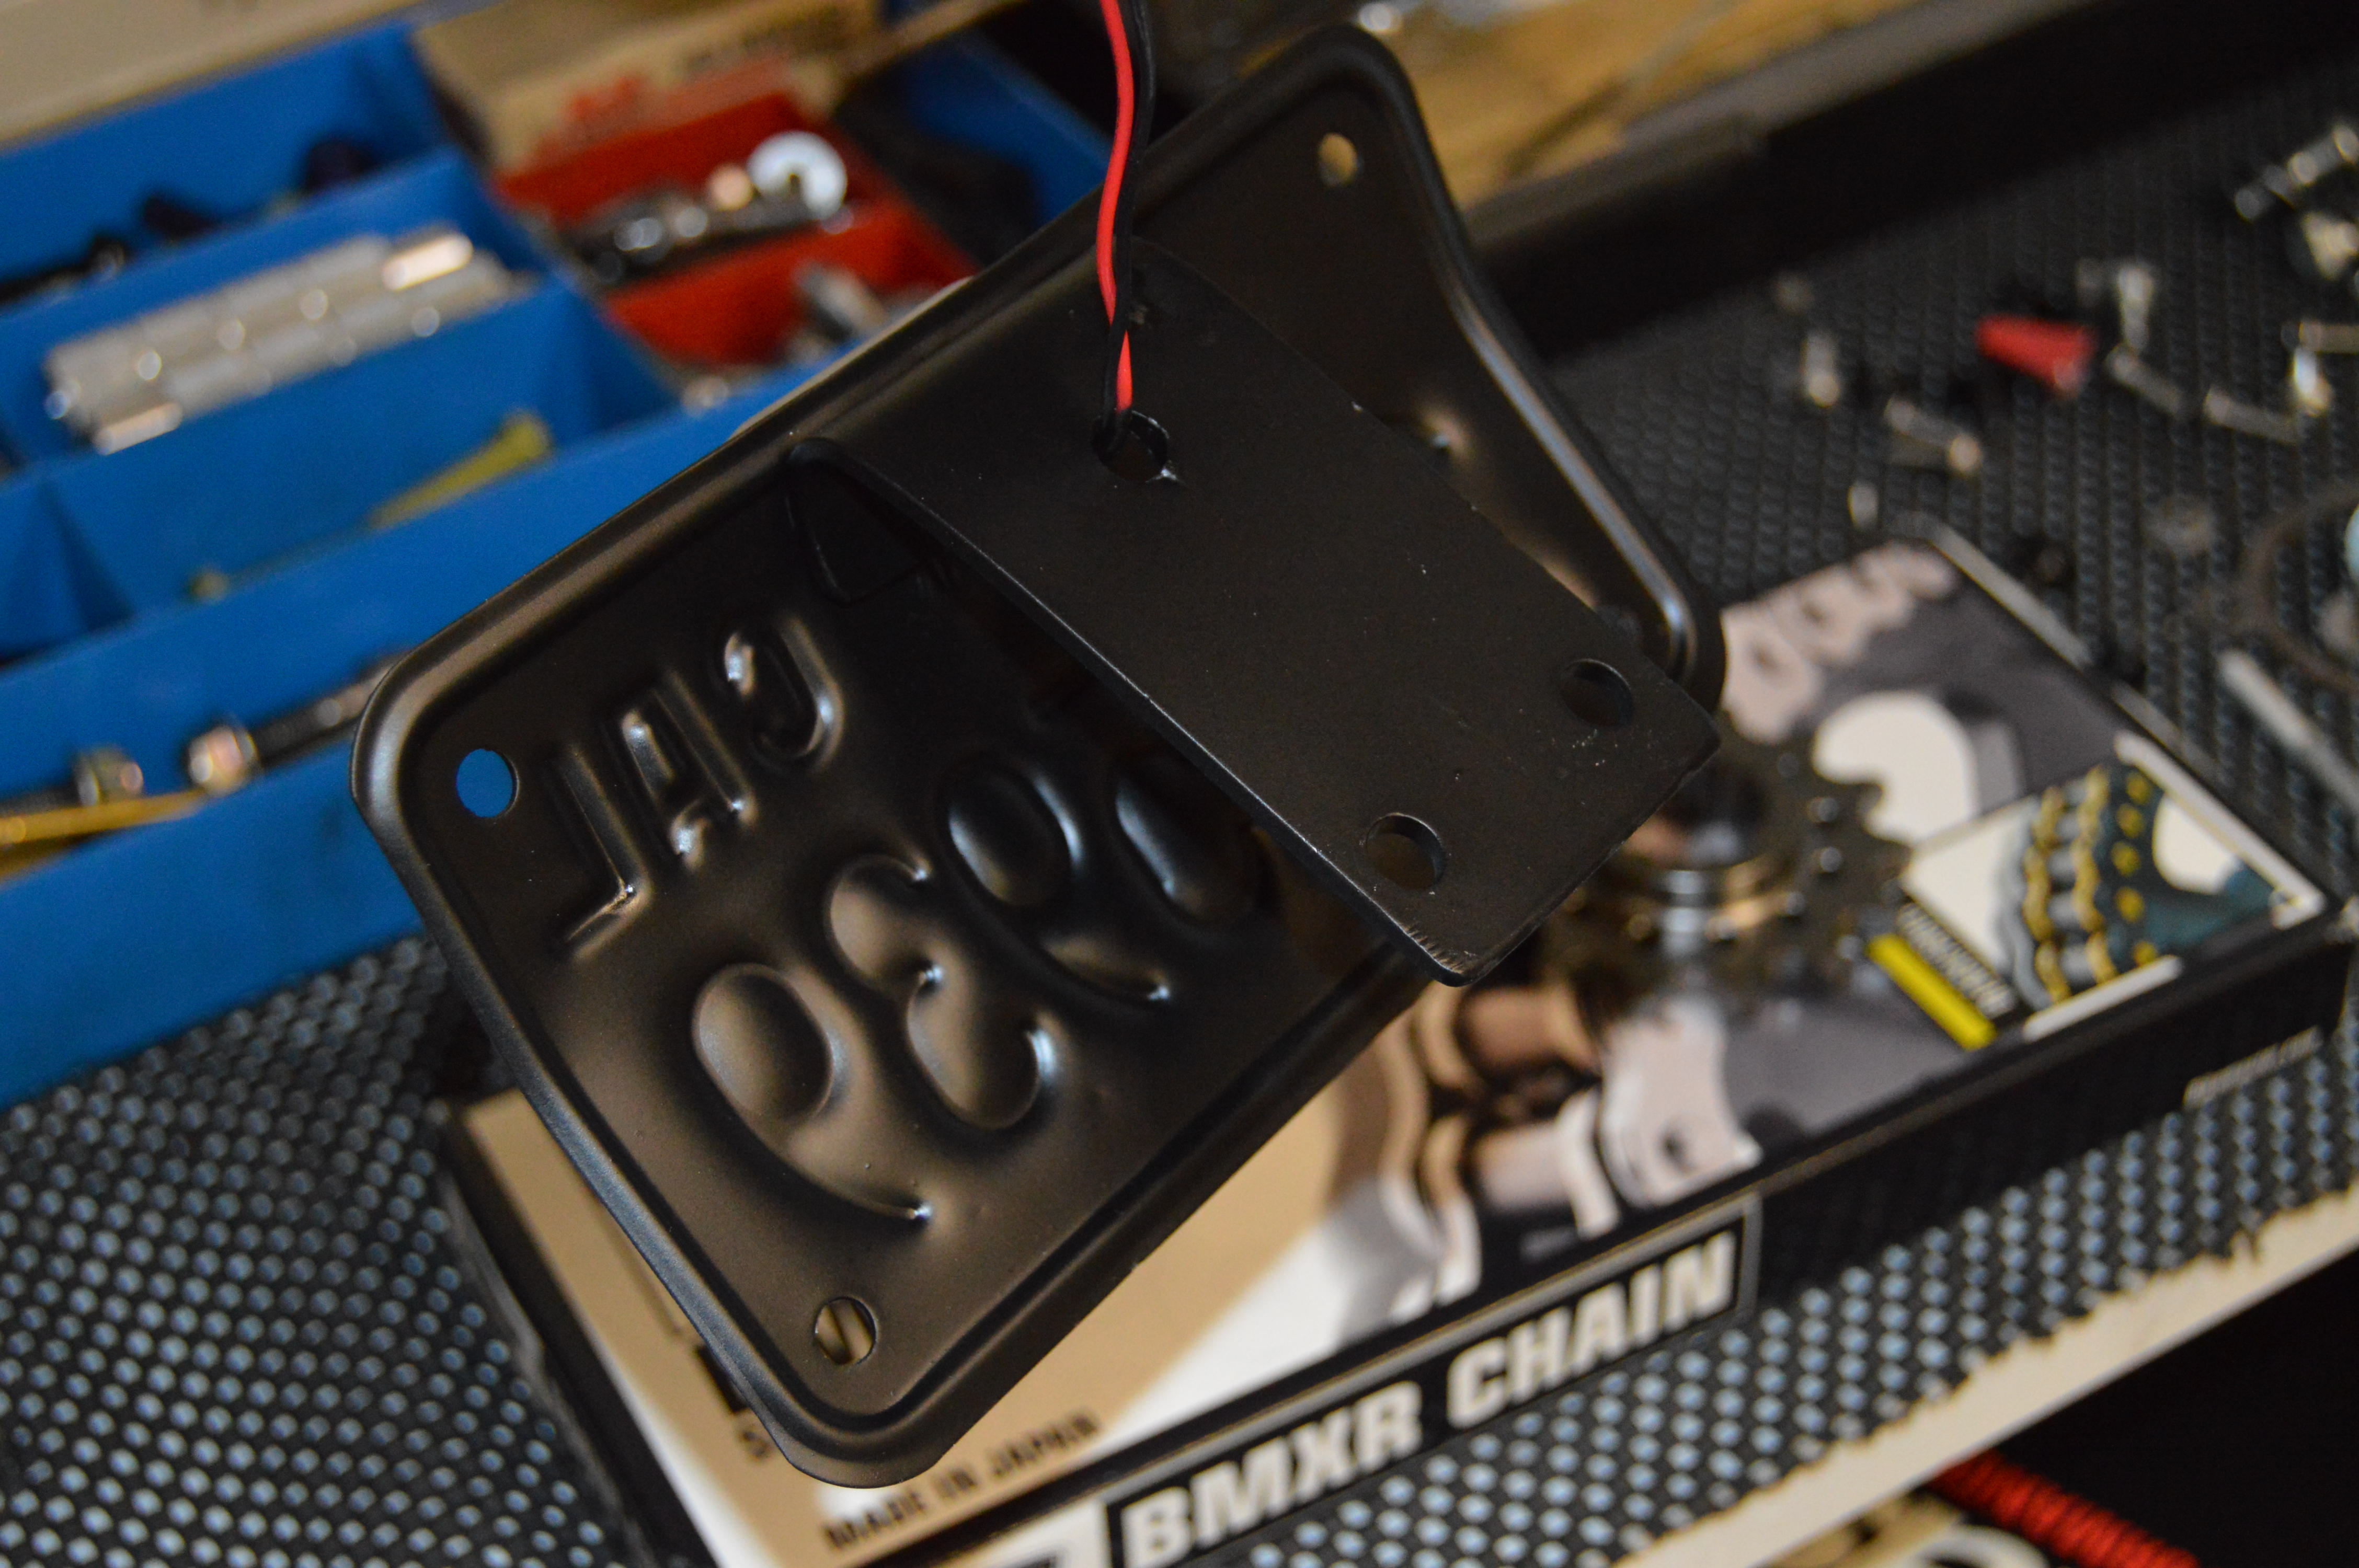
Unfortunately it needs a license plate to run this bike on some public roads, cuz’ I’ll use it to teach Road Skill 1on1 students. So, since the ugly and way to heavy holder is out… I’ve build my own fender eliminator with a few simple things: The license plate, a piece of Lowes aluminum sheet, and a plate light from BikeMaster Products. The cost… about 10 bux!!!
https://www.superbike-coach.com/wp-content/uploads/2014/12/DSC_0096-e1504028413881.jpg7181080PageAdminhttps://www.superbike-coach.com/wp-content/uploads/2014/12/newlogo.pngPageAdmin2017-08-29 10:41:302024-01-14 00:27:24How to build your own fender eliminator: part 2
Most riders are too afraid to turn some wrenches on their bikes themselves, but since we know that there is a potential to adjust levers etc to a riders advantage (see previous articles), we could more or less easily semi-project our bikes and make them ‘ours’ on a bigger scale. I have such a fun doing this as soon as I have a new bike, that I am willing to share the process with you. You might get a taste of one or another upgrade, and try it on your own motorcycle. All the things I am doing are going under the motto… finding performance (power and grip) resources, reducing weight (general and rotating masses), and last but not least- the look of it. All of this as affordable as possible! It all begins with the actual motorcycle and its raw numbers, so here is our ‘example’:
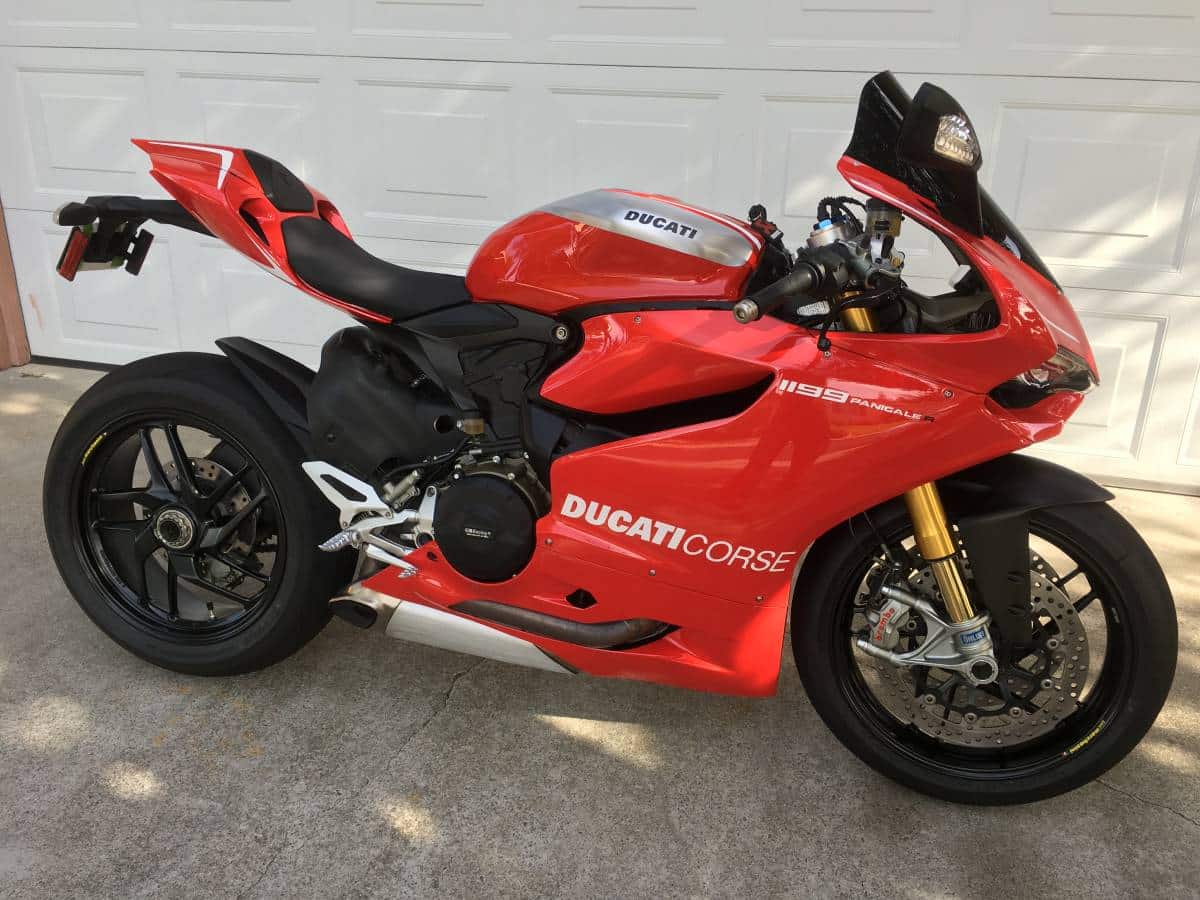
2014 Ducati Panigale 1199R
This is a pretty darn good bike already, so we don’t want to mess around much with geometries and electronics. The picture shows a absolute stock 1199 which comes up with these facts:
195 HP at 132 Nm of Torque
525 chain, 15/41 sprockets, gear ratio 1.77
Weight of 165 Kg (363.8 pounds)
Power/weight ratio: 1.1818 HP/kg
Let’s see where these numbers- and the appearance of “Cleopatra” is going…
Summarize- A necessary strategy
To just sit down with pen and paper and to make notes in which direction you want to move forward makes sense already, but to also set upgrade limits per month and in logic installation phases even more. This makes you staying in control of costs and fall-out time. Plain said… if you just go by feel, then you probably start working on something which takes too much time- or to have parts ordered which you can not use at a certain time on the project. What happen is that you can’t use the bike at all in between. So spend your money wisely and order parts logically. Start only working on it when the parts arrived, and skip on the frustrations.
Let’s do this
Each time I’ve done a upgrade phase, I will post about it here as soon as I can. So watch out here for new posts- or go on ‘Coach’s Motorcycle Bible‘ (scroll down to the story) where the story will be summarized. Watch out for the next step!
https://www.superbike-coach.com/wp-content/uploads/2017/08/DSC_0018-e1504029705849.jpg13302000PageAdminhttps://www.superbike-coach.com/wp-content/uploads/2014/12/newlogo.pngPageAdmin2017-08-08 00:23:532024-01-14 00:28:28How to Customize a Motorcycle: The Strategy

 I did some cosmetics… put fancy rim stickers on. Yea really… in gold