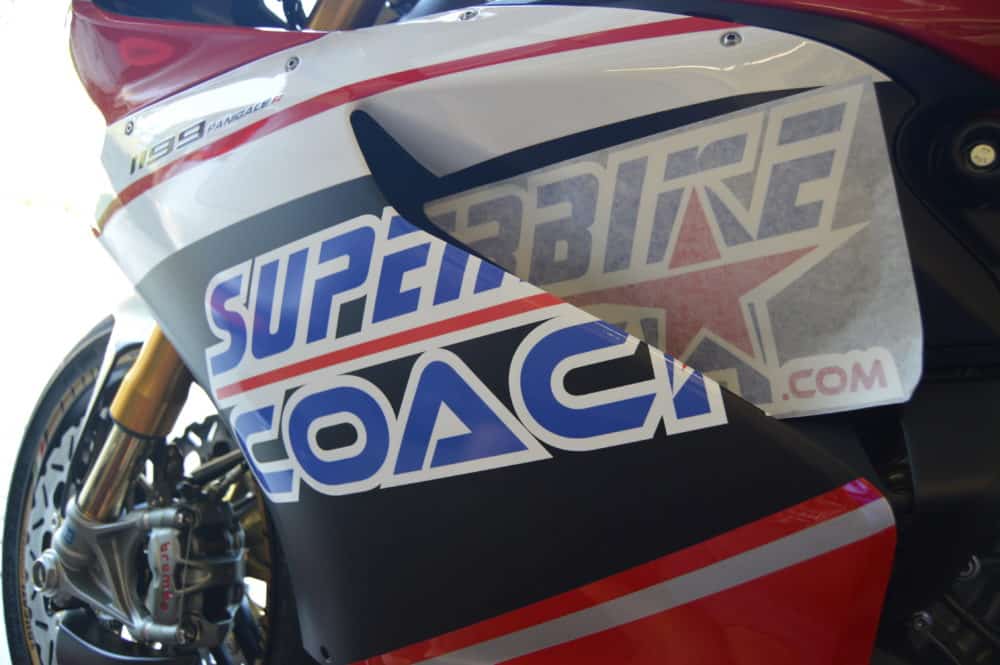
It was time to put ‘Cleopatra’ into her new War dress, but I was quite nervous about the fit. Back in Europe, I’ve installed a aftermarket fairing kit ones to a R1, and some of those mounting holes were half an inch away from its destination. That the ABS plastic seem easily crack-able added frustration. Now Cleo’s armor does not- by far- but the damn thang is heck of awesomely painted, that any additional drill would mess it up. The preciseness of a Panigale fairing goes way beyond that point the term ‘tight fit’. The Italians put so much heart into it, so let’s see how it goes with the installation.
Straight up… it took me half a day just to mount the upper fairing. I took my sweet time to resize holes, but in the end it all fits and I didn’t crack anything. The fit is surprisingly close, but not as perfect as the holes sitting in a stock fairing. With patience and brain you’ll get it done, I promise. To be clear… I didn’t had to ‘ovalize’ those holes. Some were just too small or had to be cleared from the paint.
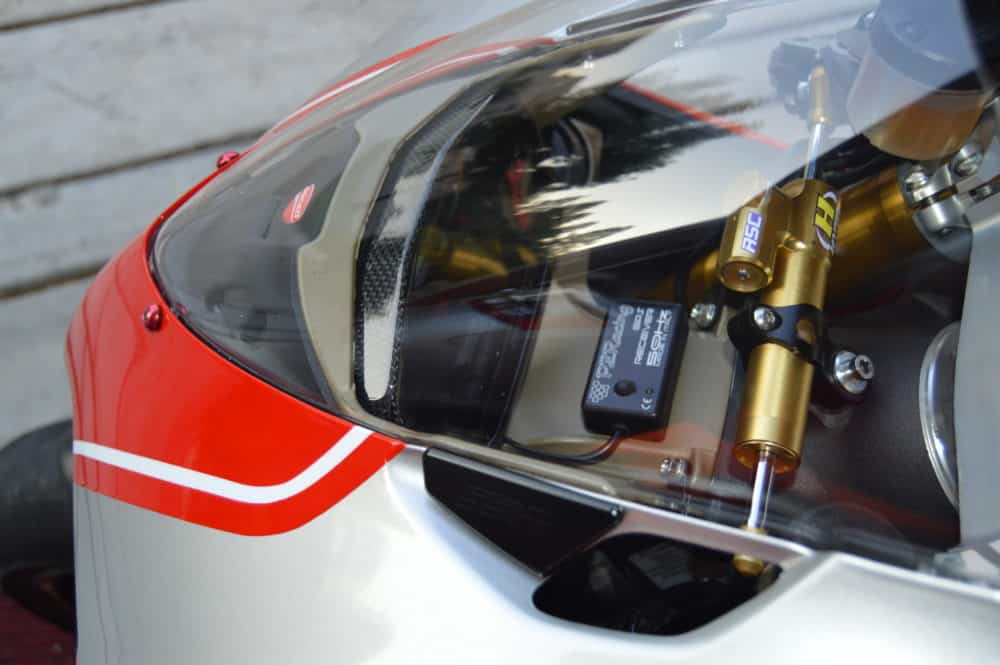
I’ve messed up the seat… yea, really! OK, there are those air flow ducts in the Panigale seat. I added some carbon pieces, but they didn’t cover the inside fairing piece at that point fully, so that there the viewer would have a direct view to lots of mixed colors. To make it look clean, I had to brush some matte black paint on the inside of those seat panels. To make that stick, I de-greased it with brake cleaner. Way to aggressive chemicals- and the paint got messed up a little. Not good! The same I had to do with the inside of the upper fairing, but good that men can learn by mistakes.
Actually it was planned to install with quick releases, but I run out of time since I have to pack up for a Track Drill coaching gig at Buttonwillow Raceway. Still no total pictures, but my plan is to put Cleopatra out on the start/finish line and shoot some for ya. So let’s get that Superbike-Coach logo on the bike and fill up the gas tank… Buttonwollow here we come :-)
https://www.superbike-coach.com/wp-content/uploads/2017/09/DSC_0021-2-e1505414392282.jpg7981200PageAdminhttps://www.superbike-coach.com/wp-content/uploads/2014/12/newlogo.pngPageAdmin2017-09-14 12:03:102024-01-14 00:23:10How to install race fairings to your bike, part 2
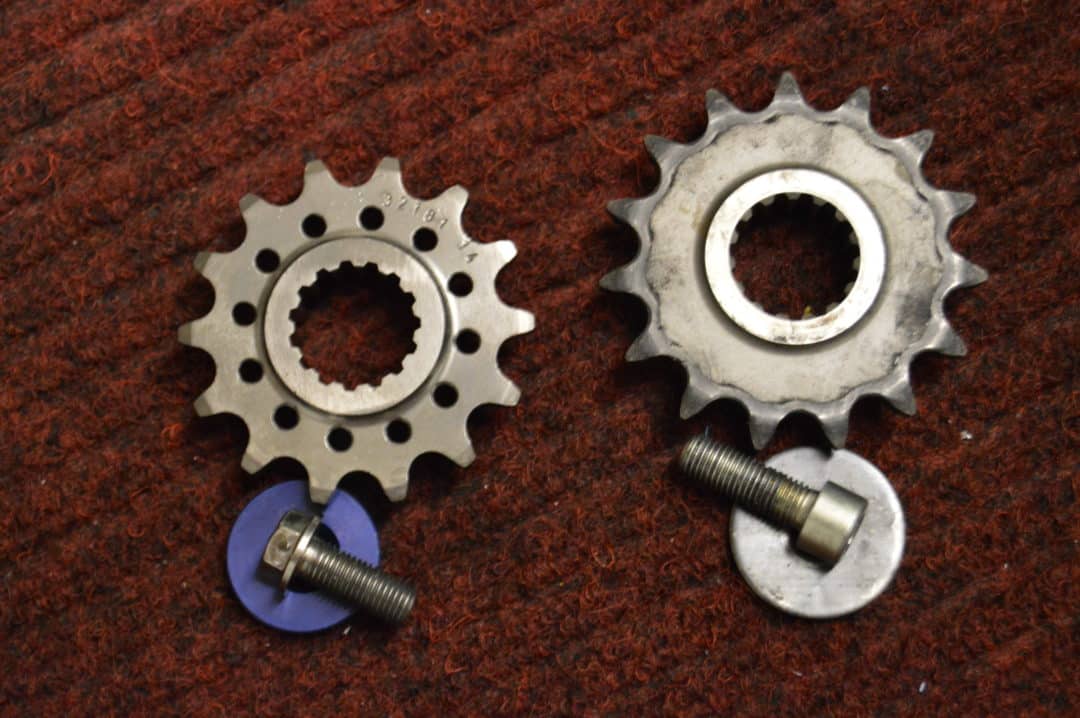
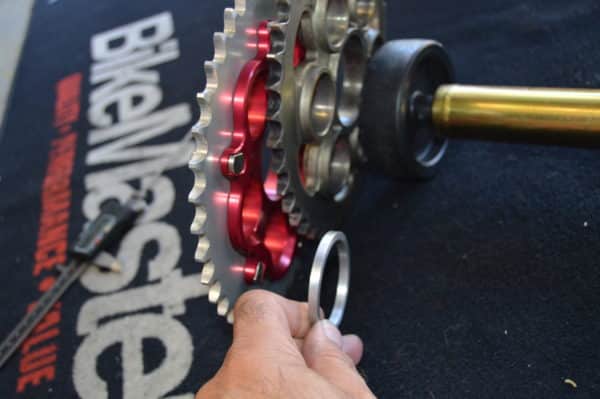
That was quite a biggy. In order to reduce rotating masses, I wanted to convert from a 525 to a 520 chain. The way lighter (50% less) sprocket carrier was standing 5mm off center so that I had to add a spacer, and to shape off those 5 on the outside plate, to give the new aluminum axle nut enough ‘meat’ on the axle shaft. The BikeMaster O-ring chain was running smooth as hell after those mods. Now… motorcycle manufacturers now how to make a sales pitch… one of them is the stupid number on the high gloss brochures, and this is ‘top speed’. Who the hell needs 202 mls per hour?! So I use to gear all my bikes for acceleration, cuz’ that’s what you do all the time- especially on the track. I use to go 1 tooth smaller on front- and 1 bigger on the rear… which is massive (fits to most tracks longest straights and is plenty on roads)! But since this Ducati has the torque to roll the Earth quicker in its axle, I decided to only drop a tooth on the front, which also keeps the weight low. BikeMaster has all kinds of sprocket constellations for your bike too! I also replaced the damn cheap looking circus wagon bolt and washer with a Titanium bolt which also allows a safety wire. That funny looking Ducati sprocket cover found a new home too… the trash bin.
https://www.superbike-coach.com/wp-content/uploads/2014/12/DSC_0004-e1504032194587.jpg13302000PageAdminhttps://www.superbike-coach.com/wp-content/uploads/2014/12/newlogo.pngPageAdmin2017-08-29 11:44:192024-01-14 00:26:26How to check chain alignment: Part 5
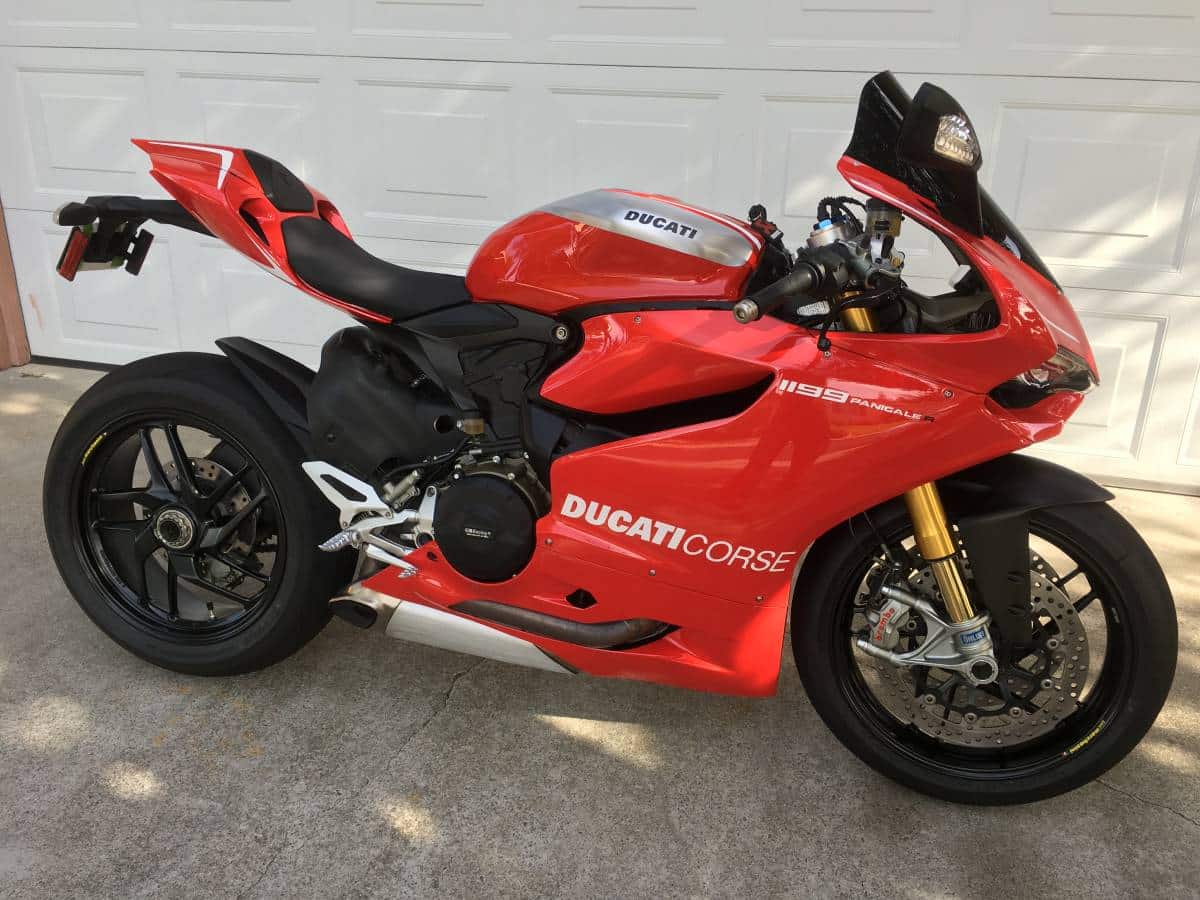
Most riders are too afraid to turn some wrenches on their bikes themselves, but since we know that there is a potential to adjust levers etc to a riders advantage (see previous articles), we could more or less easily semi-project our bikes and make them ‘ours’ on a bigger scale. I have such a fun doing this as soon as I have a new bike, that I am willing to share the process with you. You might get a taste of one or another upgrade, and try it on your own motorcycle. All the things I am doing are going under the motto… finding performance (power and grip) resources, reducing weight (general and rotating masses), and last but not least- the look of it. All of this as affordable as possible! It all begins with the actual motorcycle and its raw numbers, so here is our ‘example’:
2014 Ducati Panigale 1199R
This is a pretty darn good bike already, so we don’t want to mess around much with geometries and electronics. The picture shows a absolute stock 1199 which comes up with these facts:
195 HP at 132 Nm of Torque
525 chain, 15/41 sprockets, gear ratio 1.77
Weight of 165 Kg (363.8 pounds)
Power/weight ratio: 1.1818 HP/kg
Let’s see where these numbers- and the appearance of “Cleopatra” is going…
Summarize- A necessary strategy
To just sit down with pen and paper and to make notes in which direction you want to move forward makes sense already, but to also set upgrade limits per month and in logic installation phases even more. This makes you staying in control of costs and fall-out time. Plain said… if you just go by feel, then you probably start working on something which takes too much time- or to have parts ordered which you can not use at a certain time on the project. What happen is that you can’t use the bike at all in between. So spend your money wisely and order parts logically. Start only working on it when the parts arrived, and skip on the frustrations.
Let’s do this
Each time I’ve done a upgrade phase, I will post about it here as soon as I can. So watch out here for new posts- or go on ‘Coach’s Motorcycle Bible‘ (scroll down to the story) where the story will be summarized. Watch out for the next step!
https://www.superbike-coach.com/wp-content/uploads/2017/08/DSC_0018-e1504029705849.jpg13302000PageAdminhttps://www.superbike-coach.com/wp-content/uploads/2014/12/newlogo.pngPageAdmin2017-08-08 00:23:532024-01-14 00:28:28How to Customize a Motorcycle: The Strategy
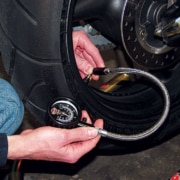
One of the most commonly asked questions you see on the net is “what tire pressures should I run for and with the emphasis that’s put on having the correct pressures both at and away from the track it’s no wonder.
Having the right pressure for rider, bike and tire combination is very important to getting the most out of your tires both in terms of performance and longevity. As I’m sure you know tires are very expensive, so making sure we get the most out of them by having the correct pressure and therefore avoiding bad wear should be a priority for all track day riders.
The trouble is there is no one magical pressure for one type of motorcycle or type of tire, and as you’re about to find out there are times when you would even use different pressures for the same tire on the same bike!
So to help you understand what actually goes into determining the best pressure here’s a look at some of the things that affect tire pressure.
Things that Affect Tire Pressure
Weight –Someone heavier is going to create a larger contact patch on the ground which could overheat it and cause nasty wear. And vice versa, the lighter rider using the heavier rider’s pressures won’t have a contact patch big enough, so they won’t get enough heat into the tire and again you’ll see another sort of nasty wear. This problem is made worse if your suspension isn’t properly set up for your weight.
Tire Construction – Some tires have harder carcasses and sidewalls which mean they don’t need to run as high a pressure as a tire with a soft carcass.
Ambient Temperature – The outside temperature is going to affect how your tires heat up. Setting your rear to 30psi on a cold day isn’t going to give you the same performance as setting it at the same pressure on a baking hot day, because on a hot day the tire will heat up quicker and by more.
Some of the fast riders and racers actually change their pressures throughout the day to compensate for the change in temperature so they can maximize the performance of their tires.
Hot and Cold Pressures – If you set your pressure to 30psi when the tire is cold, this isn’t going to be the same as setting them to 30psi when the tire is hot. A cold tire will gain around 2-6psi (depending on your pace) through use on the track because it will heat up and so will the air inside, meaning the pressure will increase.
Road vs Track Tires – Road tires are typically designed to run at higher pressures than track tires because they are not expected to heat up as much.
As you can see, there are many factors that come into finding the best tire pressure for your bike and tire combination. Right now you may be wondering how on earth you get the right pressures, and I wouldn’t blame you, so here we go.
How can I find my best pressure?
What you want first is a good baseline pressure which you should be able to get from any of the below sources.
Manufacturer – Go direct to the manufacturer and get the pressures they recommend, you can usually find them on their website. If not, email them and ask what they would recommend setting tire ‘X’ to for use on the track. They’re usually pretty helpful with stuff like this.
Tire Expert – Speak to the tire supplier at the track, or talk to someone you know who deals with tires and setting up bikes for the track. They would have experienced many tire and bike combinations, so they know their stuff.
Other riders – See what other riders with similar setups are doing with the same tires. They too would have gone through the same process to find the best pressures for themselves, so they should be able to set you off close to where you need to be.
Test and Monitor
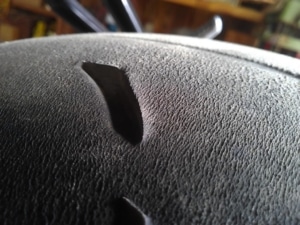
Once you have your base pressure, try it out and see how you get on. Did you notice any unsavory reactions from the tire that wasn’t there before? Or the more common issue, is the tire showing any signs of unnatural wear? If you answer yes to these questions then it could well be that your pressure is not quite correct.
Last Few Tire Pressure Points Worth Mentioning
When should you set your pressures? – If you have tire warmers then set them once they have been in the warmers for a good 45 minutes or so (from stone cold). If you don’t have warmers then set them cold first thing in the morning, but remember that your tires will gain a few psi so try to take that into account. Once you’ve done a couple of sessions you’ll be able to see how much psi you’re really gaining and whether or not you are near where you want to me.
Just keep an eye on the tires. If they’re showing any sort of unnatural wear then you will need to adjust your settings.
Is your pressure gauge calibrated? – You probably shrugged your shoulders at this one, but it’s not that hard to do. Just ask the tire expert at the track to set your tires to a given pressure using their compressor, then use your gauge to check it reads the pressure they just set it to. You can also check it against one or two other rider’s gauges to see if they give the same readings. If you can, change the dial to show the compensation, if you can’t (more likely) just make a note so you remember the difference.
Wet weather riding – You want to make sure you’re pressures aren’t too low for wet weather riding, be it proper race wets or road tires. If the pressure gets too low then the tread will compress which means it can’t clear water effectively.
Lastly, don’t overdo it. I know I mentioned some of the factors that come into play with getting the best tire pressure, but this was to demonstrate that there’s not a one size fits all pressure. Don’t get too hung up on trying to get the pressure perfect.
Unless you’re pushing on at the higher end of the fast group then you probably wouldn’t notice the small differences that come from things like changes in temperature throughout the day or the way you set your pressures initially. If you feel grip and you’re not showing any ugly wear patterns then that’s all you really need to worry about.
https://www.superbike-coach.com/wp-content/uploads/2017/04/tire-pressure-zoom.jpg7501000PageAdminhttps://www.superbike-coach.com/wp-content/uploads/2014/12/newlogo.pngPageAdmin2017-04-18 12:11:122024-01-14 00:35:08Motorcycle Tire Pressure for the Track
NEW RIDER PROGRAM AT SUPERBIKE-COACH
Our ‘Basic Rider 1on1’ teaches the brand new rider to learn how to ride a motorcycle, and to get ready to master the M1 drivers license test. The fee is very reliable and depends on the level of the rider. We also have a rental bike option for only $50.
https://www.superbike-coach.com/wp-content/uploads/2017/03/Basic-rider-class-by-Superbikecoach-e1489304760240.jpg222400PageAdminhttps://www.superbike-coach.com/wp-content/uploads/2014/12/newlogo.pngPageAdmin2017-03-31 23:43:132024-01-14 00:40:18NEW RIDER PROGRAM AT SUPERBIKE-COACH
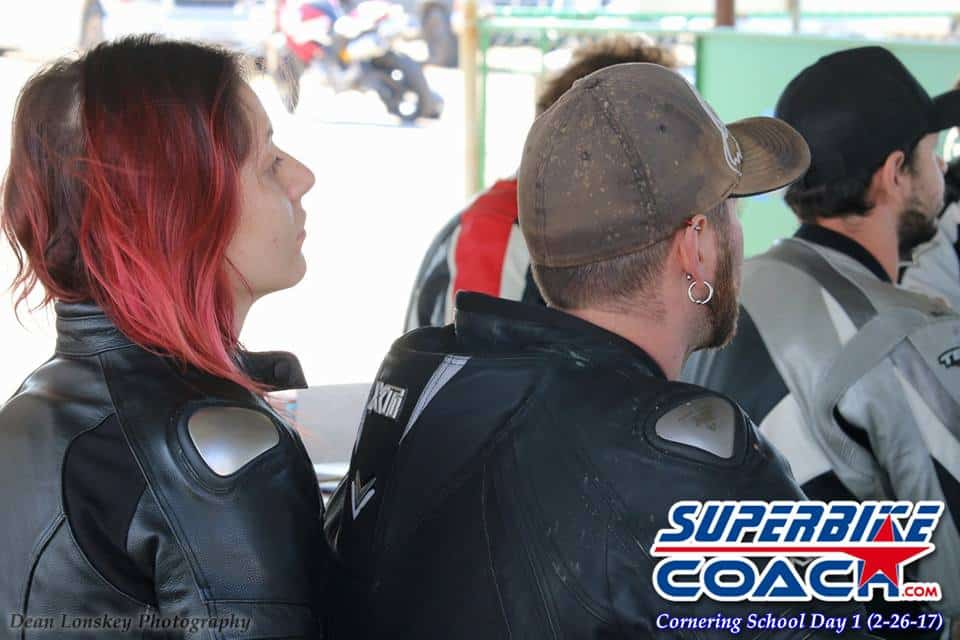
https://www.superbike-coach.com/wp-content/uploads/2013/12/www.superbike-coach.com_41-e1513150855860.jpg400600PageAdminhttps://www.superbike-coach.com/wp-content/uploads/2014/12/newlogo.pngPageAdmin2017-03-21 22:59:132024-01-14 00:42:11Featured Pictures of the last Cornering class published
Motorcycles & Misfits, a radio podcast in Santa Cruz, gave us a great review of our Cornering School program. Douglas Little and Kat Taylor could also clear things up which makes me really happy and appreciate their attendance even more. Listen to it from 7:50
https://www.superbike-coach.com/wp-content/uploads/2017/03/170x170bb.jpg155170PageAdminhttps://www.superbike-coach.com/wp-content/uploads/2014/12/newlogo.pngPageAdmin2017-03-06 12:29:032024-01-14 00:47:10Superbike-Coach on the Radio

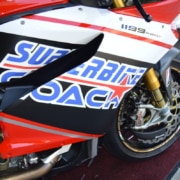

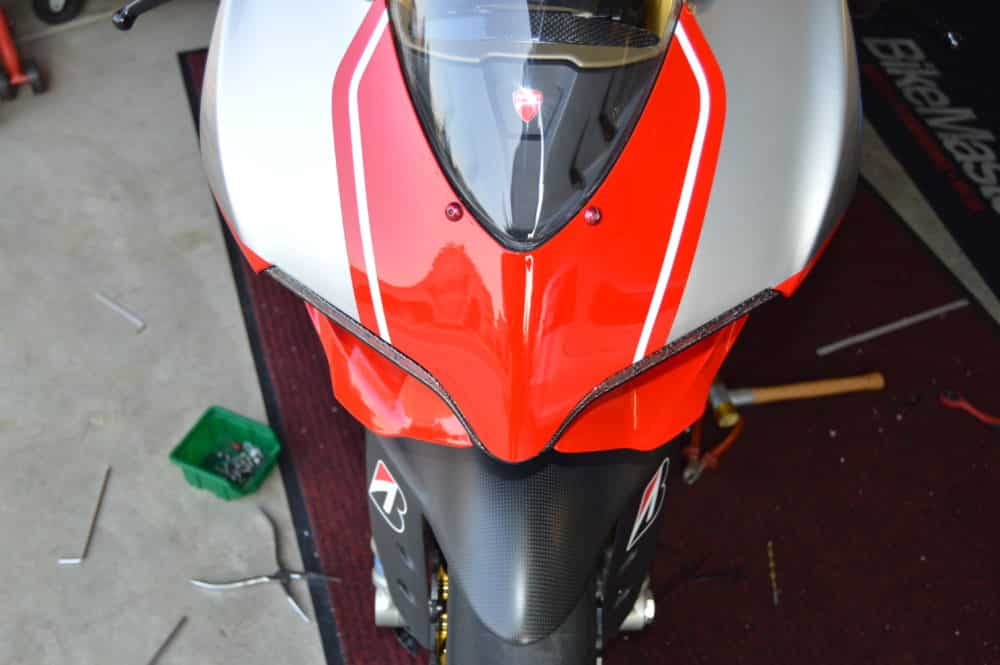
 Straight up… it took me half a day just to mount the upper fairing. I took my sweet time to resize holes, but in the end it all fits and I didn’t crack anything. The fit is surprisingly close, but not as perfect as the holes sitting in a stock fairing. With patience and brain you’ll get it done, I promise. To be clear… I didn’t had to ‘ovalize’ those holes. Some were just too small or had to be cleared from the paint.

 Test and Monitor