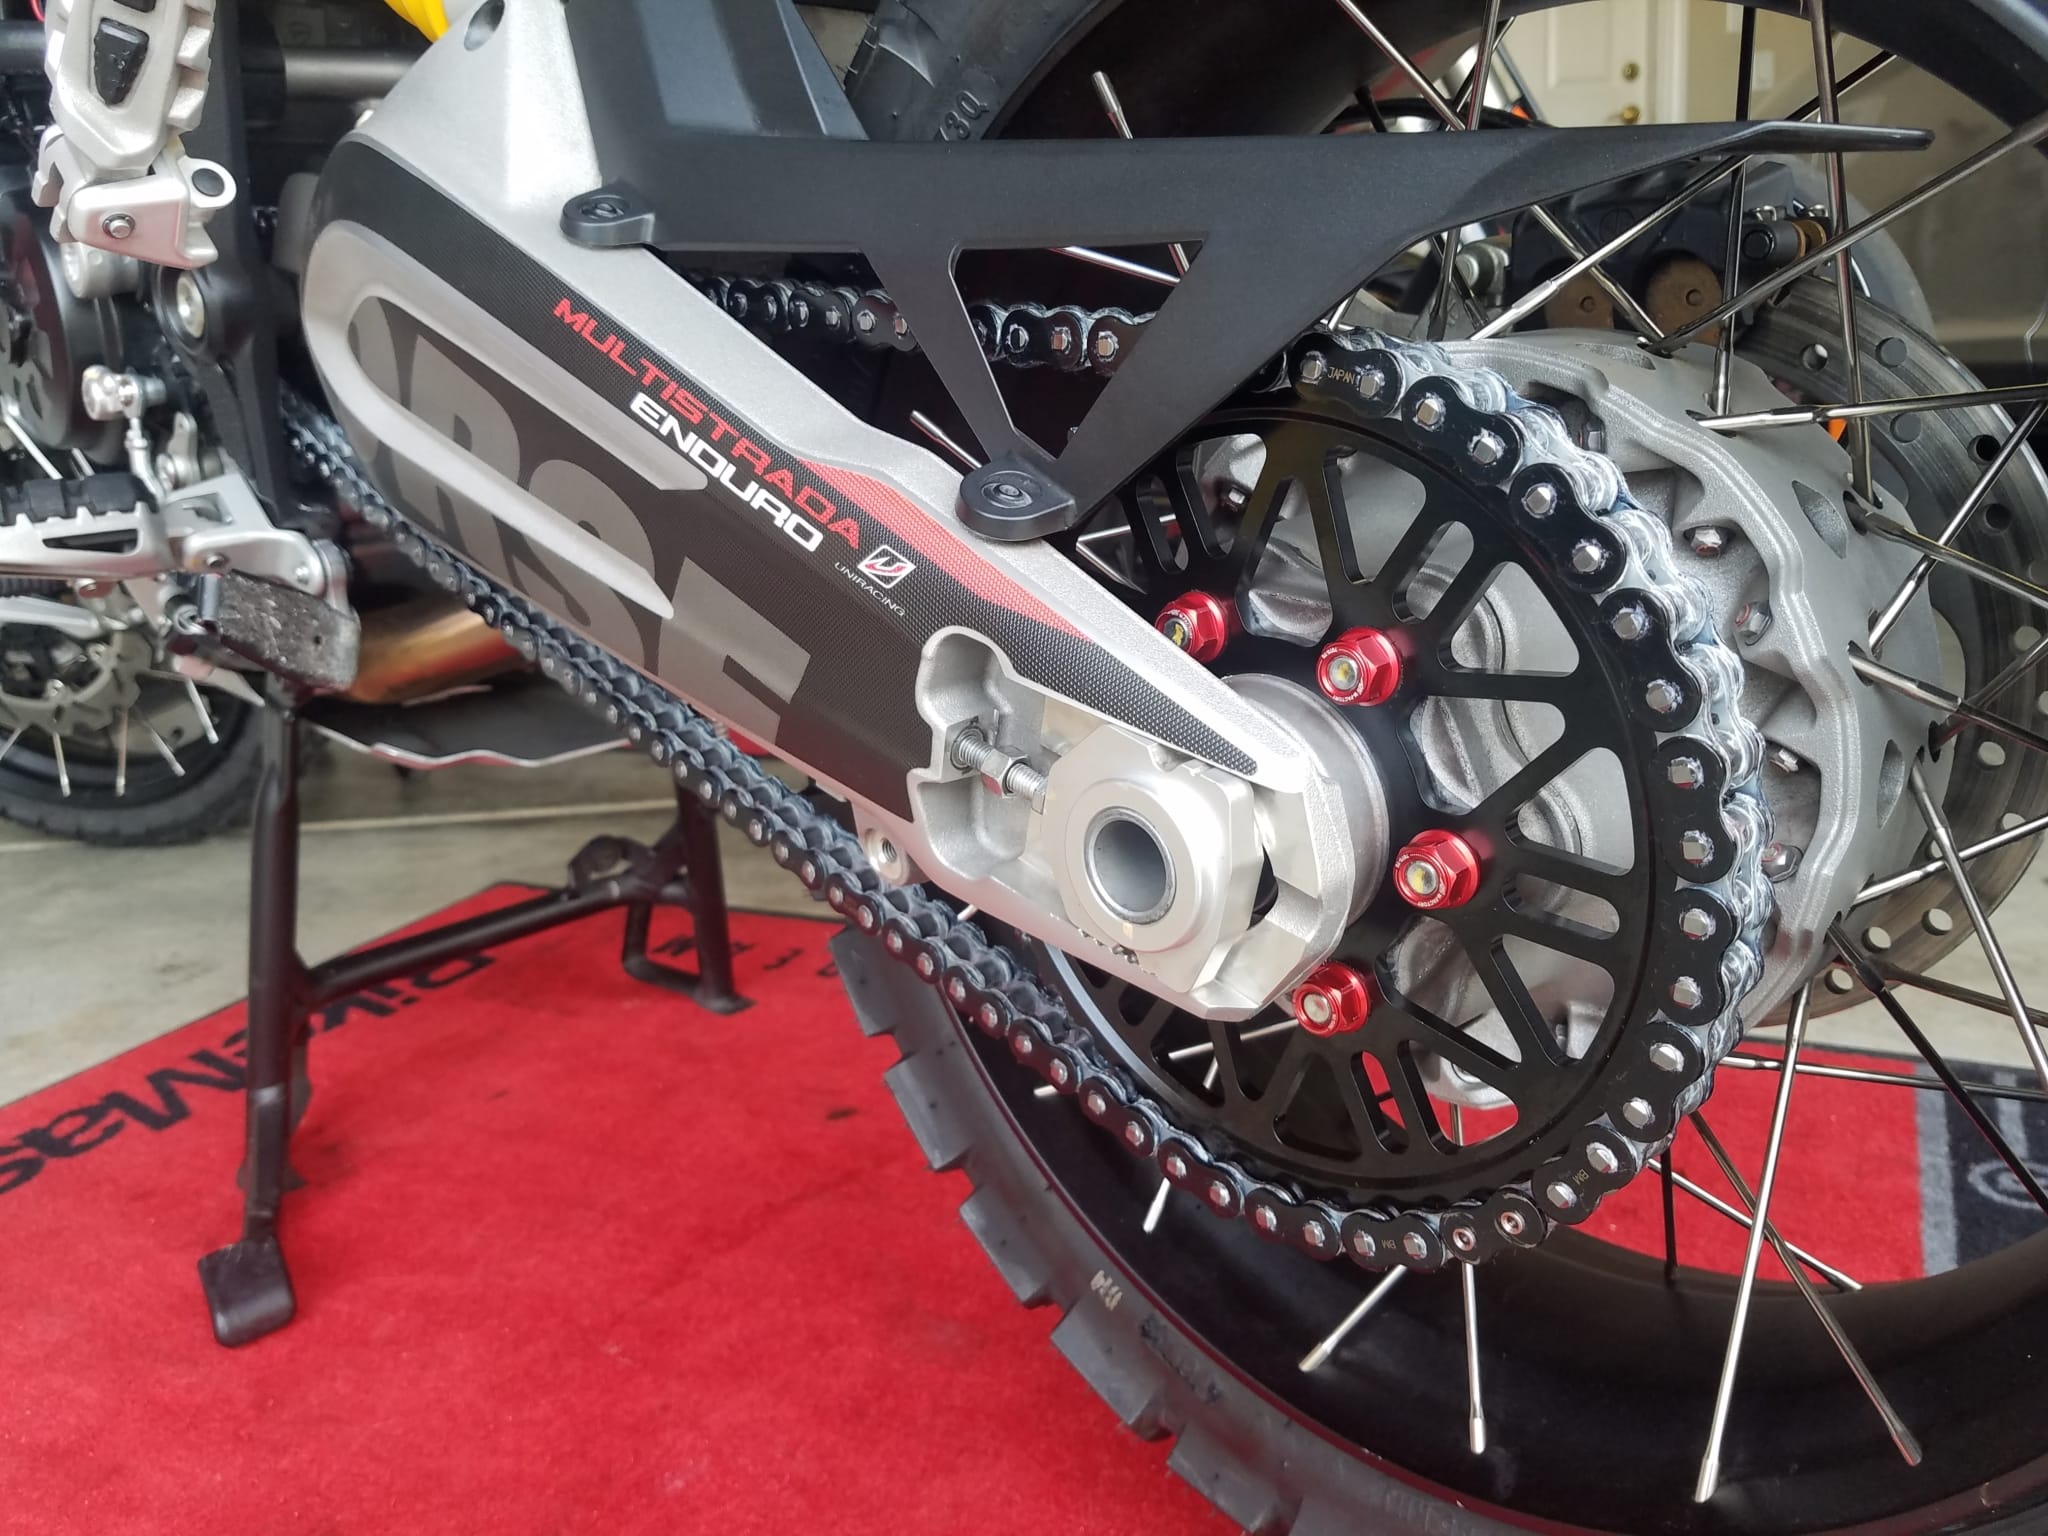
So finally time has come that I can also ramp up the game on our Ducati Multistrada 1200 Enduro Pro. When it’s time for a new chain- that’s also a good time to make these upgrades, and so I took advantage of it.
“Indy” is going to get 2 more teeth on the rear. Does this bike really need more torque?… oh hell no, but pure acceleration and even better ride-ability can’t hurt. The gears were a touch too far apart in my opinion, so that bigger rear sprocket gets them closer together and that gives me more options in regard gear choice on corners. BikeMasterhad all the stuff I needed to get the job done, and quick as usual and their pricing is right!
First you want to loose up all sprocket bolts, before you get the rear wheel out. That makes things easier. Now the wheel comes out and the new BikeMaster sprocket replaces that extremely cheep looking Ducati OEM part. I mean… look at it!
Next step is the chain. For that reason you put the wheel back in and cut the old chain. Don’t pull it out though, because you want to connect the new chain to it and to pull it through the swing arm and over and out of the front sprocket housing. That way you can save all the work with it. Now put the wheel/axle in the mid range of your chain spanners, which gives you wiggle room for your chain adjustments later. Ones done, you lay the chain up the sprocket to determine the length and so where to take links out. I recommend to look twice which and where you take it out. Now you close the chain with a lock (comes with the chain) and adjust its slack. Don’t forget to tighten up your rear axle… and you are all done.
You can’t add power and torque in a cheaper way. Do yourself a favor and do it. Thank me later :)
Headcoach Can Akkaya, Superbike-Coach Corp
https://www.superbike-coach.com/wp-content/uploads/2020/12/20201216_145018-scaled.jpg15362048Can Akkayahttps://www.superbike-coach.com/wp-content/uploads/2014/12/newlogo.pngCan Akkaya2020-12-16 16:55:132024-01-12 14:40:54Two More Teeth
You feel like your baby could use a little bit more punch? This article is going to help you to unlock an up to dramatic improve in regard torque character and ride-ability for about 150 bux!
That might sound like those endless advertisements which promising 10% more horsepower for a race air filter- or some shiny extra strong glowing hyper-kryptonite-supersphereographical spark plugs, and you’ll get more for a extra fee :-)
Nope, this one is totally legit and easy to do yourselves. Let’s look into the slight sketchy background first.
graphic credit: www.motorcyclespecs.co.za
All those motorcycle manufactures are selling their models mainly based on two numbers… horsepower and top speed. Yea, that’s how they get you, just admit it. While the horsepower is one thing- they are achieving those crazy top speed numbers mainly via primary ratio, gear box ratios and secondary ratios. Of course also the wheel sizes have and influence as well as the general weight and aerodynamics of your bike, but that’s something you kinda have to live with if you don’t want this to be your financial grave.
Let me just give a small overview what kind of weight this has for race teams, because racing is all about acceleration and only a fraction of time about top speed. We could set up every single gear in the transmission to match corner speed and RPM’s in a perfect torque range for turn exit performance. A “longer” (more top speed) 6th gear could gain passing chance coming out of a slipstream before late braking. The ratio was calculated on the mile exact to be fully rev’d out in 6th gear about one second before braking. Wind direction or a strategical aspect depending on- if you probably lead the race or if dog fights were predicted. All of this is a crucial part of racing. For you, we are looking at the secondary- also called the final drive. This is literally ‘outside’ the bike and can be done with regular tools and affordable parts. The influence can be surprisingly good.
So here is your scenario as the street rider or even track rider. The Germans have the Autobahn, giving their riders some top speeds we Americans on our Freeways won’t get to see ever. That might doesn’t include idiots here, but generally you are doing 70-80 miles per hour max, while your baby could do about 200 actually. That’s wasted energy if you ask me, sitting there literally never used. Another effect is, that the 1st gear is so damn long that you could do 70 with it already. The ratio makes this gear almost useless. So if we would change the final drive, it’ll also have a positive influence over the entire primary ratio for more ride-ability. Cool huh?!
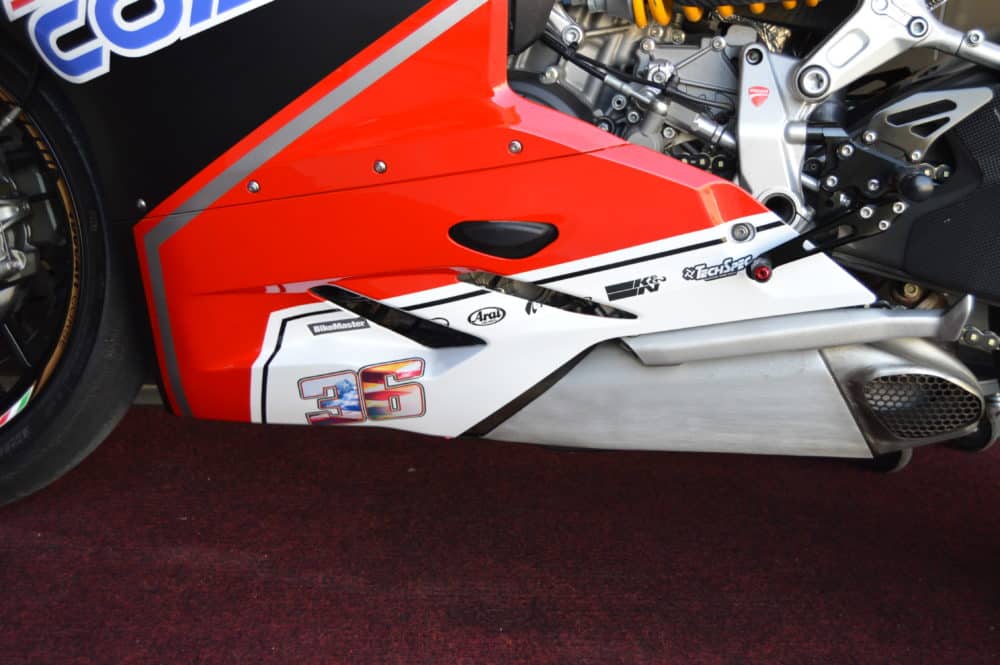
The terms here are ‘longer’, for more top speed- and ‘shorter’ for more acceleration, and that’s what we want. The useful torque range will move by giving up on top speed. My Panigale 1199 is topping out at a 165. She doesn’t make 200 anymore, but the acceleration beats down the brand new V4, no kidding! So here is what I do, and that’s actually a good start out point for you as well…
I chose a specific ratio because this way, my ‘Cleopatra’ can still cruise at a 6800 rpm’s in 6th on the Freeway- while this ratio is still fair enough for the most race tracks I am going to to teach track riders. So no swapping drama here for me then. The general rule is:
Front:
A smaller c-sprocket = shorter (more acceleration)
A bigger c-sprocket = longer (more top speed)
Rear goes the opposite way:
A bigger sprocket = shorter (more acceleration)
A smaller sprocket = longer (more top speed)
Generally, I swap the sprockets this way: One tooth LESS on the front sprocket- and one tooth MORE on the rear sprocket. Rule of thumb is- one tooth more or less on the front sprocket is just like two and a half teeth on the rear. That is huge in terms of acceleration, drive-ability and responsiveness and you have no idea what you’ve been missing out here. So bare with me and get to it.
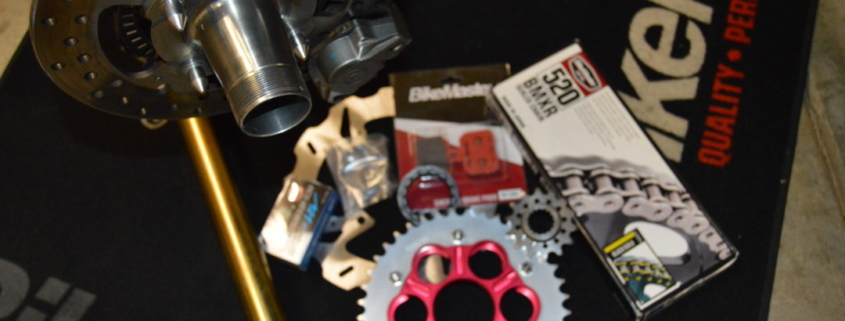
Go count front and rear sprocket teethes of your bike. Let’s say you have a 16 on the front- you go get a 15 for about $40. Now let’s say you count 45 teeth on the rear- you go get a 46 for about 80-100 bux. That small investment is the biggest ‘power upgrade’ you’ll ever get. Also no need to swap chain, because 1 down front/1 up rear needs the same chain length you already have- unless you also want to convert from your huge OEM chain to a 520 chain kit (I covered that in ‘Coach’s Motorcycle Bible‘)
Most of the needed parts are easy to get to at BikeMaster. They come affordable and fast. They also have chains if needed. if you want to go a slight different route with your sprocket choice, I’d suggest to see the ratio/speed differences ones you know the numbers of teeth your bike originally has, and compare it with the numbers you plan to go with here. If you are not sure about something- just drop a comment and I’ll see if I can help.
Please note though… if you make any changes in this regard- make sure all bolts are tight and take it easy riding it. Give it time to re-feel the new character of your bike. I’m not responsible for you bullshitting around, you hear me?! :-)
Headcoach Can Akkaya, Superbike-Coach Corp
https://www.superbike-coach.com/wp-content/uploads/2014/12/DSC_0108-e1504028021711.jpg7181080Can Akkayahttps://www.superbike-coach.com/wp-content/uploads/2014/12/newlogo.pngCan Akkaya2020-04-08 13:03:142024-01-12 15:09:46Motorcycle Sprocket Job: More Power
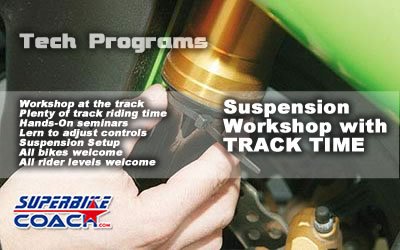
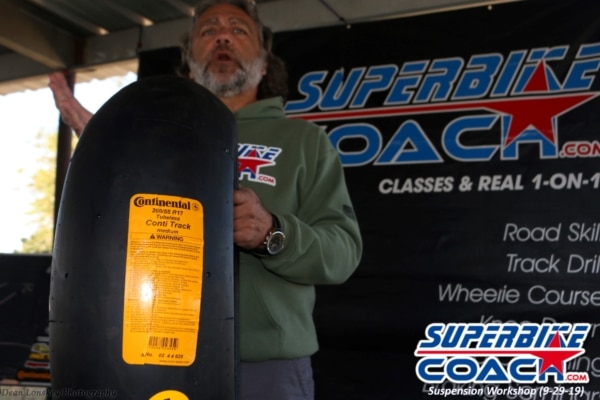
Lest Sundays ‘Suspension Workshop & Track Time’ was extraordinary.
Continental tire for demonstration
Ones more we could help riders not just to understand how and why to set up motorcycle suspension to their needs and riding purpose. This goes way deeper as it may appears in the first place. It begins with insights into tires and their effect on grip and geometry. A Continental RaceAttack slick helped to make things clear. Big surprises on air pressures and influences in tire performance, but when they went on our Little 99 Raceway the surprise turned over to smiles.
We moved on with the why’s and the how’s of setting up levers and controls. This isn’t just going into more riding comfort- we also can make detailed suggestions towards their existing equipment, or more appropriate stuff. All our tools were ready to use, so that they were able to make adjustments. The Superbike-Coach team Marion, Mark and Dean were always there for them to help out.
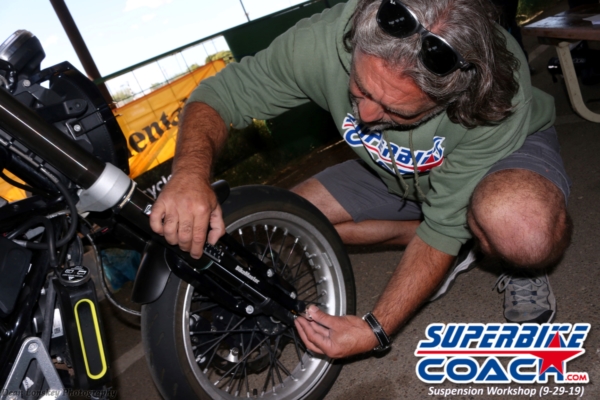
BikeMaster rider-sag tool
That was clearly needed when we went on adjusting suspension pre-load settings. That after they got to know what to look for with a general suspension setup. At that point the support of BikeMasterreally helped, because they support us with their outstanding tools . Just like the rider-sag measurement tool.
The next subject was damping, so in compression and rebound. That is not easy sometimes, because some bikes don’t have any of these options. This is where we can make strong suggestions in this regard. Oil viscosity, spring rates, shim stacks, and so on and so on.
Not to forget to mention, that all students go on the track to feel the differences after each subject. So they’ve done that many times already before we initial the last subject- troubleshoot. They’ve learned what and where to be most focused with, so that they can bring back a objective insights of the behavior of their bikes.
Besides all this, we can identify issues their bikes may have. It’s very normal for us to get to see stuck throttle cables, brake levers touching housings, or loose bolts. We are not just clicking +/- 4 steps around and let them go like others do. This here is something you should have on your plan, because I decided to take this program also to 2020.
How racers explain bike behaviors
#bikemaster #contimotousa
Headcoach Can Akkaya, Superbike-Coach Corp
https://www.superbike-coach.com/wp-content/uploads/2014/01/workshop-portf.jpg250400Can Akkayahttps://www.superbike-coach.com/wp-content/uploads/2014/12/newlogo.pngCan Akkaya2019-10-08 17:00:242024-01-13 11:03:18Suspension Workshop goes into another year
Yea, I know you might think ‘well they have to praise a sponsor’, but be assured- we have them as a sponsor for a darn good reason- our shop and to maintain our school bike fleet.
The thing is, when you do everything yourself on your bike, then you gotta go the whole nine yards. You need regular tools, special tools, tool boxes, carts, chemicals, lubricants, lights, seats, stands, tie downs, and whatnot. Nothing goes without a range of general parts like chains, sprockets, seals, brake pads, lights and mirrors. That, and a whole lotta more is BikeMaster.
Does it need space to turn your garage into a DIY shop?- sure- but maybe less than you might thing it takes. Does it cost?- of course- but not as much as you might thing, especially not with BikeMaster. Looking at their pricing proofs that part real quick.
Now, if you consider to start doing some little things yourself, you actually not just save lots of money- you are also about to connect more to your bike and to understand things on a different level. You’ll learn a lot. See, when I started racing I couldn’t do anything myself so I had to go into it. And last year I’ve rebuild an entire 4 stroke engine myself. The savings on the labor went in to the thousands and I had fun doing it, besides gaining a slight childish proud’yness about new abilities :-)
An oil change, swapping a battery or even a set of tires- it can go far. And to be clear- it’s not just the labor to save- it also is the time you spend for the back/forth and the confidence that things really have been done.
We at Superbike-Coach are super happy to have BikeMaster on our corner. Just the transport drama has been completely solved with their products.
So let’s wrestle some wrenches and get even deeper into your hobby. Check our BikeMaster and find out about their huge portfolio of bike specific parts or general tools. Viva BikeMaster :-)
Headcoach Can Akkaya, Superbike-Coach Corp
https://www.superbike-coach.com/wp-content/uploads/2013/12/BikeMaster.jpg113400Can Akkayahttps://www.superbike-coach.com/wp-content/uploads/2014/12/newlogo.pngCan Akkaya2019-09-03 21:25:442024-01-13 11:04:53Featuring BikeMaster and what it can be for a DIY garage
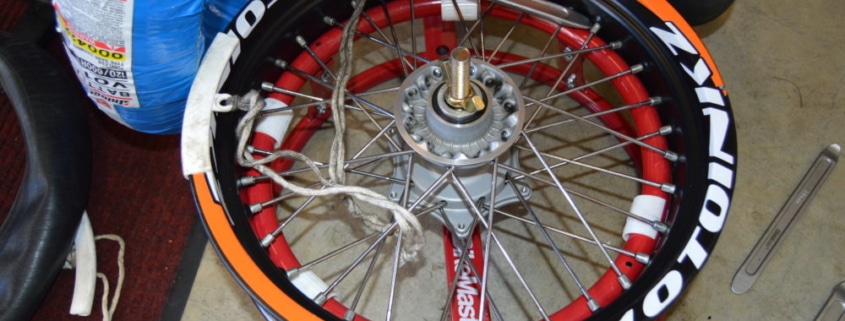
We at Superbike-Coach have quite a bit of tires to change during a year and we use to let local dealerships do this job, but a recent price raise to flip and balance tires on rims by about 80% is unacceptable. Well, at least for us. So BikeMastergave us their ‘Tire Change Stand‘ which allows to mount the rim, to break the bed off the rim, and to un- and install tires within 15 to 30 minutes.
I know, this kind of work is not for everyone, and neither I like it… but after all you might find out it ain’t that bad. So here they are… brand new Bridgestone rubbers for our rental bike and my beloved Supermotard. Those Battlax are solid tires with lots of grip and last for the money, so off we go…
The total is about $100 in tools, which means it pays off at the first tire change you do. Besides… a regular Sportbike street rider probably has to change tires twice per riding season. You make the math.
I just swapped tire on a rim within 15 minutes, and that was the first one I’ve ever done. Having the right tools helps, and it went much better on the second tire. OK, a helping hand was necessary along the mounting part, but with the saving got us a nice steak and a beer :-)
We decided to replace the balancing with ‘Dyna Beads‘, which are filled in the tire when mounting. No more weights glewing to the rims and vibrating free.
So if you like working on your bike and if you are tired of price raises of astronomical dimensions, then this is the way to go. Step up your game riders! :-)
I thought I should follow up on this one with a little review and insight. You need to know that I am a ‘burned child’ in regard Acid batteries, so that I am actually real happy about the quick development of Lithium batteries. It goes back to the mid 80’s when I was a amateur racer. Back then I still also had a street legal bike, just to take it up to the Nurburgring Nordschleife.
On one of those rides I noticed an immense disturbing smell, and a heat development in an area where you don’t want to have the one or the other. I’ve stopped right away and I heard materials cracking and a toxic steam came out of the seat area. I’ve walked away and waited it out and begun to dissemble the seat to check what the damage is. My Acid battery got some fat cheeks and cracked some stuff on its way to the outside. I think I was just damn lucky that this battery haven’t explode, cuz’ I probably wouldn’t have made it to be a Dad- or even made it to Valhalla instead.
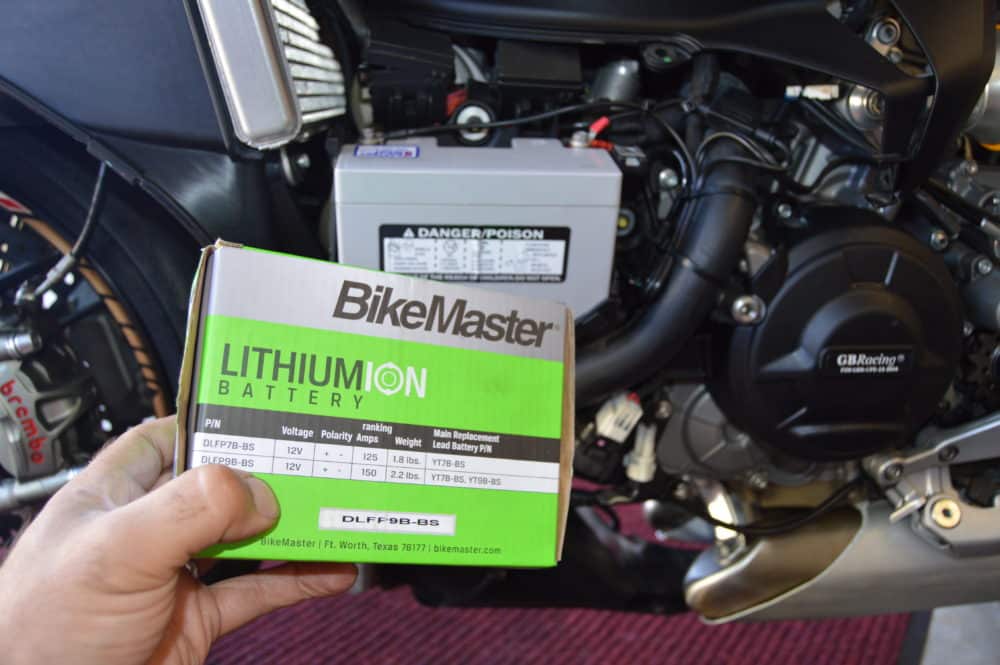
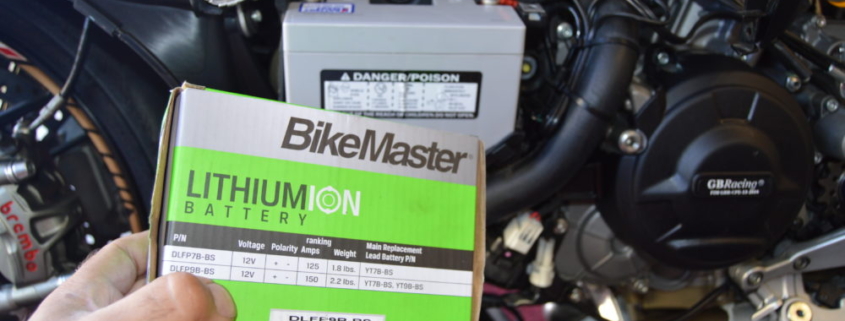
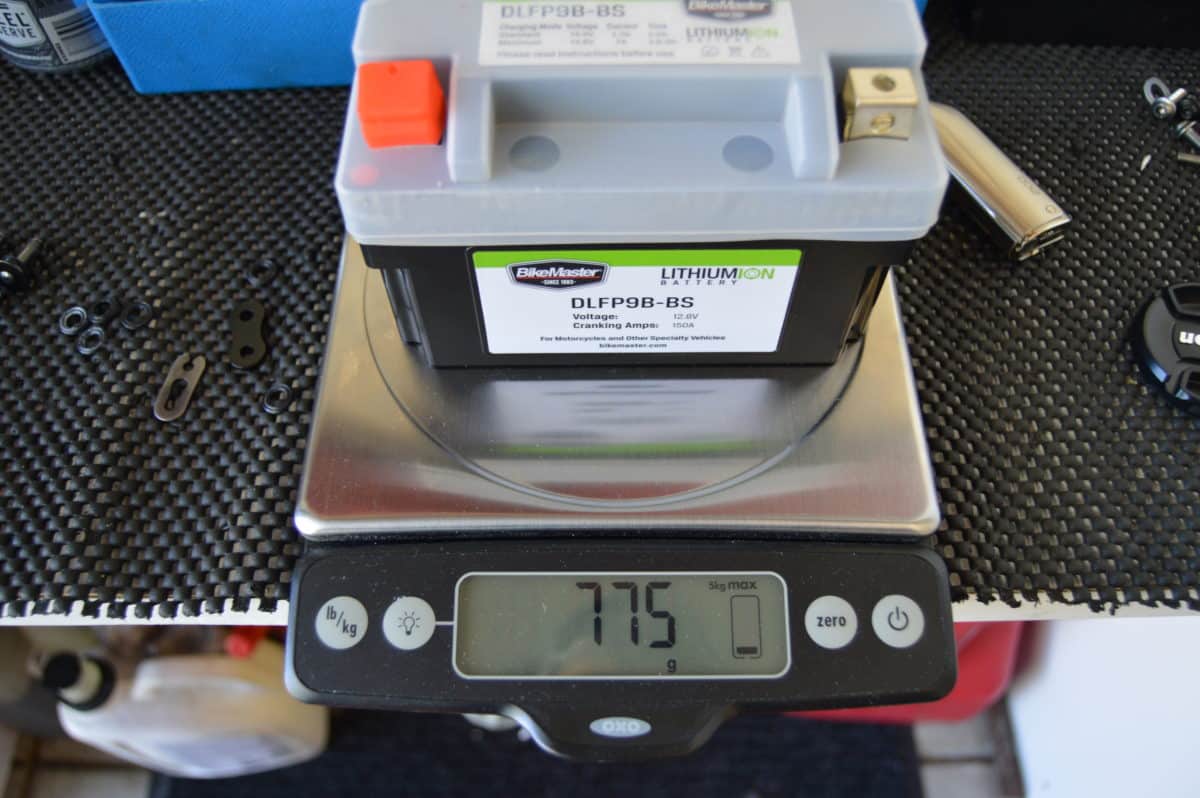
So yea… welcome to the digital world, which brings even more benefit. Besides safety, weight reduction and a bunch more environmental sensitivity… there is this cool thing going on that you truly do a sense-full upgrade to your baby. So did I as you know… with a Bikemaster Lithium Battery. Those are affordable and they have them on stock for almost every motorcycle.
In my opinion, the weight difference is just amazing. I mean… 3.6 American pounds in weight difference… that is shocking. The damn thang is still working great, and that ain’t easy on a big volume like 1199R two cylinder with the torque of two R1’s. Go get some… you won’t regret it.
Pros of Lithium-Ion Batteries
One great benefit of using a lithium-ion battery for your motorcycle is the energy density. A lead-acid battery has six cells, while the lithium-ion battery has only four.
The batteries offer better resilience to self-discharge, and can hold a charge for a long period.
Lithium-ion batteries are much safer for the environment.
Cons of Lithium-Ion Batteries
An internal electronic circuitry is necessary to keep the cells protected from completely discharging or overcharging in extreme temperatures and current surges.
Most lithium-ion batteries are charger-specific; hence, using a standard charger could damage the battery.
They are significantly more expensive than lead-acid batteries, but it is in a good balance at Bikemaster if you ask me.
https://www.superbike-coach.com/wp-content/uploads/2014/12/DSC_0015-e1504337137560.jpg6651000Can Akkayahttps://www.superbike-coach.com/wp-content/uploads/2014/12/newlogo.pngCan Akkaya2018-04-05 01:15:212024-01-13 11:29:26Lithium is Power
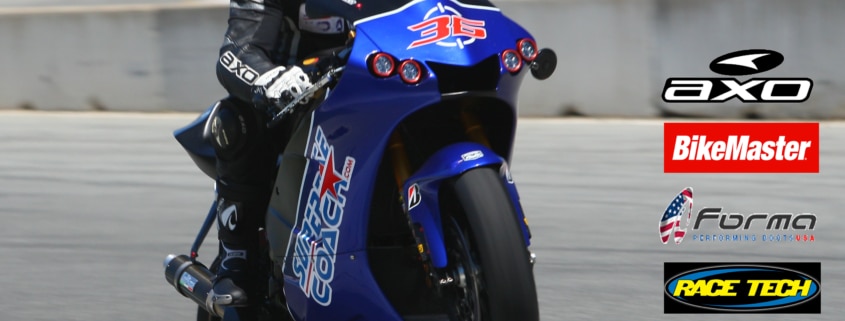
We are starting the riding season out with great stuff. To run our classes and track days a little smoother- we get some support of our partners Arai USA, Forma Boots USA, BikeMaster, Axo USA, Race Tech Suspensions, and Wiseco. These guys are giving up to 40% off discounts to our students, and tons of giveaways.
Thanks! Headcoach Can Akkaya, Superbike-Coach Corp
https://www.superbike-coach.com/wp-content/uploads/2017/02/Can-Akkaya-sponsors-2017.jpg17252048Can Akkayahttps://www.superbike-coach.com/wp-content/uploads/2014/12/newlogo.pngCan Akkaya2017-02-04 11:38:282024-01-14 23:21:58Introducing Our Sponsors for 2017